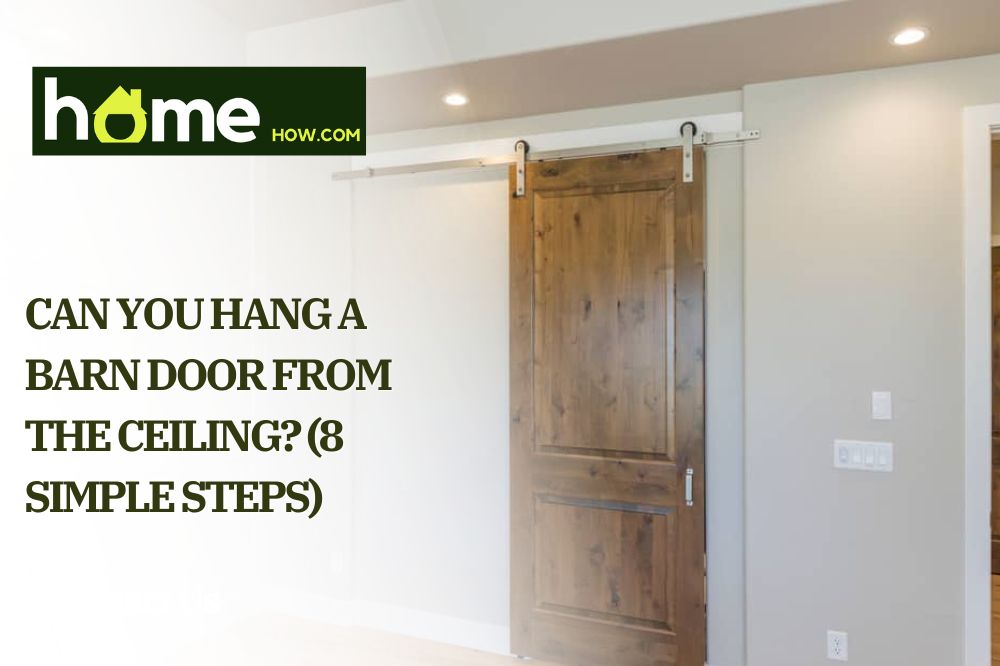
If you wish to install a barn door to the ceiling and are wondering if it is even possible, then I have some excellent news for you! Of course, it is, and it is not difficult at all. Barn doors are very popular these days because they are practical and do not take up too much space.
Due to their practicality, you can install sliding doors inside your home instead of closet doors, bathroom doors, and so on. Also, they are inexpensive, and you can install them with your own two hands!
What Am I Going to Need Before I Start This Project?
For this task, you will need the following:
- Barn door
- Barn door hardware kit, which should include: the barn door tracks, a wall mount, door track hardware, a door stopper, washers, lag bolts,
- A piece of pressure-treated lumber as a header board (also known as a header)
- Paint or wood stain (alternatively, if you want the door to keep its natural color, wood lacquer)
- Stud finder
- Tape measure
- Pencil
- Leveling tool
- Speed square
- Philips head screwdriver
- Power drill
- Drill bits
- Clamps
- Adjustable wrench
- Ratchet with sockets
- Wood screws
- Step ladder
- Countersink bit
You probably already have access to most of the stuff you will need. If you do not, you can easily find the tools in outlets or online stores, or perhaps a family member or one of your friends will let you borrow them.
Steps to Hang a Barn Door from the Ceiling

Step 1: Making measurements
Measure the opening on which you wish to install the barn door and ensure it can cover the opening top to bottom and side to side with 1 or 2 inches of overhang on the sides of the doorway.
You will also have to measure and ensure that you have enough space for the door to slide open. The door needs to have enough clearance so that it does not hit any outlets, light switches,
You must also make sure that the door is just a little shorter than the opening so that when it’s hung, it leaves about half of an inch (1-1.25 cm) between the bottom of the door and the floor while leaving no space between the top of the door and the top of the door opening.
Step 2: Locating the Studs Inside of the Wall
You will have to locate the studs inside your walls using a stud finder if you don’t already know where they are. Studs are wooden beams that make up the inner frame behind the drywall in your home.
If you have never used a stud finder before, here is a step-by-step guide on how to use one.
Start by placing the stud finder around 3 to 4 inches above the opening, and once you find it, mark it with your pencil and do the same for the other side.
It would help if you also made sure that the marks you made on the wall are evenly spaced from the opening and that they’re level with each other.
Step 3: Marking the Stud Locations
Transfer the locations of the studs onto your header board. You must ensure they are centered and straight on the board; otherwise, the board will be crooked.
You do this by marking the distance between the studs on the board while ensuring an equal amount of space left on both sides of the header board.
If you make a mistake here, it is okay; you can permanently erase the markings with an eraser and try again until you get it right.
Step 4: Pre-drilling the Holes
Drill two starter holes on the stud locations of the header board with a countersink drill bit. Then you take the track from the hardware kit, copy its holes onto the header board, and pre-drill them according to the manufacturer’s instructions.
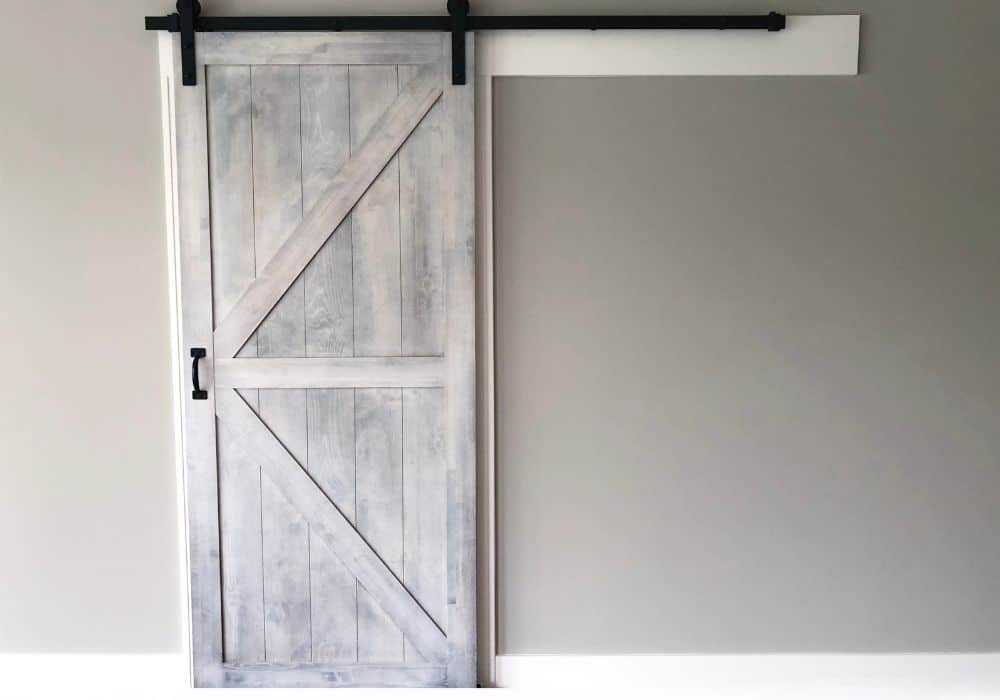
Step 5: Attaching the Header Board to the Wall
You are going to have to get help from someone in this step. Secure the header board to the wall, and you need to align the holes in the header board to the stud marks on the wall. We also need to ensure that the header board is leveled with the leveling tool.
It is not a big problem if you have aligned the header board holes with the stud markings and are not leveled. Make some new markings with a pencil, and just ensure that when you mark recent locations for drilling, they are still level and in front of the studs.
Once you have done all that, start drilling out screws through the holes of the board and into the wall with a power drill. Your friend is going to help hold the board securely while you drill.
Once we have drilled the screws in, we can use wood filler to cover up our screw heads and paint over the board so that it matches the color of the wall.
Step 6: Attaching The Metal Track To The Header Board
For this step, you take the metal track, put the screws that come with it through its holes, and then put the accompanying spacers onto the screws through the other side.
Then you simply bring the metal track up to the board and start tightening the screws of the track into the header board.
While doing this, tighten the screws first on one half and then the same screw on the other half of the board. You do this so that the screws will be as tight as possible and under an equal load while carrying the door.
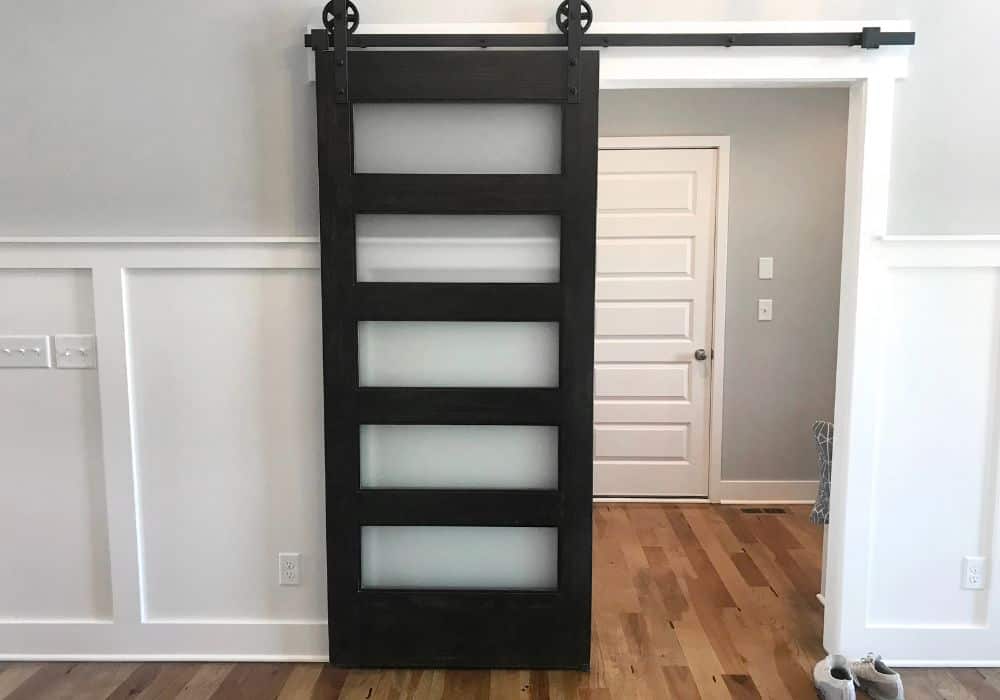
Once the track is attached, you then put the stoppers from the kit on the track. The stoppers will have some sort of screw in them, which, when tightened, attaches them to the track.
Step 7: Preparing the Door
Take the rollers and attach them to the holes in our door, following the manufacturer’s manual’s instructions and ensuring that our straps are level using a speed square. Next, you must ensure we screw the rollers tightly so that the door doesn’t fall off them.
Next, you attach the door handles to the door by screwing them into the door itself, but you need to ensure that the handle on the inside has enough space so that it doesn’t jam into the wall when you close the door.
Step 8: Final step – Hanging Your Door
Lift your door, put the wheels on the track, test it out, and check whether it slides correctly. Next, you fasten the anti-jump disc to the top and the door guide to the bottom so the door cannot fall off the wheels.
Now, test the door again to ensure it opens and closes correctly and that everything is okay.
Extended Tips
- Make sure to regularly clean your barn door according to the manufacturer’s instructions. Use a soft cloth or rag to clean the dust and grime of the door; never use anything coarse or gritty such as steel wool.
- If your door is lacquered, make sure to put some furniture polish from time to time; if it isn’t, then use some wood oil every so often so that it lasts for many more years and looks as fresh as the day you installed it.
- In case the rollers start to make a squeaking noise, this can be fixed using some spray can lubricants like WD-40 or even Ballistol; just place an old rag that you can throw away or a paper towel behind the wheel when you spray it so a that you don’t get any lubricant on the wall.
- Scratches and cuts on the door from a pet or a playful child can be fixed by rubbing a walnut on the affected part of the door. This can be done to repair almost any wood surface, not just doors.
- The door might come to lose a bit with age due to the load of the door, so make sure to tighten the screws holding the door to the board and the screws holding the header board every once in a while itself to the wall.
- While doing it, you should see if any parts need to be replaced, like the rollers, the door guide, or the anti-jump disc.
- When taking the door off for maintenance or storage, always put it upright in a spot where it will not get in the way and where it is not in contact with excessive heat or moisture that might warp the door with time.
- Do not slam the door open too fast because that will eventually wear out the stopper and the anti-jump disc, and it might also break the door off the bar and damage it, and anything close by it might fall on.
Conclusion
Wooden sliding barn doors are a great aesthetic addition to your household and the convenience they provide. They save precious space, add a unique touch of style to a room, and are very easy to use or maintain.
It might seem somewhat challenging to install one by yourself at first, but the process is simple and easy to follow. Even someone with no prior experience with tools and DIY project experience can turn their vision of an interior barn door into a reality.
If you have any questions, comments, or suggestions, feel free to share them with us!