
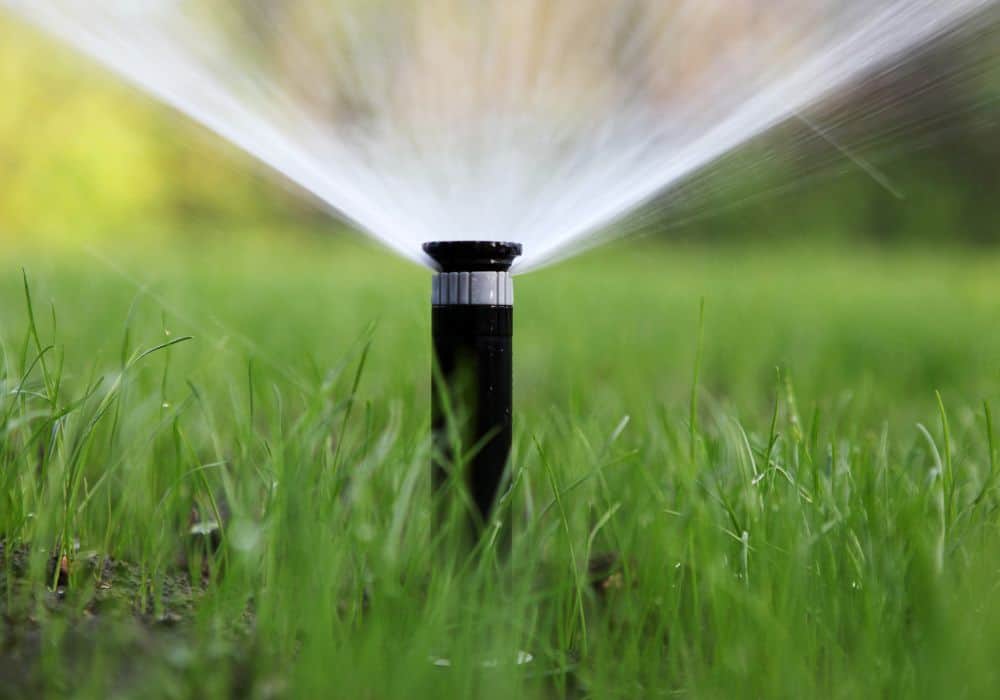
If you recently bought Rain Bird 5000 Sprinkler system and have issues adjusting it, this article is for you! Rain Bird sprinklers are one of the most popular on the market, and there are several reasons for that.
Not only that they provide excellent ground coverage, but they are also highly reliable, durable, and of excellent quality. However, this does not mean that the sprinkler heads will adjust themselves but do not worry if you follow our advice; this job will be a piece of cake for you!
What are the Tools That I will need for this project?
For this task, you will need the following:
- A Pair of Pliers
- Adjustment Key or Flat Head Screwer
You will use the pliers to grab the head of the sprinkler and rotate it. Regarding the second tool, if you do not have the Rain Bird rotor adjustment key, you can use the flathead screwer to install a nozzle or adjust the sprinkler head.
However, the adjustment key allows you to pull the sprinkler out of its case without much hassle, and the entire head is based on the design of the screwdriver key. So using the screwer might take a bit more time, but it will also get the job done.
Step-by-Step Guide: How to Adjust The Rain Bird 5000 Sprinkler Heads
Step 1: Locate the Left Stop or Hard Stop Setting
Obviously, you will have to turn off your sprinkler system before you start doing anything. So your first step is to find the hard-stop setting by rotating the top of the sprinkler head or turret to the right (as far as it allows).
Then you will turn it to the left, and when it stops, that is your clue that you found the hard stop. With this brand of sprinklers, the left stop is usually fixed and will always stop at the same spot on the left side when turning it.
Adjusting the left stop has to be done manually, and the adjustment rotator key will not do you any good when it comes to this!
Step 2: Adjust The Left Stop
You will have to use the pliers and your hands for this step. So you have to adjust the left stop, which you will do by gripping the head of the sprinkler with your hand or pliers. The purpose of the left stop is to indicate where the irrigation will start.
Turn the turret or the head of the sprinkler to the right to align it with the location or the space you want your left side to spray. An arrow at the top of the sprinkler shows the direction in which the water will spray.
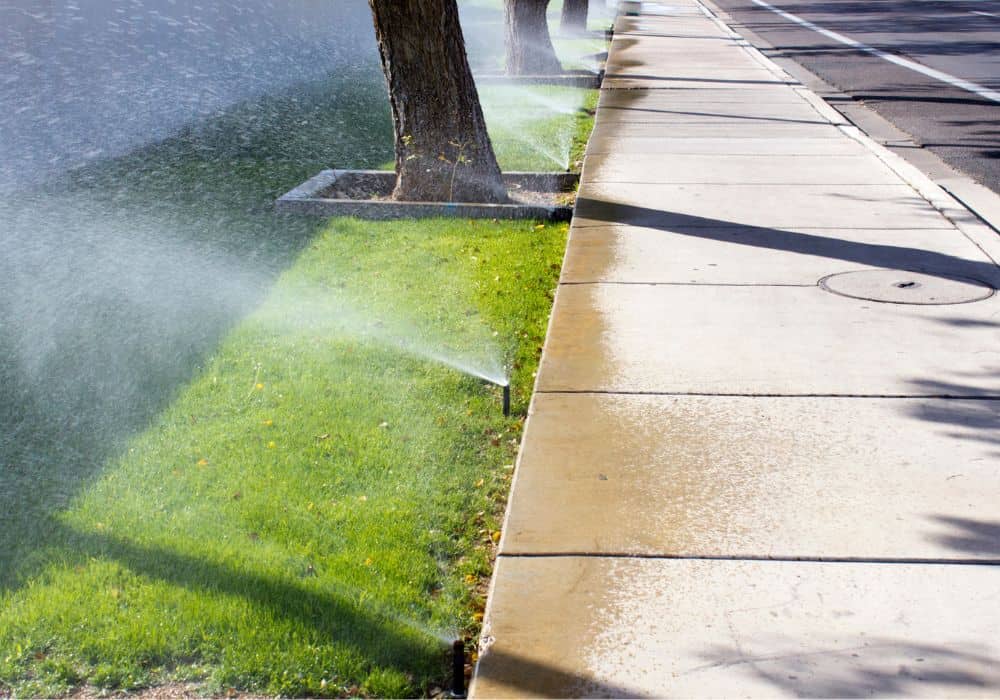
Ideally, the position of the nozzle should be parallel to your driveway, sidewalk, or hard surfaces. Why? These are the best locations to achieve the desired ground coverage and start irrigation.
When you find the correct position for the left stop, release the head of the sprinkler, and it will lower itself back into the canister. If you are having issues adjusting the left stop on the sprinkler, which has a fixed left stop, here is a helpful video.
Step 3: Adjust the Arc
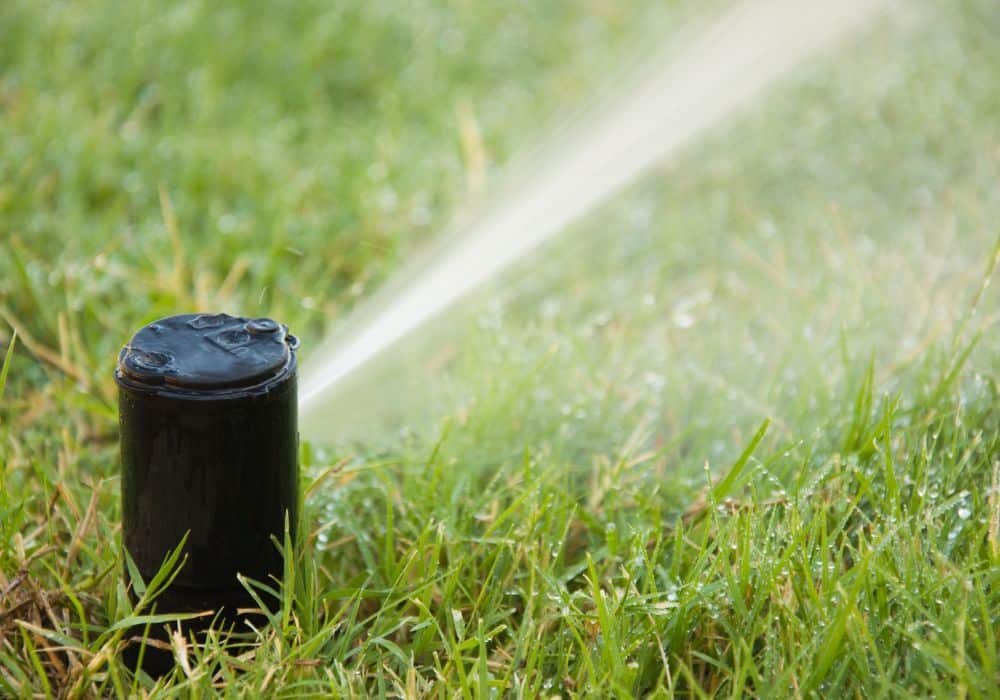
If you look closely at the head of the rain bird sprinkler, you will see a plus (+) and minus (-) sign. That is the arc adjustment feature or, in simple words, how many degrees of the arc (350 degrees circle) you want to encompass with the sprinkler.
You can adjust it to just a few degrees or an (almost) full circle, which is a great feature if you want to control the spray pattern along your house. So, to adjust the spray pattern, you will need the arc adjustment screw or the flathead screwdriver.
Insert the key or the screwdriver into the plus and minus slots or the adjustment socket. Sometimes it can be a little challenging to insert the key.
If you want to increase the arc or degrees at which your sprinkler turns, turn the adjustment key or screwdriver in the plus direction.
If you want to decrease the arc, turn the tool in the direction, and turn the tool in the minus direction.
Step 4: Adjust the Radius
After adjusting the arc, now it is time to change the radius. If you are wondering what radius is, that refers to the distance of your nozzle spray. Adjusting the radius and the arc will allow you to choose how much ground coverage you want as well as the direction of the spraying.
This way, you can avoid the water hitting the sidewalks and driveways. First, find the radius adjustment slot (on the top of the sprinkler head) to adjust the radius. Then, insert the key and turn it clockwise to decrease the radius of the spray.
If you want to increase the radius, turn the key counterclockwise
Step 5: Adjust the Spray Pattern
This step is optional and should be performed while your sprinkler is on. If you are wondering what, you can see the spray pattern option and choose the one that suits your lawn best. This feature is handy if you often deal with dry spots.
The most important thing about your spray pattern is adjusting the right and left sides. The head can be adjusted from 40 to 360 degrees.
If you want to increase the spray pattern, turn the twisted collar to the left. Turn the threaded collar to the right if you wish to decrease the spray pattern.
Step 6: Check The Adjustment
After you have done all the steps, it is time to check whether you have done it successfully. To do this, you will have to rotate the head through its full range of motion to know if the sprinkler head stops and starts at the adjusted positions. We also suggest you check out the radius and the arc to avoid watering sidewalks or your house.
How to Change the Nozzle?
If you want to change the nozzle on your sprinkler head, insert the key in the same slot you inserted when adjusting the spray pattern. Then, turn it 90 degrees, and it will lock in; the key will grasp the head, and you can pull it straight out.
Do not be surprised if this job is a bit challenging because pulling the sprinkler will need some force because of the tremendous spring pressure. So, when you pull it out, it will reveal the nozzle socket, where you will put your spray nozzle.
The spray nozzle is based on the gallons per minute, and each of these heads will come with a tree with various nozzle sizes, ranging from 1 to 8 gallons per minute. So, select the desired nozzle size, and you will see that it has a notch on one side.
The top of the nozzle is where the notch is, in case you have any doubts. After you have inserted the key, and pulled the sprinkler out of its case, hold it firmly and place the straight end, snap it in all the way and push it in.
There is a set screw above that nozzle, so try to find the slot and insert the key. Then, turn it down until the screw retains the nozzle, and do not forget to screw that down at least four or five turns. Why? If you turn on your sprinkler system, there is a fair chance the nozzle will fly across your yard.
Choosing the proper nozzle allows you to adjust your lawn’s desired amount of water.
Additional Features of The Rain Bird 5000 Sprinkler System
One of the features of this brand’s sprinkler heads is that they can be individually turned on or turned on. In the very center of the sprinkler’s head is a screw slot between the pictogram. Turn the screw head in one direction; you will hear it stop and then come to a click stop. This means that it is shut off.
This feature is highly convenient if you do not want water emitting from your sprinkler head because maybe you haven’t completed the section of lawn that you are turf down while you have another area sprinkling.
Rain Bird sprinkler also has an anti-flood valve, meaning that when the turret finishes spraying and the head drops back down under spring pressure, it will simply stop and seal itself.
This prevents potential flooding and seed washout, especially if you recently tried to reseed an area because the water will wash away the seeds, and you will have to do it all over again.
Extended Tips
- To clean the nozzle of the rain Bird rotor Sprinkler, you will have to find the adjustment screw above the nozzle and turn it clockwise until it is no longer holding the nozzle. Then pry out the nozzle with a screwdriver (carefully) and rinse the nozzle with the water.
- If you are wondering how long the Rain Bird sprinkler system can last, given its high quality, it can last up to 20 years. However, depending on the condition and the maintenance regime, sprinkler heads can experience issues every couple of years.
- So if you have encountered issues with your system, call a professional who will inspect it and show you how to maintain it.
Conclusion
Rain Bird sprinkler system is one of the most popular systems, and it has earned its status by delivering high-quality, precise sprinklers with various helpful features.
Even though it might seem that adjusting some of its features, such as the arc and radius, might seem complicated, do not be discouraged. If you have their adjustment key and a little bit of patience, you will be able to pull this off.
If you have any questions or comments, feel free to share them with us!