Do you ever wonder what is the chemical solvent used to seal pipes? Perhaps you may think it’s just normal glue or tape. Well, there’s actually a specific type of sealant made just to seal the thread joints of the pipes.
And the most popular recommendation among plumbers is none other than pipe joint compound. This sealant is primarily used to connect threaded pipes.
So, if you’re planning not to hire a plumber and just do the installations on your own, then it’s important that you be knowledgeable of the process of how to apply pipe joint compound. Don’t worry because, in this guide, you will learn the application process for an effective and long-lasting pipeline.
Importance of using a pipe joint compound
But before we kick off with the guideline, it’s crucial to understand the uses of a pipe joint compound. Also referred to as pipe dope, this is such a pivotal element when it comes to plumbing. This chemical compound serves as an adhesive that links and seals threaded joints.
And unlike glue PVC glue or pipe glue, a pipe joint compound is chemically stable and unreactive. It is stable even on handling temperature extremes. For further comparison, pipe dope provides a stronger seal than PTFE tape. This kind of tape is then called plumber’s tape, or sometimes, Teflon tape.
More so, the plumbing sealant ensures that the thing that goes through the pipelines do not leak. These include liquids, natural gas, air, and oil. Aside from providing a liquid-tight seal, this also lubricates the threads, permitting smooth threading and disassembling of joints.
Therefore, a quality joint compound should be non-hardening so you can alter or readjust easily them without destroying the tubes. Not only that but the solution should completely seal the thread joints to avoid leaks that may cause further problems in the long run.
Key steps on how to apply pipe joint compound
The application of a pipe joint compound may not be as difficult as you think. However, there are some things that you need to take note of to make sure the compound works successfully. More so, the steps on how to apply the solution might vary accordingly, depending on the brand and pipe materials used.
1. Check the instructions carefully.
Although most pipe thread sealants are very easy to apply, it’s pivotal not to miss the specific label of the product. The reason for this is that some brands may require certain directions that are not included in the basic guidelines.
These could be differences in the curing time and the manner of application. Checking the label is also significant to know the expiration date. In general, the shelf life of pipe sealants is 2 years.
And if you’ve got an expired joint compound, don’t worry because you can still use it as long as there are no mold elements in the solution. If it does, then best to throw it away and buy a new one. When working on an expired joint compound, be it known that it could be tough to work.
Start by mixing the compound thoroughly. And if it’s dried up, you may add water to ease the parched solution.
Thus, it’s critical to comprehend the basic steps as well as other specific directions set by the brand. But if in any case the label could no longer be read, then you may refer to the core procedures below.
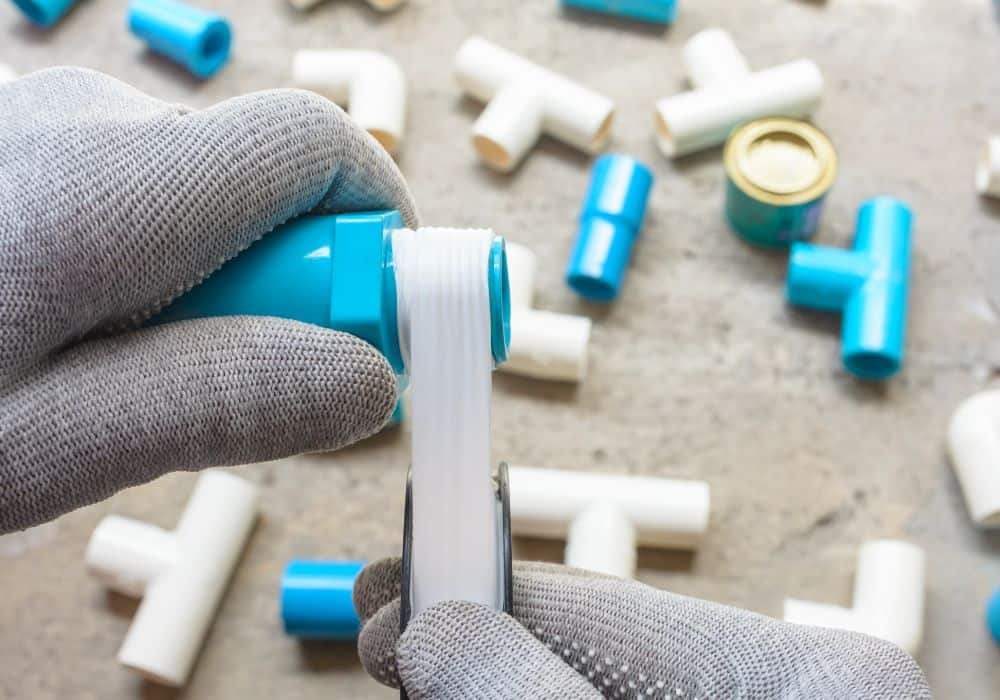
2. Ensure that the pipe threads are free from any dirt, rust, or gunk.
Cleaning the pipe threads is a crucial step in the plumbing process. Pipe threads, also known as screw threads, are vital parts of a piping system. These connect one tube to another to create a seamless assembly of pipes. When cleaning, you need to be gentle because the ends can be very delicate.
You should also consider the type of pipe material used, whether it’s metal pipes or plastic ones. For plastic pipes, you can use a flat-head screwdriver to scrape the gunk out. Wiping a rug with alcohol is also recommended to remove dirt.
On the other hand, try to use a wire brush to remove any dirt accumulation and oil residue on metal threads. You may use compressed air to eradicate unwanted dirt on the threads.
Meanwhile, if you put too much pressure while cleaning, there’s a high tendency that the screw-like ends to get damaged. Thus, you need to be cautious in removing the grime so the ends will not be ruined.
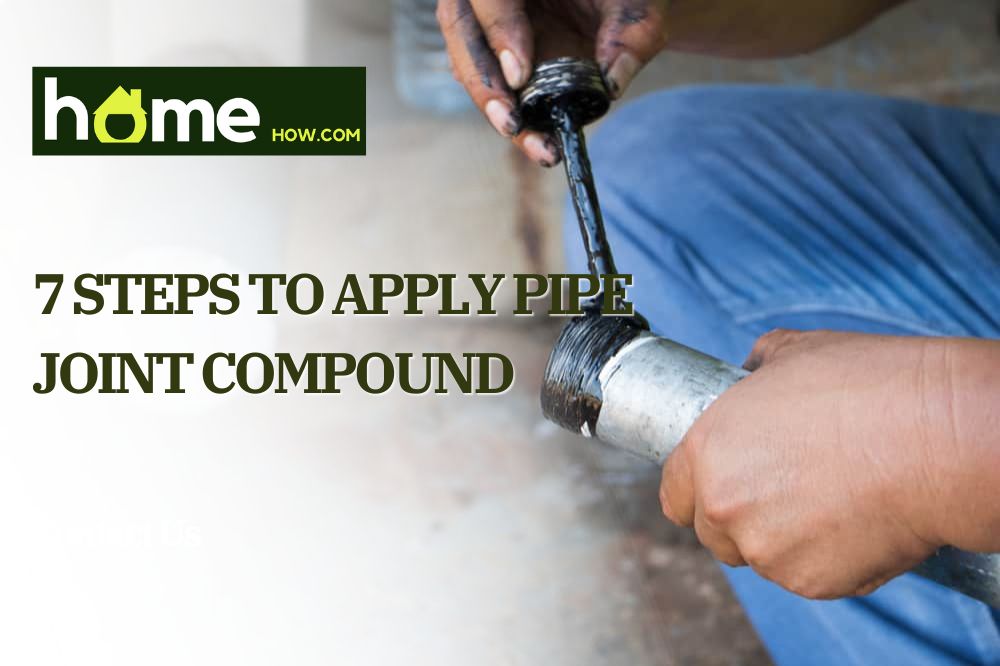
3. Use an applicator brush to apply the compound.
After the cleaning stage, it’s time to apply the compound to the pipe threads. Often than not, a pipe joint compound provides its own applicator that you can use to put the sealant. If there’s none, you may use a small, soft brush instead. It’s also best to wear gloves for added protection and to avoid mess.
When applying the compound, make sure you spread it evenly on the male threads. The male pipe fittings are the end that goes into the other tube. Do not smudge the sealant inside the pipes because this can cause blockage.
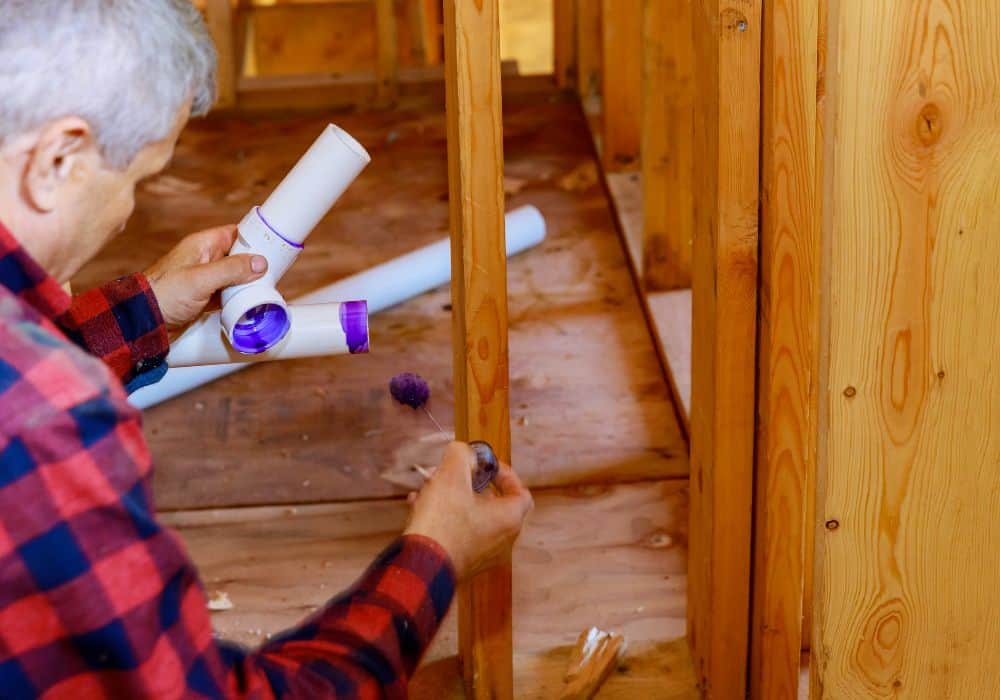
4. Start threading the pipe.
Now that the sealant is applied to the pipe threads, it’s time to thread the pipe fittings. One thing to take note of is to ensure that you do not cross-thread or thread the pipe in the other direction. This incorrect manner of threading is crucial as it can cause damage to the threads.
If you want a more secure pipeline with no leaks, plumbers suggest adding thread sealant tape. Using this kind of tape is highly apt for threaded joints that carry water.
Reminder:
Aside from being careful about cross-threading, it’s important to not overturn the joints. Joints that are overly tightened may damage the threads. More so, this could cause the expansion of the fittings, which then results in the disruption of proper sealing.
Ideally, tighten the joints using a pipe wrench, especially if these are bigger. However, if these are smaller, you may thread them using your fingers. As soon as the joints are constricted, only add one turn to ensure no leaks. Never add extra turns for the sake of assurance because you’ll end up ruining the threads.
5. Remove extra sealant on the pipes.
Once you thread and seal the pipe threads, don’t forget to wipe away extra elements to keep the pipes presentable. Another thing that you show learn beforehand is that pipe joint compound does not fully dry up.
Since this does not harden, this gives you the opportunity to unthread and adjust the pipes in the future without the need of cutting them completely. Therefore, in most cases, there is no drying time for liquid sealants. You can apply them and guarantee a secured assembly of pipes without leaks.
However, as mentioned earlier, there could be some sealant brands that require curing. Thus, be sure to read the product guidelines in advance.
6. Evaluate any possible leaks.
The role of the pipe joint compound does not end after applying the sealant. You need to assess if it works as expected―no leaks, no unusual sounds, or whatsoever. If you come across a leak near the joints, this could be due to insufficient turns to lock the joints.
Thus, you need to check if the threads are securely tightened while also making sure that these are not overturned. Another possible reason for the leak could be related to accidental cross-threading of pipes, hence damaging the threads.
Although adding another layer on the joints could appear like a great idea, it’s actually not a practical move as you are just stopping the problem temporarily. In this case, it’s important to go further into the next step, which is contacting a professional to help you out.
7. Get professional help if needed.
If you’re stuck in an unfortunate situation, it’s highly recommended that you call a plumber to fix the problem as soon as possible. They are the best professionals who can assist with all your plumbing issues.
Aside from repairing plumbing concerns, they can also provide deep cleaning for threads that are too dirty to be cleaned manually. And through their knowledge, they can give you sound judgment on whether the pipes can still be repaired or whether it’s better to purchase a new one.
So, don’t hesitate to contact these professionals if you want to maximize your time and ensure that the pipes are all in great condition. But of course, you need to shell out money for their expertise.
Conclusion
Applying pipe joint compound on your own may sound like an easy and practical plan. But in reality, it requires utmost concentration so that the solution would effectively seal the threaded joints. More so, you need to keep an eye on how you put the sealant because it may cause blockage to the pipes.
And if you’ve decided to do this simple yet crucial task all by yourself, there are several ways to purchase this chemical compound. Most hardware stores sell pipe joint compounds, although there are also lots of options online. Some of the best choices at hand include Amazon and Home Depot.