For those familiar with plumbing, you will be no stranger to PVC pipes and what they are used for. For those who are only starting to get into plumbing, or for those of you looking for DIY advice, you might not be fully up to speed on this type of water pipe.
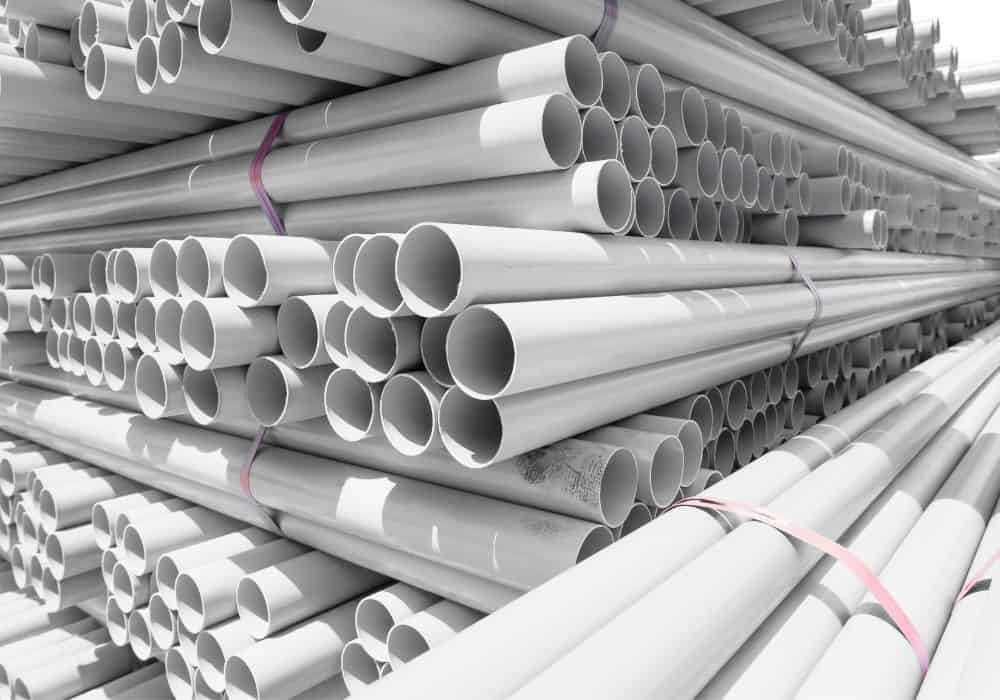
Pvc water pipes are the most commonly used plastic water pipe in the world. They can be used for drainage, drinking water distribution, and waste handling (amongst other things). The likelihood is that you have PVC water pipes underneath the sink in your kitchen and possibly also in your bathroom.
If you have been experiencing leaks in your home then you are probably looking at solutions to your problem. Today, we’re going to be looking at how you can go about capping off these PVC water pipes and how this may sort out your leaking problem.
Why Are PVC Water Pipes So Popular?
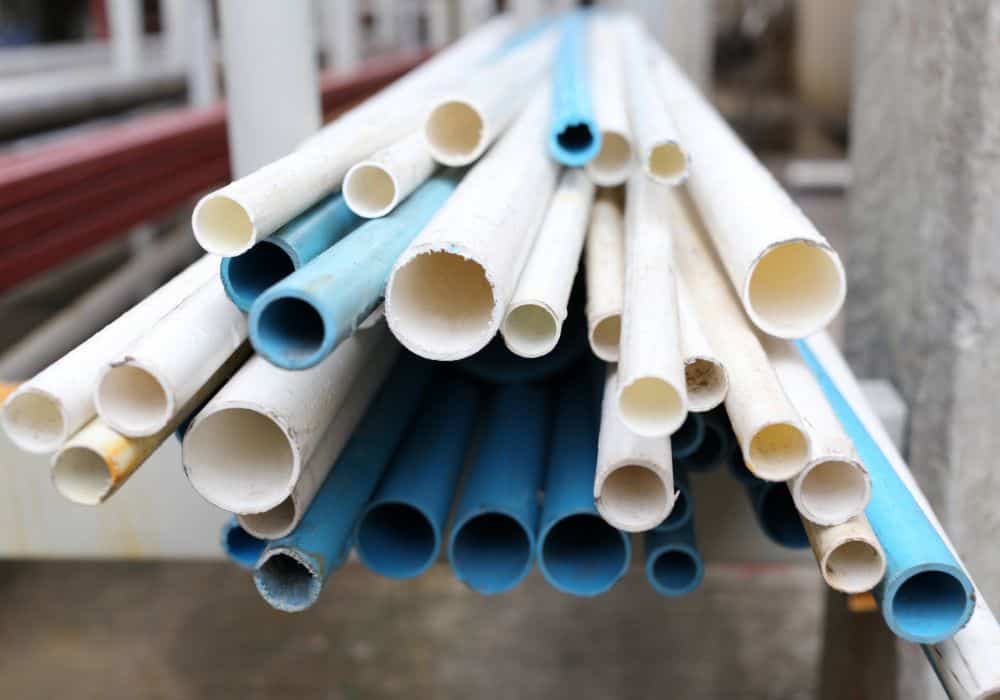
PVC stands for polyvinyl chloride and the characteristics of this plastic have made it the number one replacement for metal piping. While most people associate PVC with glue, it is just as commonly used for plumbing because it is strong, durable, and easy to fit. On top of that, it is much cheaper than the metal alternatives.
PVC pipes are also very versatile, meaning they are capable of being multifunctional. For example, they are a safe choice for pipes that funnel drinking water thanks to their resistance to corrosion. This means they are free from a type of contamination that bacteria feed off.
PVC pipes are also incredibly durable as proven by the fact that many of the PVC pipes which were first fitted nearly a century ago are still in use today. Not only is this impressive for durability reasons, but it also means that they are the most cost-effective solution out there due to the fact maintenance costs will be low.
Finally, PVC pipes are an excellent choice if you are actively looking to be environmentally friendly. PVC is a low-carbon plastic and can be recycled up to ten times. It is estimated that around 75,000 tones of recycled PVC are used for new pipe installation.
Why You Might Want To Cap Your PVC Pipes
Uncapped PVC pipes can cause a build-up of water which can overflow and cause leaks in your kitchen. By capping them, you are essentially being proactive to prevent this from ever happening.
In addition to this, many people temporarily cap their water pipes on certain occasions. The reason why you would elect to temporarily cap your PVC pipes is if you are currently undergoing a kitchen renovation or a new appliance is being fitted around these pipes. Temporarily capping your pipes during this upheaval will ensure that no water spills out of them while you are re-arranging your kitchen appliances.
For example, if you are having a cabinet fitted underneath your sink then you are going to have to cut the pipes away from the old cabinet first. To prevent these pipes from leaking any excess water while you fit the new cabinet in place, it makes sense to cap temporarily cap them.
Below, we will explain how to cap them both temporarily and permanently.
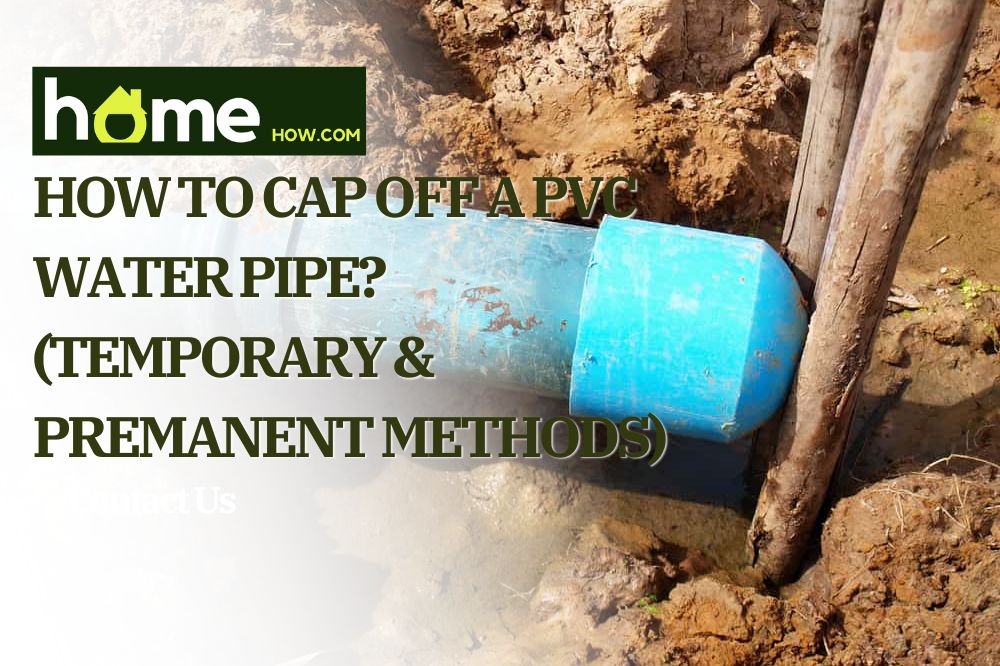
How To Cap Off A PVC Water Pipe – Both Methods
How to cap off a PVC water pipe temporarily
The first thing you need to do is turn the entire water supply in your property off. The last thing you want to be doing is cutting through the pipes and capping them with water firing at you from all angles so this is the first, and arguably the most important step of the entire process.
Once the water supply has been cut off, you are going to need to grab some measuring tape and a pencil and line up whereabouts you want to cut the pipe. You should aim for a small cut because you don’t want to have to add an extension later on if you take too much off. More importantly, though, ensure you measure up for an even cut. You are going to need to use either a tube cutter, a hacksaw, or a jigsaw to make the actual cut.
Once you have cut open the pipes, you are going to want to clean the ends with a rag. You may find that your cut has left some rigidness – you are going to need to eliminate this before you go any further. Sand the edges down with emery cloth until you have a nice smooth finish. Be careful that you don’t go over the top with this sanding because if you sand into the pipe shape then the seal won’t end up fitting onto it.
Use a push-to-connect cap and fasten it into place on the end of the pipe. Providing you made the correct measurements at the start of the process, the cap should fit like a glove. When it’s time to remove the cap later down the line, simply press down on it and it should pop back up and out of the pipe.
The final thing to do is to test out your new temporary pipe cap. So, turn your water supply back on and see if the cap holds the water in place. If it does, then there is nothing else to do and if it doesn’t, then unfortunately you’re going to restart the process all over again.
How to cap off a PVC pipe permanently
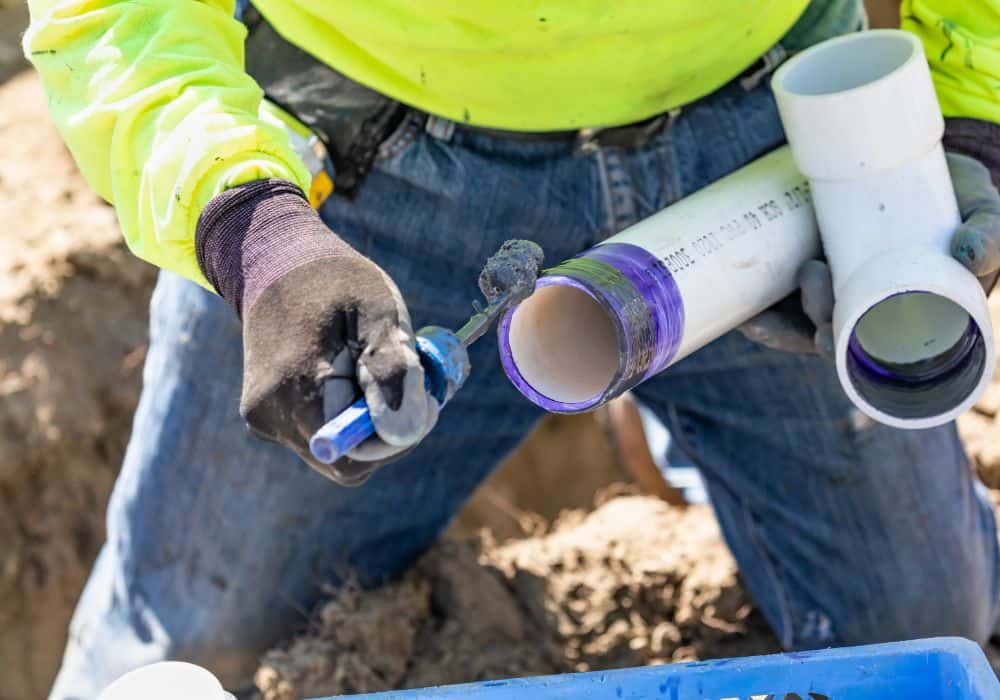
To cap off your PVC pipes permanently you are going to need some specialist equipment. So, before we go any further it’s worth noting that this process cannot be completed without PVC cement or PVC primer. If you do have both of these, then without further ado here is the process –
Just like with the temporary cap process, start by turning the water supply off in your home for the same reasons we outlined above. Once you’ve done that, measure up the pipes with your cap and take the ends off of the pipes accordingly.
Once the ends are off, smother the inner surface of the cap socket with the PVC primer that we mentioned earlier. After the cap pocket is covered in the primer, do the same to the exterior of the pipe. The primer will effectively be working as a super glue that’ll stick the two components together.
Now, place the cap socket into the PVC cement and then hold it in position on top of the pipe. Hold it in place for around ten minutes until you can feel that the cap is set in place. If you feel that it needs tightening then use an adjustable wrench to do so.
Once you feel like the cap is fully in place and isn’t going anywhere, you are going to need to test it out. The only way to do this is to turn your water supply back on and check for leaks within the pipes. If the pipe does start leaking then your best bet could be to use a hacksaw to remove the cap and add a temporary one. While the temporary solution is in place, call a professional plumber who should be able to resolve the problem for you.
Conclusion
To conclude, there are two options available to you when it comes to capping off a PVC pipe. If you are going through a kitchen renovation where your PVC pipes are going to need to be messed around with then we would recommend that you just go for our temporary solution. If the situation is more severe and you are experiencing regular leaks from your pipes, then perhaps consider our permanent solution. If the process and equipment seem too daunting, then get in touch with a local plumber.