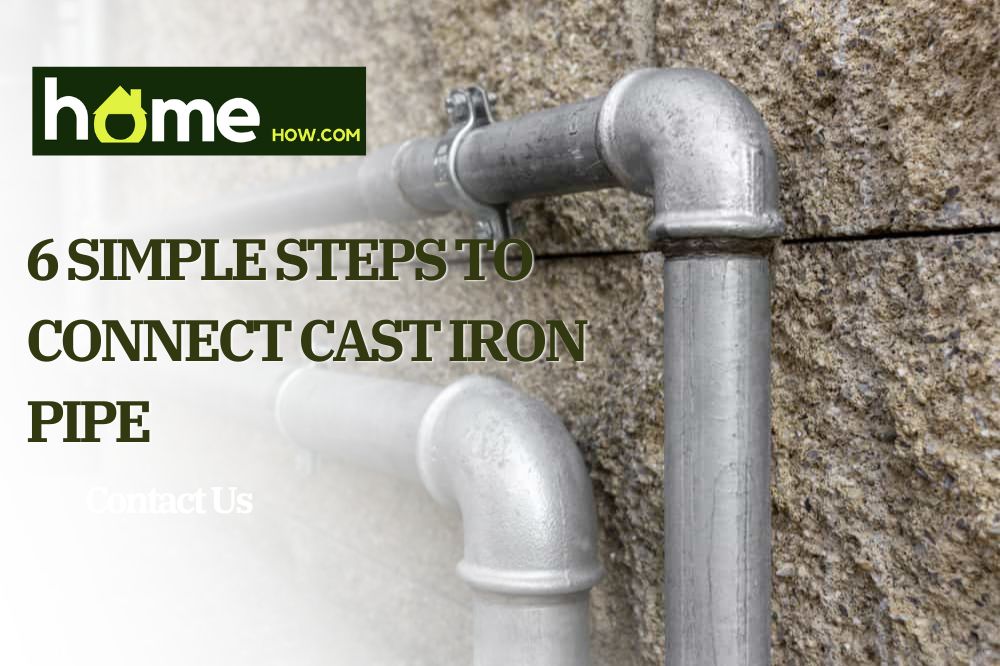
Since the 17th century, cast iron pipes have been instrumental in transporting water, gas, and sewage. And although modern pipes like PVC and CPVC are becoming more popular, there’s still something undeniably classic about cast iron.
Cast iron pipes are often the default plumbing system in many old and refurbished houses. And while they may seem dated, they are versatile pipes that can still connect with modern designs almost seamlessly.
So whether you want to repair a busted pipe, connect your system to something new, or do standard maintenance, connecting a cast iron pipe is surprisingly easy.
This article explains everything you need to know about connecting a cast iron pipe to your system. With our help, we’ll help you ensure everything in your home.
Equipment Needed
Different connecting techniques require different equipment. An extensive list of all tools is below:
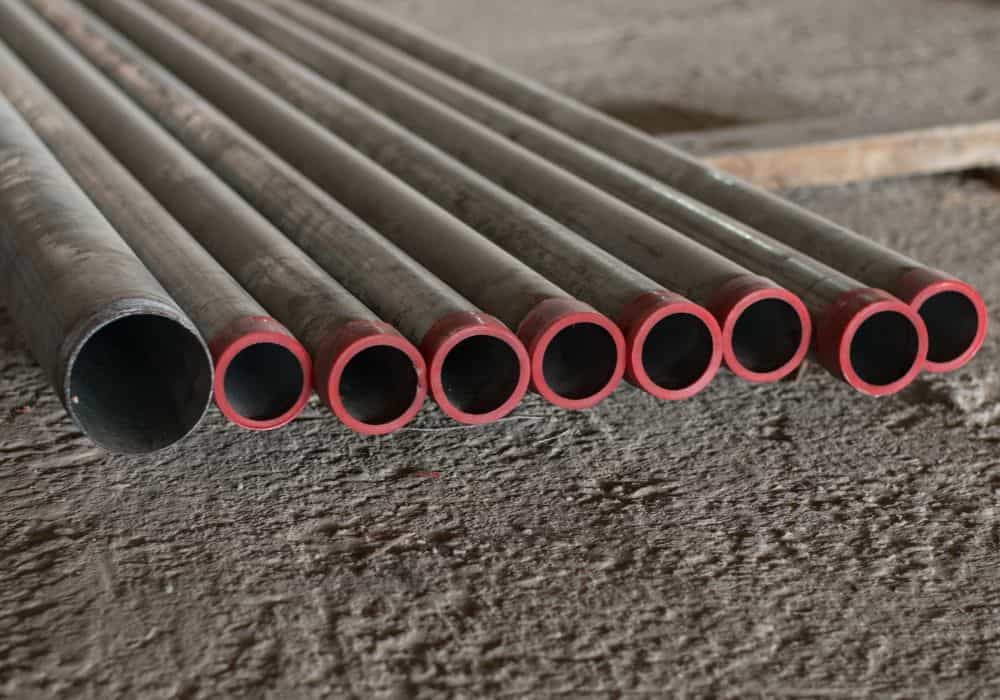
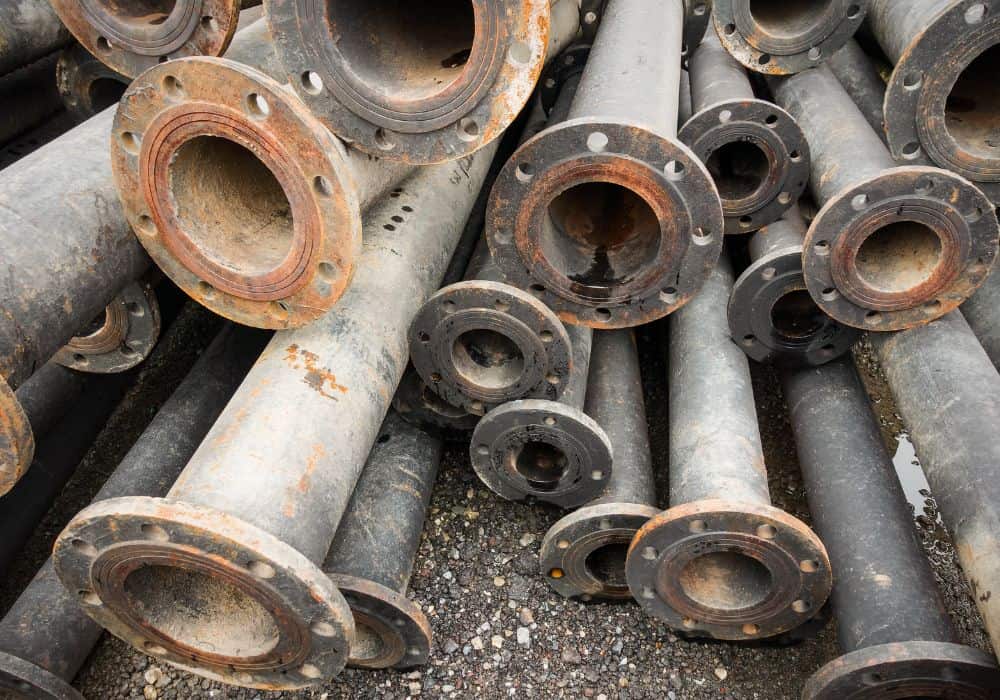
- Cast iron pipes
- Hacksaw (if cutting)
- Pipe lubricant
- Pipe couplings
- Compression gaskets
- Pipe lubricants or adhesive
- Socket wrench, screwdriver, bolts, and screws
- Oakum and yarning iron
- Molten lead
Step-by-step guide on how to connect a cast iron pipe
Despite being old, cast iron pipes are surprisingly versatile in connecting with other types of piping – so long as you have the right equipment, accessories, and technique.
How you connect them can depend on where they are placed (underground or not), whether they are laid vertically or horizontally, and what type of pipe they connect to.
Today we will explore the most popular ways of connecting them below – hubless joints, couplings, and compression gaskets, and discuss different pipe types and considerations you must keep in mind when connecting them horizontally and vertically.
Hubless Couplings method
- Before you begin, ensure that each pipe end is smooth and clean. The pipe edges should be a clean horizontal cut; avoid pipes with diagonal ends. Also, ensure the gaskets and coupling you use are clean and undamaged.
- Place a coupling on your pipe first. Please don’t push it too far, as you will pull it back over the gasket.
- Place the gasket on the end of the pipe until it hits the molded shoulder, or it won’t go any further. Then, connect your second pipe to the gasket as far as possible.
- Now, slide the coupling over the gasket. At this point, both pipes should look like their connected.
- Using a torque wrench, tighten the coupling’s stainless steel clamps from the inside out, alternating between the two. You should hear a “snap” when pipes are firmly connected.
- Depending on the coupling, you may need a 60, 80, or 120-inch-pound torque wrench.
Compression gaskets
- Ensure the pipe’s hub, spigot joints, and ends are clean, and all sharp edges have been removed. Again, ensure that the pipes used have a clean horizontal cut.
- Fold the gasket and insert it inside the pipe. Use a rubber mallet to ensure it’s completely seated.
- Grease this end with pipe lubricant, ensuring that you keep your eyes protected. Larger cast iron pipes may require an adhesive.
- Line up the second pipe and insert it into the spicket. The gasket should expand and form an incredibly tight seal around the second pipe.
- If you’ve used adhesive, ensure the pipes connect correctly before it has a chance to set. Moving the pipe may damage the structural bond.
Pro Tip: If using the compression gasket method in a cold environment, you should soak the gasket in warm water, so it remains easy to work with.
Connecting a hub and spigot cast iron soil pipe (Caulking)
A caulked joint is used in cast iron pipes when there’s a hub-and-spigot end. These connections were prevalent until the 1950s and are a common sight for people repairing and replacing older systems.
- Clean and dry the pipe’s ends and ensure you wear protective gear (including eyewear).
- Align the spigot end of the pipe inside the hub of the other tube.
- Place oakum (fiber) into the joint using yarning iron to create the seal.
- Next, pour molten lead into the joint, filling the hub’s top. The lead will solidify in around 2 to 3 minutes.
- Once cooled, you can caulk the pipe inside and outside with a caulking iron.
Tips on horizontal and vertical connection
Connecting horizontal pipes
For horizontal pipes, ensure that you use a leveler and achieve a gradual slope from one end of the pipe to the other. YouTuber How2Plumb recommends using a minimum quarter inch per ft of piping to slope your plumbing system.
This amount ensures the pipers will function correctly and prevents a backflow of contents. For suspended pipes, ensure each length of pipe is supported by a hanger no longer than 18″ away from the connecting horizontal joints. You can angle hangers to help add or correct the slopes accordingly.
Connecting vertical pipes
One of the most important factors to consider when connecting vertical pipes is that they are appropriately supported throughout your plumbing network. After all, cast iron pipes are heavy and should be able to withstand their weight, the weight of pipes above, and the weight of the contents they carry.
Use stakes or braces to secure them properly on every floor and at the base of the plumbing system. Place the supports below the hub or elbow of the pipe to prevent it from slipping down over time. You can also use a riser clamp to help “straddle” the pipe into a permanent, upright position.
Extended Tips
- While you can cut cast iron pipes by hand or with power tools, always ensure you get a square cut, i.e., straight down the line. Avoid diagonals or angles.
- Test if a pipe has cracks, snaps, or damage by running water through it before connecting it. A plumber’s epoxy can be used to fix minor faults.
- If replacing cast iron pipes, consider lining new pipes with acid resistances. This will not only protect the pipe from corrosive damage but should extend its lifetime considerably.
- No matter your method, the basic installation procedures remain consistent – ensure a tight seal between pipes at all times.
- Despite their age, cast iron pipes can connect perfectly fine with PVC and CPVC pipes, so long as you install the appropriate connectors.
- If you are connecting cut cast iron pipes, remove sharp edges. Sharp edges can make joining the pipe with the gasket seals very difficult.
- Joints can only perform with a maximum of 5 degrees deflection, at which point they will fail. If you need more of a bend, consider using a fitting.
- When cutting pipes, ensure you wear protective gear and secure the pipe properly. Use a snap cutter or diamond blade, and follow relevant safety procedures.
- Horizontally placed cast iron pipes should be supported at every hub or coupling. Ensure a slope of a quarter inch per foot across the pipe.
- With vertical pipes, support them at the system’s base and at regular intervals (like every floor). This helps alleviate weight from higher pipes and their contents. Use straps, braces, or clamps to solidify their position.
- If connecting pipes in cold temperatures, warm gaskets, and joints beforehand by immersing them in water. This loosens the fittings, allowing them to join up easier.
- Avoid placing cast iron pipes in swamps, peat bogs, or salt-laden soils, as these can rust connections quicker.
- Cast iron drain pipes can suffer from rust, corrosion, and abrasion from dirt, gravel, sand, and other debris on the inside. Use cabling or hydro-jetting to maintain and make them last longer. You can also use a water softener to control the pH found in your pipes.
Conclusion
Cast iron pipes are a classic way of carrying water, sewage, and gas around our homes, towns, and cities. They can even be used to vent or transport gas, and despite their perchance of rusting, these soundproof drain pipes are still a hugely popular form of plumbing.
Moreover, old cast iron pipes can be connected to modern PVC pipes with just a little patience, guidance, and proper equipment, making them a versatile option.
With our step-by-step instructions, homeowners of any skill can connect pipes safely and securely, ensuring they stay in place and functional for many years to come.
That said, if you do have any questions on the process, do leave a common below. But if in doubt, remember these three crucial points when assessing the task ahead:
- Cast iron pipes require tight joints and gaskets to connect correctly. Warming these parts before an application can help you fit them securely.
- When placing horizontal pipes, ensure there’s a gradual slope to the system.
- When playing vertical pipes, ensure adequate support for the weight of pipes.