
Are you a certified DIY enthusiast? Then, you may have done several plumbing tasks in your household. It could be the construction of your drainage system or perhaps the installation of a water supply for your toilets, showers, and kitchen sinks.
And if you want to learn how to connect a waste pipe to a soil stack, then you’re right on track. Through our detailed guide, you’ll learn about waste pipes and soil pipes in general as well as the key processes of connecting the two.
Why picking the right pipe is crucial?

There are several types and pipe sizes in the market, and each of them is specifically designed for a certain need. In this guide, we will discuss the two relevant pipes―waste pipe and soil pipe―so you can easily understand how to connect and link them to the main drainage effectively.
- Waste pipe
From the name itself, a waste pipe refers to the tubes that carry all greywater from various equipment in your household that use water. These include the bathroom, sink, shower, washing machine, and dishwasher. Do take note that the waste pipe needs a pan connector to link it to the soil pipe.
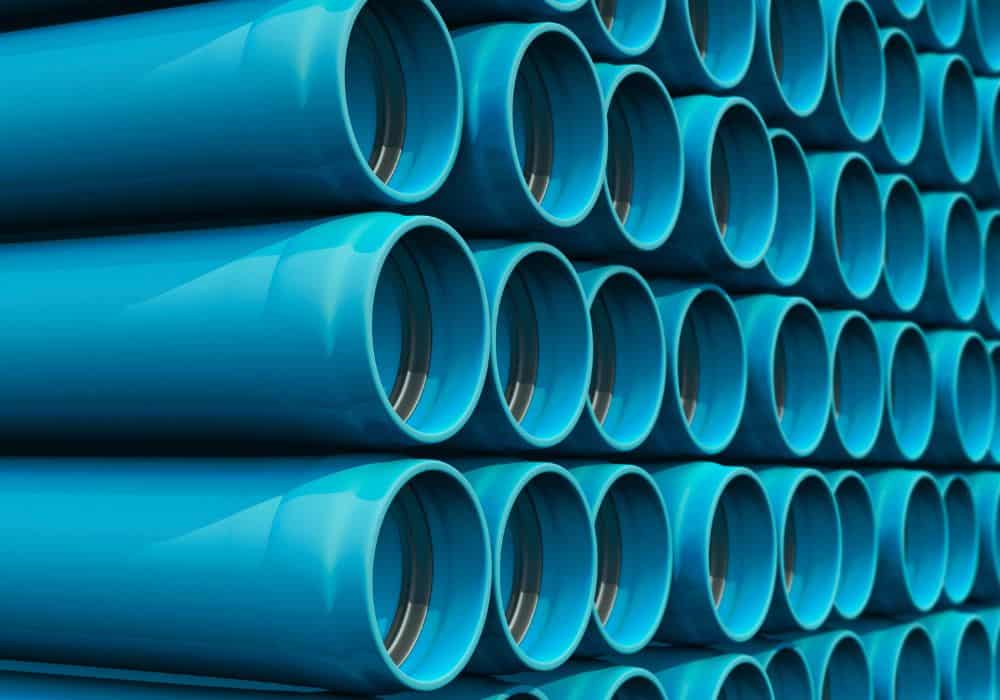
In general, waste pipes are smaller in diameter as these are only outlined to transport water away from the house. Some of the common sizes include 32mm for small hand basins, 40mm for baths and sinks, and 50mm for commercial properties. Meanwhile, plastic waste pipes are the best option.
- Soil pipe
Soil pipe, on the other hand, is the tube assigned to carry sewage or blackwater from the urinal, toilet, bidet, sink, and such. This particular pipe then transports the wastewater to the sewer or drain. Distinguishing soil pipe from other tubes is quite easy as this is mainly situated outside.
Also called a soil stack pipe, you can be found this tube running vertically from the top of the property or area near where the bathroom is located. The primary reason why this is situated near or above the gutter is to ensure safe venting into the atmosphere.
Then, it runs through the underground drainage system and into the sewage treatment plant. In general, soil pipes are made from plastic and are typically bigger than waste pipes. The connection of the waste pipe to the soil stack, and then to the main drainage covers the entire soil stack system.
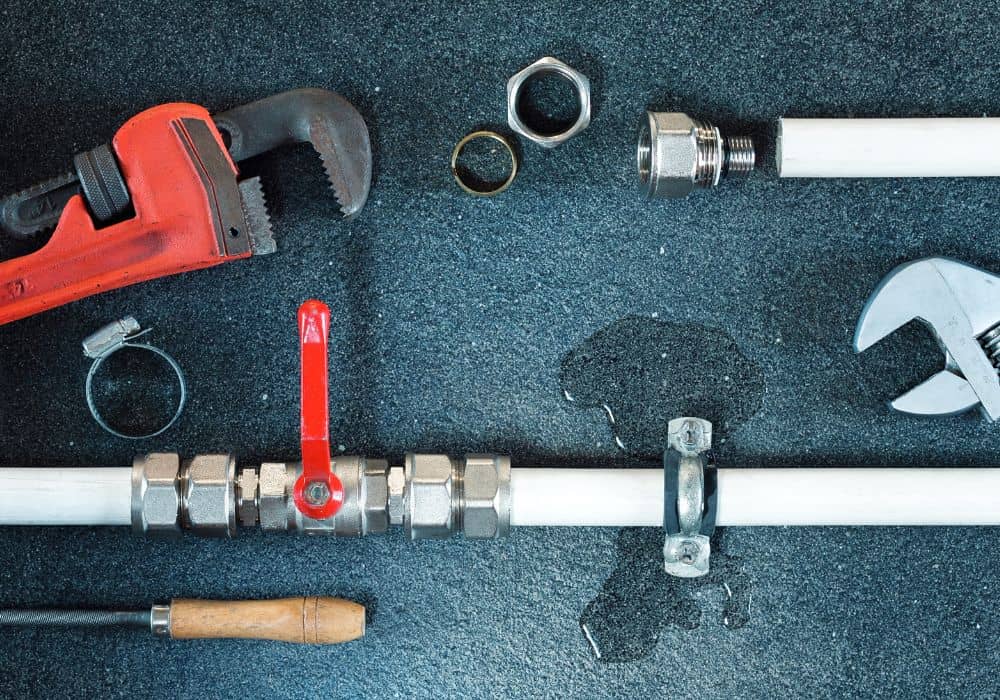
What are the materials that you should prepare beforehand?
Considering that you have understood the process of connecting the waste pipe to the soil stack, you can now purchase the materials in advance.
- Soil stack
- Waste pipe
- Short boss pipe or strap-on boss
- Boss adapter
- Solvent, push fit, or compression fit
- Diamond twist drill
- Marker
- Sandpaper
Likewise, don’t forget about the sizes of the pipes. If you are unsure, you may ask for assistance from the hardware retailer clerk in your area.
How to connect waste pipe to soil stack?
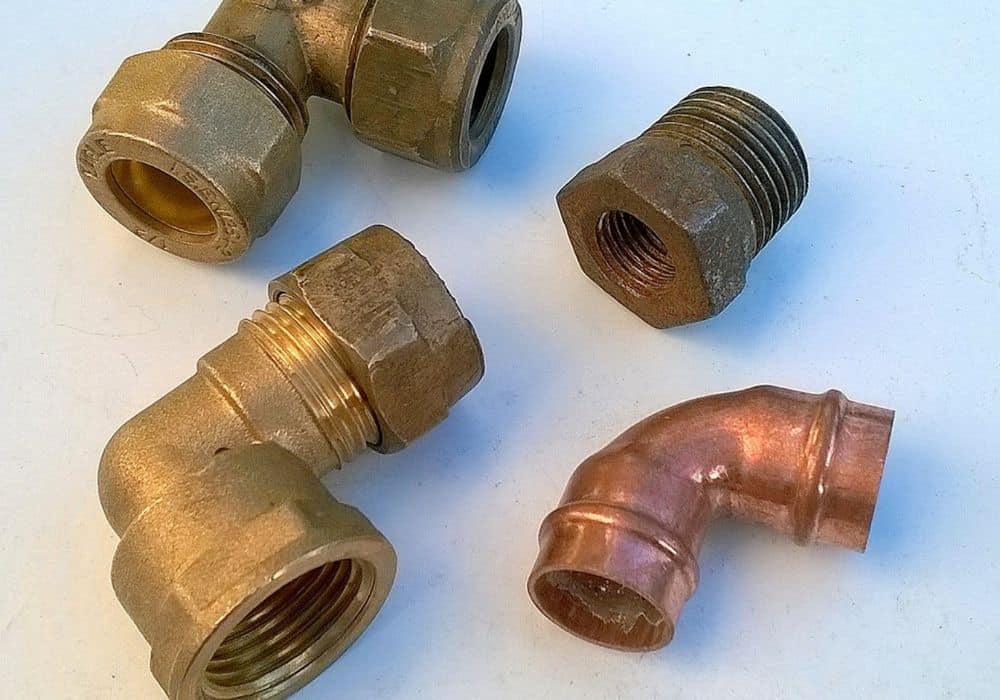
Now that you uncover the key features of both waste and soil stacks, it’s time to comprehend the process of connecting these two pivotal pipes. But before that, you need to understand that aside from the variety of pipe sizes, you also need to consider the connection types.
And by connection types, we are referring to the materials used to connect the waste pipe and soil stack. The most popular connection types include push fit, compression fit, and solvent. Accordingly, you need to pick the one that fits the needs of your pipe.
1. Be consistent with the pipe system in your household.
With an extensive selection of pipe sizes and styles, you might be overwhelmed with the choices at hand. Therefore, it’s critical that you know the major features as well as the differences between each piping system. And when we say consistency, it does not mean having only one type of pipe.
It mainly focuses on the way pipes are linked to one another. Once you have recognized the system in your household, it’s best to follow this all throughout. Below are three general ways to link pipelines.
- Solvent weld ― this uses a specific solvent that is diffused to the joint interface. As the solvent pipes connect to one another, this becomes non-removable.
- Compression fit ― this capitalizes on a threaded twist lock to link the two pipes together. And to remove this, you need to untighten the lock.
- Push-fit ― this utilizes a rubber O-ring to push the pipes together. This can be easily pulled apart if you need to make adjustments.
2. Make sure the waste pipe is securely connected to the drain or areas needed.
It’s crucial that the pipe connection from the toilet, kitchen, and the like is properly installed so it goes through the waste pipe and into the soil stack smoothly. Since the excretion of wastewater comes from various sections in the house, then there should also be systemized line.
This is pivotal as all blackwater and sewage must go through one soil pipe and into the sewer system. Having only one soil stack is highly recommended to eliminate transient pressure issues as well as improve the efficiency of the drainage system. In addition, this saves space and costs on materials and labor.
3. Identify where should the soil pipe run through the walls.
Once you have ensured the proper connection of the waste pipes within your household, it’s time to determine where the soil pipe should run. And since it’s best to have only one soil pipe, you should properly select the location where it’s convenient for everyone.
In choosing the area to put the soil stack, there should be no obstructions along the way. As much as possible pick a side in your home that does not have other pipework or cable. And ideally, this should be a soil vent pipe to allow sewage gasses to be released naturally into the air and limit nasty odors.
A soil vent pipe features a top that has no cover, which means it is open to the air. This serves as a neutral pressure system, where the pressure inside the pipe becomes one with the pressure outside. As a result, both gases and solids shift in different directions without generating a suction effect.
4. Start drilling from the inside.
After picking the location, use a diamond twist drill to ensure that you open up holes smoothly. This is the perfect tool used by plumbers. So, if you don’t have one, might as well invest since you can use it on other plumbing works and home renovations.
When drilling the hole, you have to be careful as you might create an opening that is too big. To avoid this, you can trace the pipe’s circumference and drill small holes starting from the center. Try to leave a margin so you can still make adjustments in case of problems.
You may then take a hammer and cold chisel to remove the surface at the center. Moreover, it’s quite common that the wall would not be that appealing after this step, so you need to prepare yourself for the re-plastering and re-painting.
5. Ready the soil pipe for installation.
The next step would be to steady the soil pipe stack outside. Afterward, prepare the boss connector and link the waste pipe to the soil stack’s boss connection. And if there are multiple boss connections, it’s highly recommended to add an access plug.
The access plus serves as the cleaning eye of the plumbing system since it provides you access to the waste system. This is significant for plumbing inspections, especially if there is a blockage in the pipe. It helps you determine the problem so you can remove unwanted elements without destroying the pipeline.
Aside from the typical boss pipe fitting, you may opt for a strap-on boss pipe instead. Whatever you pick, you will need to create a hole in the soil stack. Hence, you’ll need the diamond twist drill again. You may use a marker for guidance. Then, use sandpaper to smoothen out the edges of the hole.
6. Add a boss adapter.
If the soil pipe and boss pipe are linked, you can now add the boss adapter, which is used so that the boss connector size fits the waste pipe size. And to ensure that the boss fitting is securely connected to the waste pipe, you’ll need to choose a pipe system.
As mentioned earlier, there are three ways to attach the pipes and connect them to the main drainage. Depending on your preference, you may choose solvent welding, compression fitting, or push fitting. As long as the pipe connections are the same, there won’t be compatibility issues along the way.
Conclusion
As a property owner, it’s crucial to be knowledgeable of the plumbing fixtures and processes. And one of the most important things that you should know is the soil stack system, which is a must in residential properties and even small commercial stores.
So, if you’ve decided to do the soil stack connection on your own, prepare all the tools and materials beforehand. Lastly, follow the steps thoroughly and make sure that all the pipe connections are secured to avoid inconveniences in the future.