If cutting or dealing with glass is not in your job description, you probably feel slightly uncomfortable thinking about doing something like this. Glass is quite fragile, so you have to be more gentle and experienced in cutting it than you would have to be with some soft materials.
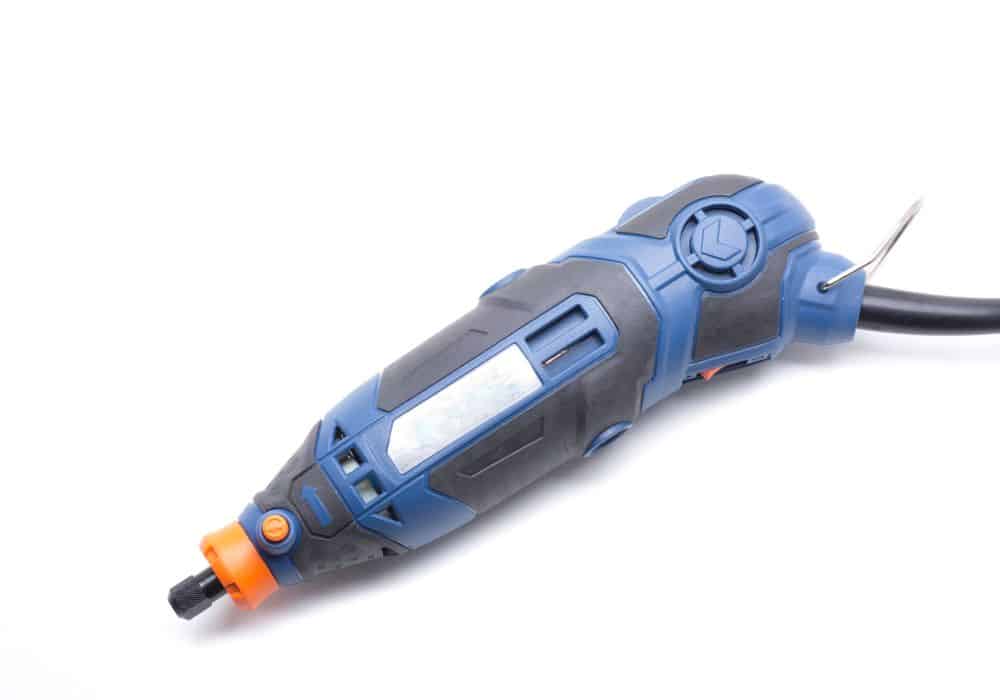
However, you shouldn’t worry too much because there is a solution for everything. When it comes to cutting glass, that is Dremel’s rotary tools. Dremel is a brand of power tools characterized by high quality, longevity, and remarkable versatility.
The list of Dremel tools, attachments, bits, and their application cases is quite extensive, but we will concentrate only on cutting glass. Thanks to the Dremel cutting bits for glass, you can do almost anything you can think of with this material. And not only with ordinary glass – other types of material, such as fiberglass and plexiglass, are also on the table.
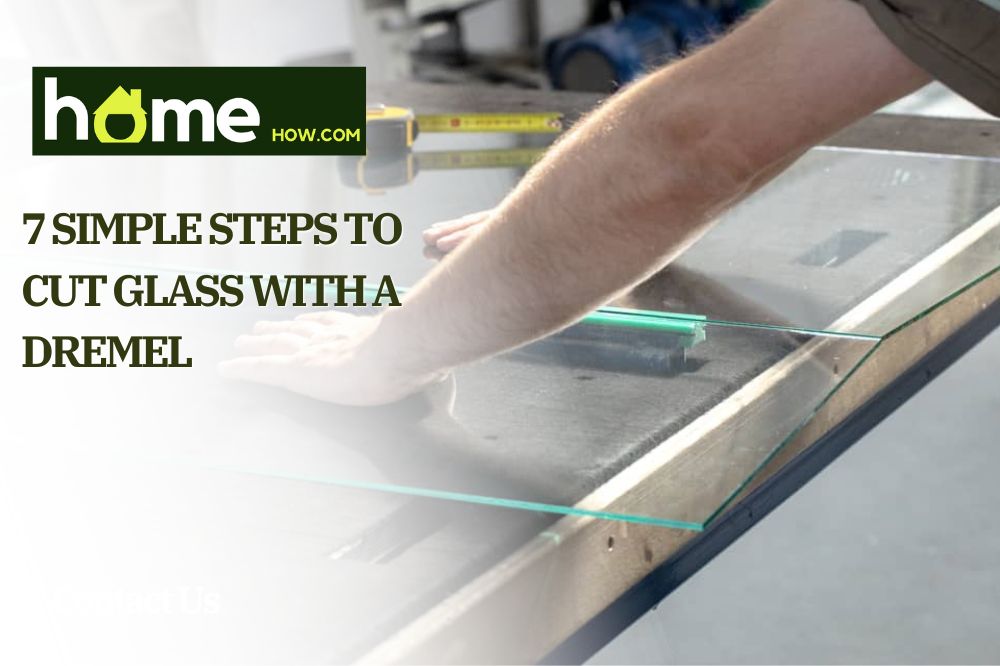
In this article, we bring you a step-by-step guide on how to cut glass with a Dremel, what you need for this, apart from the Dremel rotary tool, of course, and what measures you should take to make everything go smoothly.
As a bonus, we will throw in a few ideas that might help you stimulate your creative side and start the craft project journey.
Step-by-step Guide On How To Cut Glass With A Dremel
It’s time to learn how to use a Dremel to do what we want precisely. But, before we start the cutting task, it is essential to take all measures to ensure that this process goes without any problems. To be prepared is half the victory.
Step 1: Safety First
Safety is a must in any workspace, which is why you should wear gloves, some kind of dust mask, and glasses for eye protection when cutting glass.
You never know what can happen. For example, small pieces of glass can easily end up in your eye or face.
After you’ve been cutting for a couple of minutes or sometimes even seconds, you will find some glass debris as well on the very surface where you cut. Although tiny, it can cut your hand. This is where gloves come in handy.
Step 2: Surface For Cutting Glass
Depending on the size of the glass you will cut, you may need a cutting surface. Something like a kitchen table, or a larger table that is big enough, is ideal. You don’t want tiny pieces of glass falling all over your house or garage.
To be able to pick up all the glass dust easily but also not ruin your table, place a sheet or some kind of cloth on it. When you are done cutting, you will empty the cloth into a trash can.
If you are not cutting a small object, such as a light bulb or a wine bottle, but an entire window pane, for example, covering the table with some fabric or sheet has additional functionality, which is preventing the glass from moving during the process.
Step 3: Mark the Line Along Which You Will Cut

We are getting close to the big moment, but there are still a few steps we have to take in order to succeed in doing what we envisioned.
The next step on the list is to mark the line along which we will cut the glass. Of course, some people like to cut freestyle, but a permanent marker will be more than helpful if you need to cut it in straight lines or a specific shape. It is important that you use waterproof ink for the reason that we will explain to you shortly.
After drawing a line, stick masking tape on top of it. Glass is a very sensitive and sharp material, and masking tape helps us deal with both of these qualities.
How? Well, when it comes to sensitivity, the tape will ensure that pieces of glass do not separate and thus destroy or spoil the shape you want to achieve. And as for sharpness, when you cut the glass on which there is tape, the possibility of glass debris scattering all over the place is practically reduced to zero.
Step 4: Pick The Proper Bit
There are dozens of Dremel bits that are used in working with glass, but they all can be divided into two groups: those that are used for drilling holes, which can be found under the name glass cutting bits, and those that are used for straight line cuts, i.e., wheel-style Dremel bits.
Before you decide to cut, you must figure out exactly what you want to do and buy the appropriate accessory.
Step 5: Cool Down The Glass
We said that you should use waterproof ink to draw the line along which you will cut. The reason for this is that you will need to immerse the glass in cold water before you start cutting.
You can even do the entire cutting process under running water if it is a smaller item. If you do not do it under running water, you can stop cutting every now and then and submerge the glass again to cool it down.
Glass cutting is a sensitive process, and if you do not handle the rotary tool carefully, some cracks and breakages may occur. The cold water helps to reduce the possibility of something like this.
If you want to go a step further, you can use some cooling liquid. It’s better to be safe than sorry!
Step 6: Make The Cut
Now that we’ve taken all the precautions, it’s time to do the most important part – cutting.
We emphasized that Dremel tools are very high quality and probably the best for cutting tools, but don’t rely on them to do everything.
These are tools that use very high RPMs, meaning their use is not as simple as using a glass cutter knife, for example. To avoid ruining the glass and obtain satisfactory results, you need to get used to the speed of these devices and handling them.
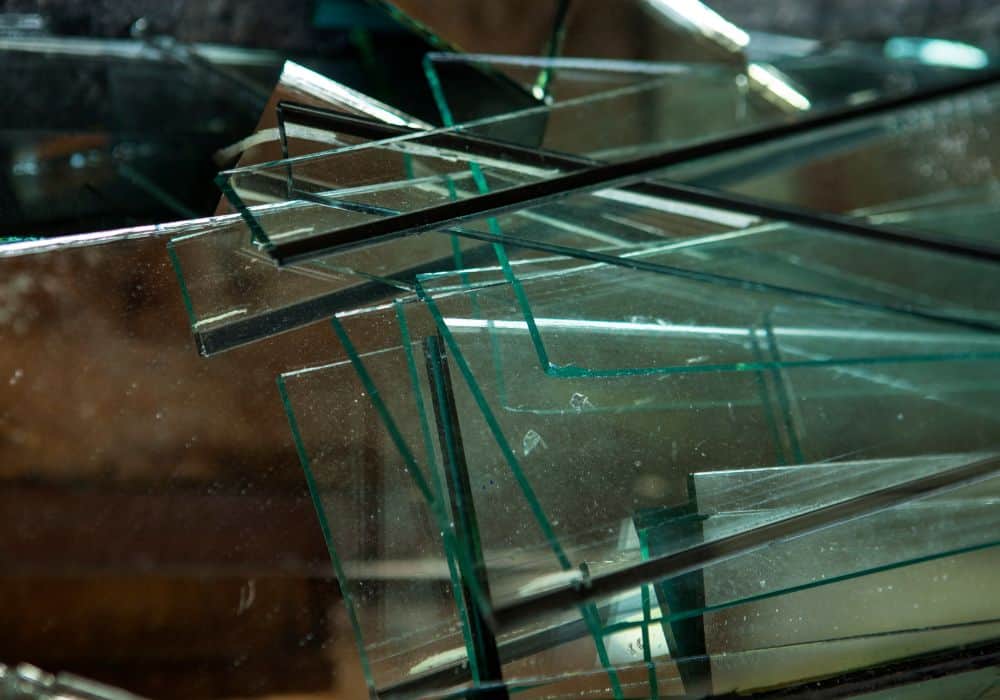
If you are not sure that you will succeed the first time, you can practice on some broken pieces of glass or a bottle that you no longer need.
Now let’s start cutting the real stuff. When you start working with the Dremel tool, hold it at a 45-degree angle to make a cut or hole, as this will help “prepare” the glass for what follows and not shatter it.
While cutting, gradually increase the angle between the Dremel and the glass to 90 degrees to achieve the desired cut. This part is especially important if you work with a drilling hole bit.
Continue cutting with the Dremel until you are done.
Step 7: Smooth The Cut
Dremel tools are great when it comes to dealing with glass, but glass is very tricky, so don’t expect the cuts to be perfect and smooth. After you have finished cutting, you will need to smooth the spots where you made the cuts to achieve the desired fine result.
Detach the glass-cutting bit and attach the grinding bit or, even better, the sanding bit. Of course, you will also have to obtain one of them before you start your work. After turning on Dremel, lightly go over the surface with the rotating bit to smooth it and remove those sharp and rough edges. Do this until the entire cut is smooth.
Last but not least, take the water sandpaper and repeat the last part. These finishing touches will ensure that the cut looks as even and refined as possible.
What Can You Do With A Dremel?
If you are unsure what can be done with a Dremel but still want to play around with it or start a new hobby, we will give you a few ideas.
For example, you can turn an old wine bottle into a vase, a jar, or a drinking glass. Repurpose a light bulb or a piece of ordinary glass as a decoration or accessory. If you have a partially broken mirror that looks ugly or maybe even a “normal” mirror that you just want to transform into something fancier, why not use a Dremel?
And if you’re feeling extra creative, you can transform small glass stones into unique earrings. You can also drill holes into them or color pieces of glass and make an elegant necklace. The possibilities are endless.
Conclusion
We hope this article was helpful for you in learning how to cut glass with a Dremel. To recap, let’s make a short bullet list of how to do it:
- Secure yourself and the work area with a mask, glasses, and gloves
- Find the surface on which you will cut and put some cloth on it
- Mark a line along which you will cut
- Choose the correct bit for drilling or cutting
- Submerge the glass in water to cool it
- Cut the glass
- Smooth and refine harsh and uneven parts
- Have fun!
For anything else you are interested in regarding this topic, please use the comments!