
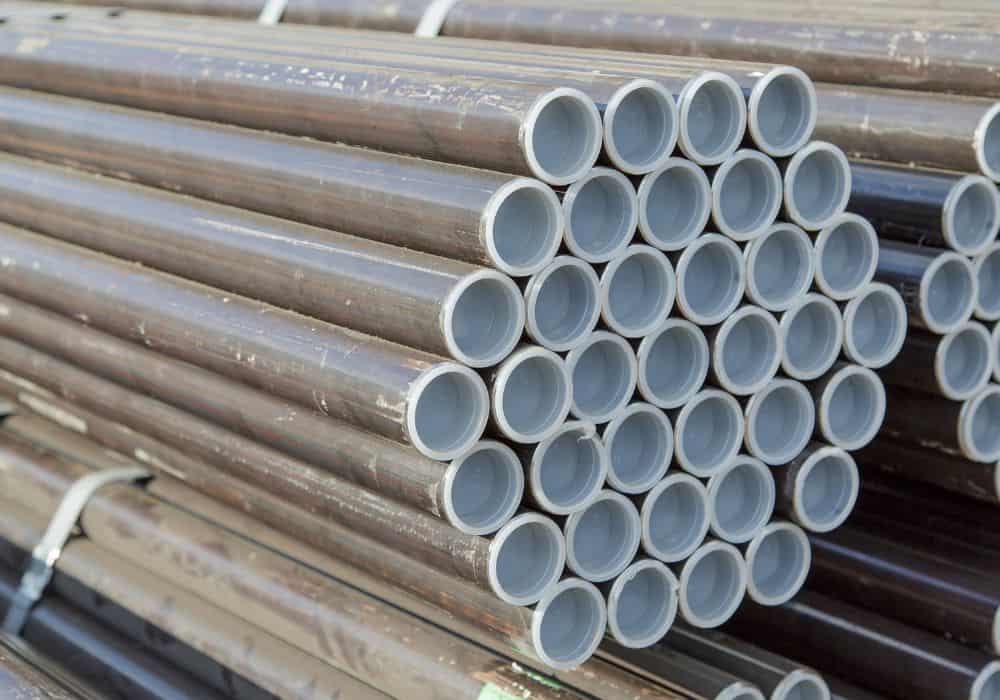
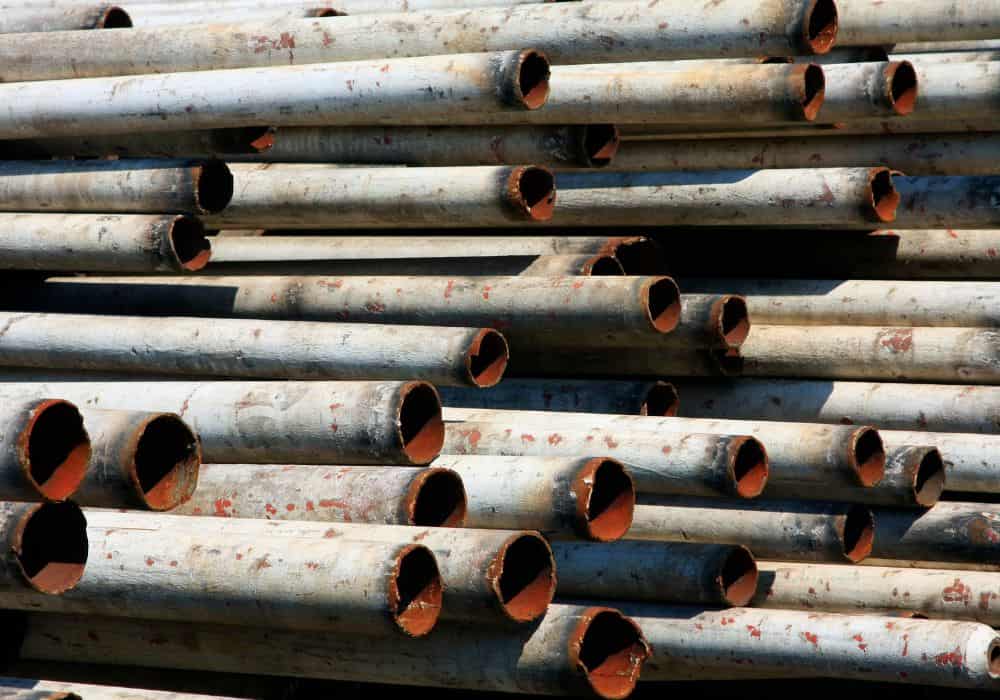
Iron pipes are a common sight in many homes. They are used for a variety of purposes, such as carrying water to and from appliances and fixtures and are also a popular choice for do-it-yourself projects.
If you need to cut an iron pipe for one of your DIY projects, there are a few different ways to do it. In this article, we will show you how to cut iron pipes using a hacksaw, a reciprocating saw, and an angle grinder.
Tools You’ll Need To Cut Iron Pipe
- Meterstick/Ruler/Chalk/Crayon – To Measure The Pipe
- Marker/Pencil – To Mark The Cut
- Hacksaw/Reciprocating Saw/Angle Grinder/Snap Cutter – To Cut the Pipe
- Sandpaper/Belt Grinder/File – To Deburr The Pipe
- Cut-Resistant Gloves
- Eye Protection (Face Shield Prefered)
- Ear Protection
Step By Step Guide: How To Cut Iron Pipe
Step 1: Measure and mark the pipe
Measure the length of the pipe you need to cut, then mark it with a pencil, marker, or chalk. It is important to make a straight, clean cut, so take your time and make sure the mark lines are accurate. Properly marked lines increase the chance of properly cutting the pipe.
Step 2: Put On Safety Gear
Before you start cutting, it is important to put on the proper safety gear. Regardless of your cutting method, it’s going to produce small particles of metal, that can get into your eyes and cause irritation.
The gloves are required so you avoid injuring yourself with the cutting tool. To guarantee safety, select cut-resistant gloves.
Finally, wear ear protection if you’re going to use a hand-held angle grinder, because they can be as loud as 95dB, and that’s enough to injure your hearing if you’re not wearing any protection.
Step 3: Select the Right Tool For Cutting
There are many different tools you can use to cut a cast iron pipe. Each of them is capable of producing clean cuts but comes with its own advantages and disadvantages. Some of the most commonly used tools are as follows:
- Hacksaw
For most people that only need to cut a metal pipe once or twice, the hacksaw is the best option, because chances are, you already have it in your toolbox. It’s a simple hand tool that is used to cut metal. It consists of a handle and a blade that is attached to the handle.
The blade is often made of high-carbon steel that is hardened and tempered, making it capable of cutting metal. However, it has many downsides.
It’s by far the slowest and most tedious option, and we recommend you use it only if it’s the only tool you own, or if you’re on a tight budget because hacksaws are much cheaper than other tools
Keep in mind that while it’s the most straightforward tool to use, it’s pretty difficult to get a precise, clean cut with it, and the quality of the cut heavily depends on your experience. That’s why we recommend using it only as a last-resort option.
- Reciprocating Saw
The next option is the reciprocating saw, which is a power tool that is often used by plumbers and electricians. It consists of a blade that reciprocates, or moves back and forth, at high speeds. This makes it a very efficient tool for cutting metal.
The main advantage of the reciprocating saw is that it’s fast, and can easily make clean precise cuts. However, it can be difficult to control, so it’s not the best choice for beginners. It’s also much more expensive than a hacksaw and will run you about $100.
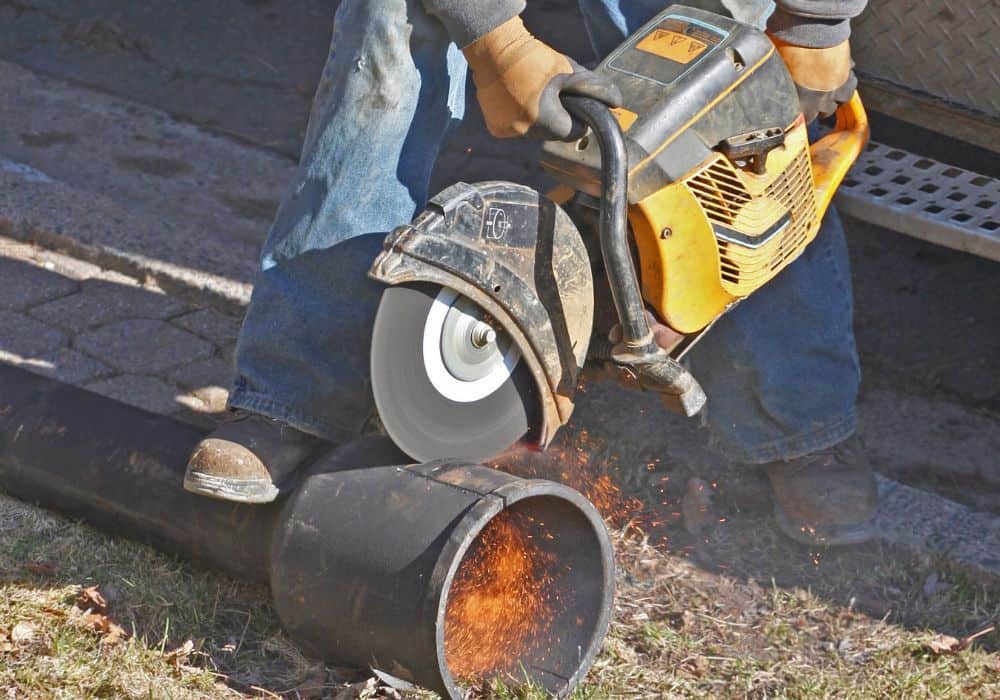
- Angle Grinder
An angle grinder is another power tool that is used to grind, sand, polish, or cut materials, including cast iron pipe. It consists of a handle and a spinning disc that is attached to the handle.
The best thing about an angle grinder is its versatility. If you need to do any other work around your home, it’s a handy tool to own. Unlike hacksaws, reciprocating saws, or snap cutters, which can only cut, an angle grinder can be useful in other tasks.
It’s also a much cheaper tool than a reciprocating saw or a snap cutter, and you can get an angle grinder for as little as $50. We would recommend using an angle grinder if you plan on doing other projects in the future.
- Snap cutter
Finally, we have a snap cutter, which offers another handheld method for cutting an iron pipe. It’s a specialized tool for this purpose and consists of a chain that’s made of small cutting wheels.
The advantage of the snap cutter is that it’s very fast, efficient, beginner-friendly, and relatively safe to use. It’s the fastest way to cut an iron pipe, and it’s much easier to make a clean cut using a snap cutter than other tools mentioned before.
However, it’s also the most expensive option, and while you can find ones for as little as $100, decent-quality snap cutters start from about $500.
If you only need to cut a single pipe, this option, albeit a great one, is simply not worth it from a financial standpoint. We only recommend snap cutters if you need to cut many cast iron pipes, especially of large diameter.
Step 4: Cut the Pipe
Once you have your safety gear on and have selected your tool, you can start cutting the pipe. The process depends on the tool of your choice.
- Using a Hacksaw
Begin by inserting a new blade of the hacksaw, and start sawing. It is important to maintain a firm grip and keep the blade perpendicular to the pipe to ensure a straight, clean cut. Unlike using other tools, a hack saw will require a lot of effort and energy, so prepare for a tedious task.
Here’s a quick YouTube video showing how to use a hacksaw.
- Using a Reciprocating Saw
Start by inserting the blade into the pipe at the mark. Then, start the saw and guide it along the mark. The saw will do most of the work, but you will need to apply pressure to keep the blade in contact with the pipe.
- Using an Angle Grinder
Start by holding the disc of the grinder against the side of the pipe at the mark. Then, start the grinder and guide it along the mark. Maintain consistent pressure on the pipe and let the disc cut it for you.
- Using a Snap Cutter
For those using a snap cutter, you have to first put on the cutting chain around the cut lines that you’ve marked on the pipe. Make sure that the cutting wheels fall in a straight line. Now, squeeze the handles of the tool, until it successfully cuts the pipe.
Step 4: Deburr the pipe
After you have cut the pipe, there will be burrs on the edges. To ensure proper installation and longevity of the system, you must remove the burrs before installing the pipe. They can be removed with sandpaper, a belt grinder, or a metal file:
- Using Sandpaper
The most straightforward method of deburring a pipe is sandpaper. You might use a sanding block for convenience, but if you don’t own one, most solid items that have a flat surface and fit in your palms can do the job, including wood blocks.
To do so, start with coarse-grit sandpaper, something around 50-grit, wrap it around a block of wood for more comfortable handling, and start sanding the rough edges away.
As you keep deburring the pipe, up the grit of your sandpaper, going from coarse to finer grits.
- Using a Belt Grinder
A belt grinder is a power tool that can be used to deburr pipes. It consists of a rotating belt that is covered in abrasive material. The abrasive material can be anything from sandpaper to diamond dust.
To use a belt grinder, start by holding the pipe against the belt at a 45-degree angle. Then, start the grinder and move the pipe along the belt. As you move the pipe, the belt will remove the burrs from the pipe.
- Using a File
Hold the file at a 45-degree angle to the edge of the pipe. Then, move the file back and forth until the burrs have been removed. Just like using sandpaper, it’s a manual and tedious task but works just fine if other options aren’t available.
Step 5: Clean Up The Area
Once you have deburred the pipe, you will need to clean up the area. The best way to do this is to use a vacuum. Simply insert the vacuum hose into the pipe and turn on the vacuum.
The vacuum will remove any debris that is left behind. If you don’t have a vacuum, you can also use a brush. Simply insert the brush into the pipe and move it back and forth until the debris is removed. Once you have cleaned up the area and the pipe, you can install it.
Extended Tips For Cutting Iron Pipe
- If you are using an angle grinder, be sure to use diamond wheels, not grinding wheels. It applies to cutting tools as well. Make sure you’re always using a suitable blade for the task. For example, use diamond blades with reciprocating saws.
- If you are using a hacksaw, you may find it easier to cut if you cut the pipe from below. Simply install the blade upside-down, and cut as usual.
- Always wear safety glasses when using power tools.
- If you are cutting a pipe that is carrying water, you will need to turn off the water before you start cutting.
Conclusion
Cutting cast iron pipe at home isn’t as daunting as it might appear at the first glance. To cut the pipe, follow these steps:
- Measure and Mark the Pipe
- Choose Your Tool
- Put On Safety Gear
- Cut the Pipe
- Deburr the Pipe
- Clean the Area
If you have any other questions regarding cutting an iron pipe, let us know in the comments!