Push-fit plumbing fittings are one of the most efficient fittings sold in hardware stores today. As a result, they have become increasingly sort after due to their easy application and features. The disparities between push-fit fitting and other plumbing fittings like solvent-gluing and sweat-soldering are primarily its easiness in application and connection durability. And these are the essential features that make for a good plumbing fitting.
This plumbing fitting has a swift installation time, so regardless of the emergency, you can’t be worried about how much it will take to fix or install it. Additionally, it can be removed and repositioned as fast as it was installed, making repairs relatively quick. The fitting tightly grips pipes with the aid of round stainless teeth inside it.
Push-fit fittings connect plastic tubes, such as CPVC, PVC, PEX tubing, and strong copper pipes. They are in different materials and designed for various applications in almost all pipe types for water supply in the home, such as those bins, shutoff valves, hose bibs, and hookup hoses. Thus, most pipe types have a push-fit fitting best for them. However, these plumbing fittings cannot be used for galvanized steel pipes and soft copper.
Do you need to fit push-fit pipes or know how to use them? Since this plumbing fitting type is arguably one of the easiest to use, it wouldn’t be a problem fixing it yourself. You are not required to use any additional tools or strain yourself immensely. This article will teach you how to make pipe connections with push-fit fittings. But first, let’s get to know the push-fit fitting better.
Features of push-fit fitting
Push-fit fittings have different features, making them an excellent choice for connecting pipes. Are you still not convinced about the push-fit plumbing connector? Here are some of its features that could help you make up your mind:
1. High industrial quality
The fitting has quality interior and exterior components. It uses a stainless steel ring that grips the pipe firmly and prevents corrosion. Additionally, the O-ring is highly durable and has a silicone grease coating. Most push-fit fittings are now used for in-wall installations, ceiling cavities, and permanent use as authorized, though many still doubt their effectiveness.
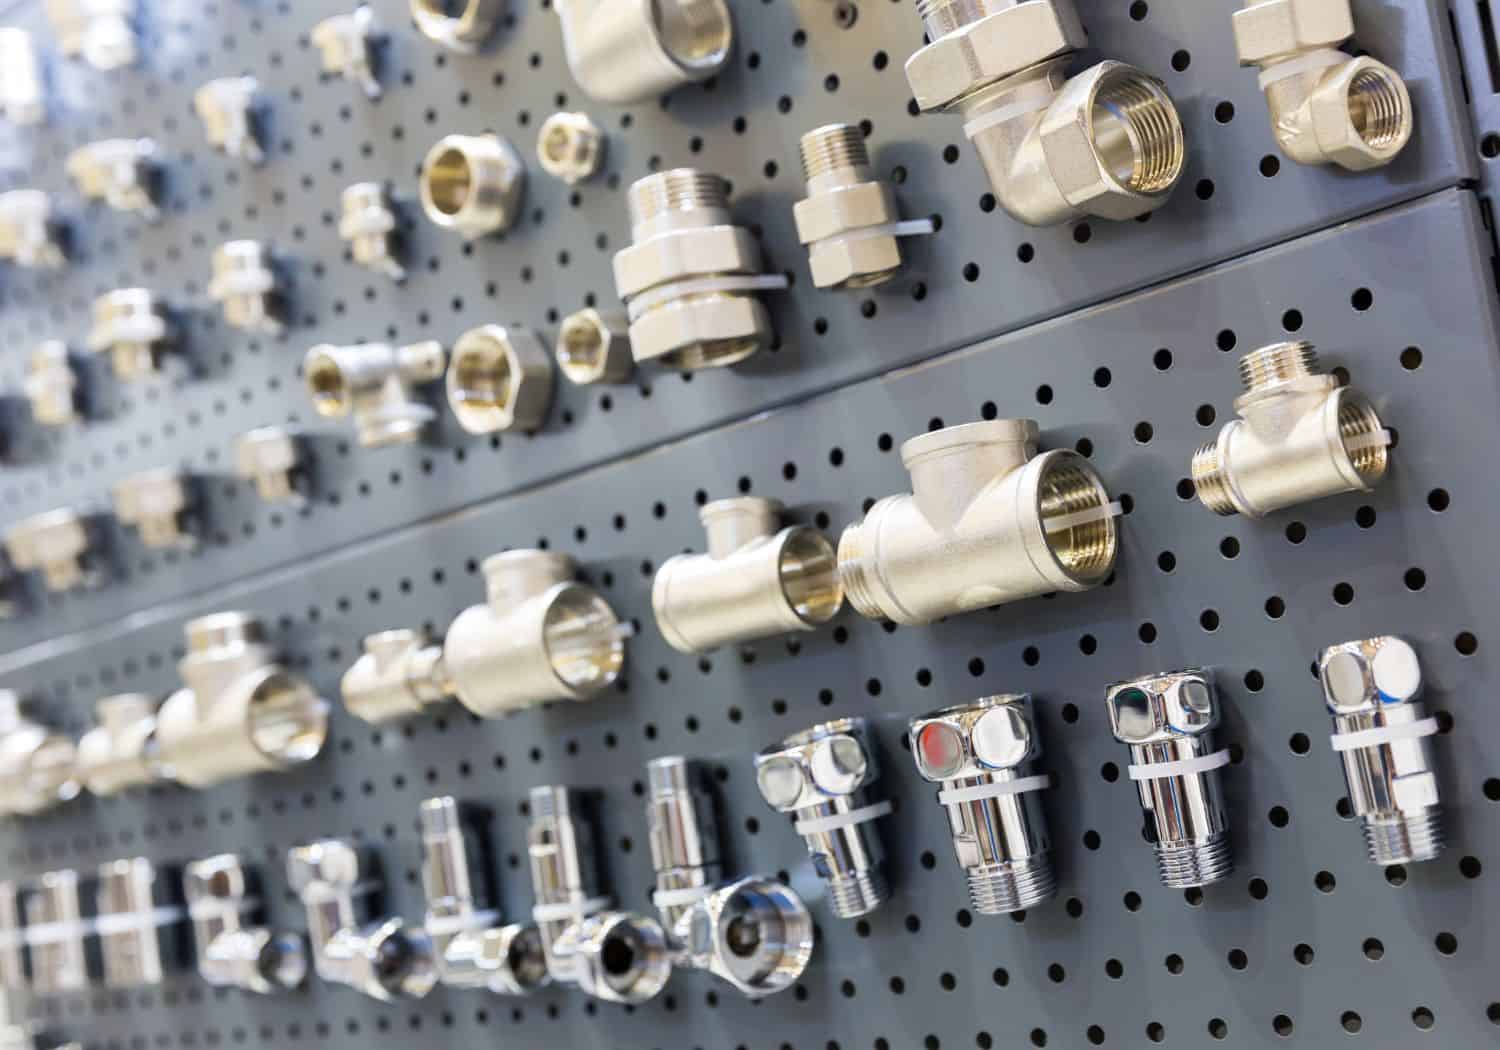
2. Fitting variety
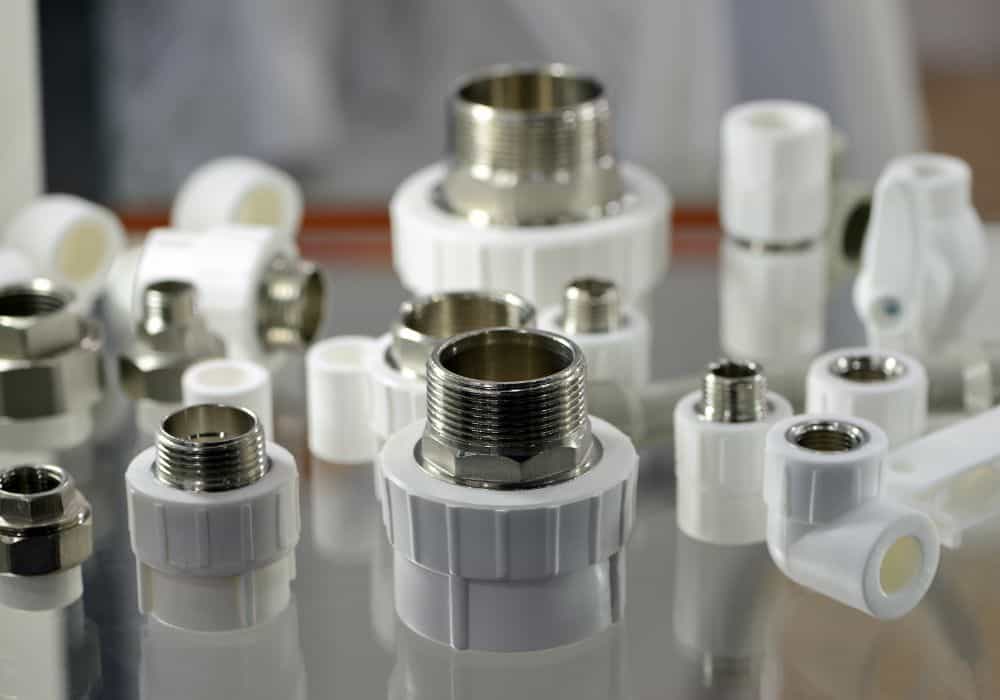
Depending on what you need them for and which best suits the pipe type, push-fit fittings come in different varieties, such as elbows, repair couplings, caps, and standard tees. some fittings come in small sizes designed to be used with aquariums, water filters, and ice makers.
3. Easy to install
This is primarily what makes this plumbing fitting much preferred. It can connect to copper, PEX, CPVC, and PVC pipes easily with a watertight seal that ensures a leak-free plumbing connection. Its installation process doesn’t involve smoldering, solvent welding, or crimping; instead, some of its types are simply swiveled to install, having no need for a special tool. The time used in installing push-fits is up to 1/12th of the time used in soldered plumbing.
4. Reusable
After installing the push-fit successfully, you may decide to disconnect it for specific reasons and may be worried it is no longer valuable. Well, that may not be entirely true. Push-fit fittings can be reused for a temporary installation or testing. However, do not use a fitting regularly used for testing to make a permanent connection.
5. Cost-effectiveness
The downside to push-fit fitting is that they are more expensive than other plumbing fittings. However, considering the low stress and time spent installing them, buying the fitting proves worth it. Also, the fittings’ price may vary according to their different types and brands.
Tools needed to install push-fit fitting

Now that we know the push-fit fitting let’s get ready to install them by getting the required tools.
- Marker
- Push-fit fitting
- Tubing cutter
- The deburring depth gauge tool
- Emery cloth or sandpaper (if necessary)
- Clean rag
How to fit a push-fit pipe connector
Installing a push-fit plumbing fitting is effortless and can be done within a few minutes. Nonetheless, there are things you should not overlook while fitting, cutting, and installing the pipe. For instance, you need to pay special attention when cutting the tube for the joints to avoid damaging the “O” ring in the fitting. Here is a step-by-step guide to installing the push-fit pipe connector.
1. Decide on the pipe material to use
Push-fit connectors are compatible with almost all pipe types, such as PEX, PVC, copper, and CPVC. So the first step in installing the fitting is picking out the pipe material that suits the size of the push-fit fitting appropriately and your need.
2. Cut the pipe
This is a vital step in the push-fit installation. The pipe must be cut as squarely and round as possible to ensure that it fits in the push-fit fitting to avoid leaks. Cut the needed length with a tubing cutter tool that is appropriate for the pipe type. For instance, use a plastic cutter if you are using a plastic pipe.
When measuring the length to cut, remember that about 1 inch of the pipe goes into the push-fit connector to make a correct measurement of the fitting’s depth.
Pro tip: do not use a saw to cut the pipe, as it will result in incongruent edges.

3. Deburr the pipe by removing sharp edges or burrs
After cutting the pipe, smoothen it by removing sharp edges or burrs, which may damage the “O” in the push-fit or cause a leak. Next, use a deburring tool to remove the sharp edges and burrs left out by the cutting tool. A deburring tool effectively reams the pipe in and out, removing all sharp edges.
Alternatively, you can use the reamer tool at the back of the cutter to ream the pipe and an Emery cloth or fine sandpaper to sand its outside edges.
You need not deburr if you’re connecting a plastic tube like PVC or CPVC piping. However, you may ream a CPVC tube with a ridge in its inner edge with sandpaper or Emery cloth. Then, wipe the pipe in and out with a clean rag.
Pro tip: some deburring tools come with a gauge tool that marks the depth of the fitting.
4. Mark the pipe
Measure and take a marker and deburring-depth gauge tool to mark the depth of the fitting on the pipe. Insert the tool into the pipe’s end until it stops, then mark the tube at the edge of the tool where it stops.
However, you can use a measuring tape instead of deburring depth gauge tool if you do not have one. Measure the pipe from its end to the length specified by the manufacturer that is appropriate for the fitting.
5. Install the fitting
Some types of push-fit fitting, especially the ones for plastic tubing, have an insert that must be pushed into the pipe before being installed. However, copper push-fits do not require an insert and are installed directly into the fitting.
If your push-fit has an insert, firmly push the insert into the pipe first. Then, press the pipe into the fitting or the fitting into the pipe, until it cannot go further. The point where it stops should be the exact place of the marking; this indicates that the pipe is correctly fitted in the push-fit.
Then, rotate the fitting or pipe 360 degrees clockwise or anti-clockwise to install it and establish firmness in the connection entirely. Most push-fits have a twist lock mechanism and cannot be removed after they’ve been locked in place. You may try to pull the pipe to confirm how strongly fit it is; if it doesn’t budge, the fitting has been installed successfully.
How to remove push-fit fittings
There are different types of push-fit fittings, and the method used in removing them depends on what kind of fitting is installed.
1. Turn off the water supply
Before removing a push-fit connector, you must turn off the water to avoid any damage in the removal process. It is best to switch off the water supply at the water meter, which is close to the sewer line or at the side of the house.
2. Identify the type of push-fit fitting
You may not appropriately perform this task if you do not know the type of fitting you want to remove. The push-fit comes in different types and shapes; some common ones are brass fittings, copper, speedfit, and John Guest fittings.
3. Remove the fitting
Use a fitting release tool, a horse-shoe-shaped clip, to remove the pipe when you please. The tool goes over the fitting and assists in the removal of the pipe. Attach the tool to the fitting’s release collar and pull the pipe from the other end.
Conclusion
The push-fit fitting is the ultimate answer for any DIYer. Learning its installation process is relatively easy, and so is the process itself. So, if you’re still contemplating whether to use a soldered plumbing technology or a push-fit fitting, you must consider the pros and cons of push-fit and make a good choice.
Lastly, if you’re faced with plumbing problems like leaks or freezing, it’s best to contact your plumber to avoid further damage.