Are your drain pipes leaking? Then you need to fix them ASAP!
See, drainage pipes work to carry wastewater from your home to the sewer lines. So if your plumbing system is dotted with cracks, you’ll end up with gunky messes, bad smells, and notable water damage.
To make matters worse, leaking sewage may also lead to illnesses!
That being said, you don’t have to hire a professional plumber for this. You can do it on your own simply by following this guide on how to fix a leaking sewer pipe.
Tools Needed to Fix a Leaking Sewer Pipe
For the easy fix:
- Alcohol
- Sandpaper
- Heat gun
- Gloves
- Rag
- Glue
- Putty and syringe, craft stick, or putty knife
- Silicone tape
- Fiberglass resin tape
- Cold-weld adhesive
- Rubber and C-clamps
- Neoprene coupler
For equipment-assisted sewer line repair:
- Sewer camera
- Hydro-jetting machine
- Replacement pipes such as structural place lining or high-density polyethylene (HDPE) pipes
- Winch
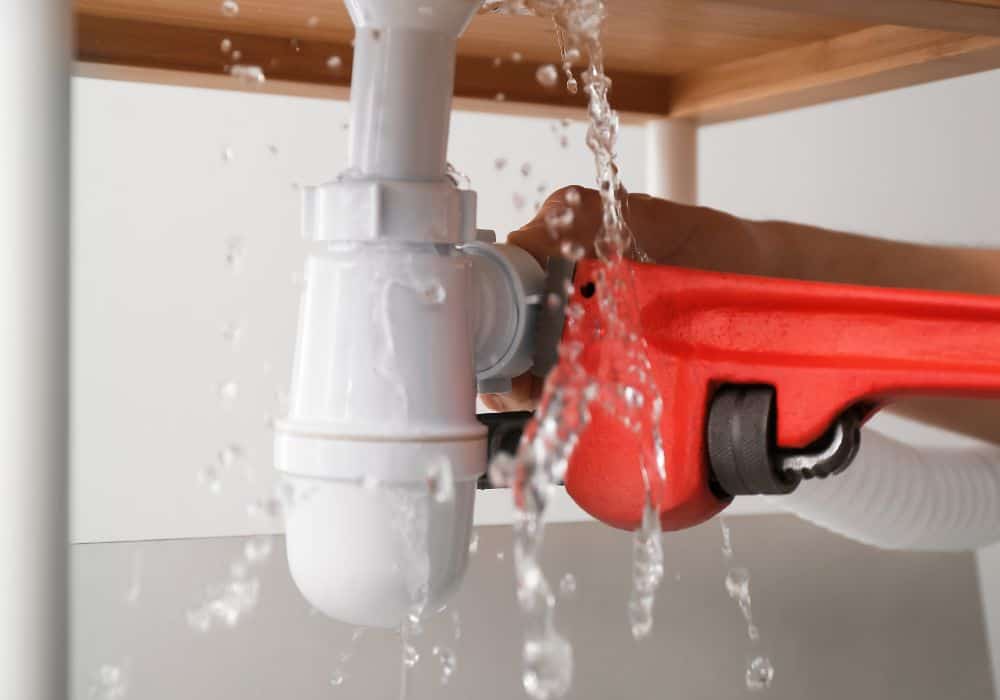
How to Fix Leaking PVC Pipes (Easy)

Most newer homes are fitted with plastic pipes. They may leak due to blockages, invasive tree roots, and temperature changes.
Here’s how to fix them:
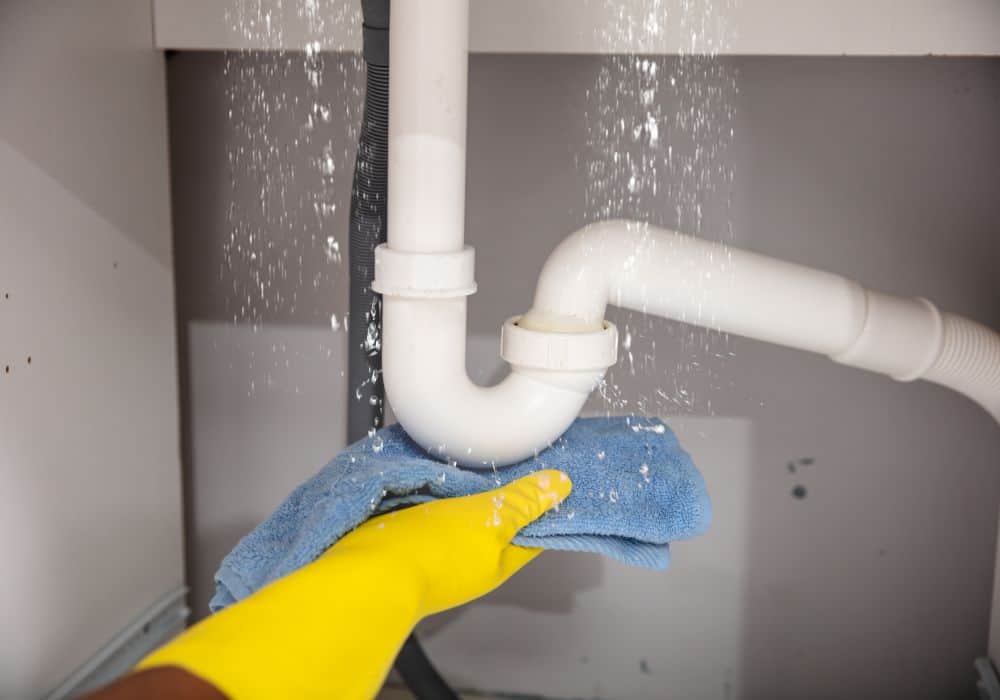
Step 1
Dry the leaky area. You may opt to use a heat gun if you want to get this done right away.
Next, use sandpaper to rough the section up.
Clean the pipe with alcohol and let it dry.
Pro tip: A dry, clean, and rough area will make the below adhesives bond better to the pipe.
Step 2
Apply the item you wish to use to patch the leaking pipe.
- Apply a thick layer of special glue (made for water pipes) on the seam of the leak. Let it dry for 12 to 24 hours.
- Mix the putty well. This dries easily so you need to immediately apply it to the leak with the use of a syringe, craft stick, or putty knife. The ideal thickness for putty in this regard is ½ inch. Any thinner and it might not be able to seal the leak efficiently.
Remember to follow the manufacturer’s instructions on usage and drying time. The latter should take about 25 minutes, although it may require more depending on the putty brand. - Silicone tape. If the leak is only minor, you may apply silicone tape around the affected area. Make sure the tape overlaps and forms a tight seal as you apply it.
- Fiberglass resin tape. Soak the tape in water (again, make sure to follow the manufacturer’s instructions.) Wear gloves before you apply the tape in a spiral fashion.
Cover the leak- as well as the area 2 inches above and below it. This will ensure that wastewater won’t seep through.
Smooth the tape over the surface and let it cure accordingly (this could take anywhere from 15-20 minutes.) - Cold-weld adhesive. Like most items in this list, this needs to be mixed according to the manufacturer’s directions. As soon as this epoxy/putty heats up, you will need to apply it right away.
- Wrap the leaky area with rubber. Use a screwdriver to secure it with C-clamps.
- Neoprene coupler. Similar to rubber, this may be wrapped around the cracks. It comes with metal clamps that can also be secured to place with a screwdriver.
Pro tip: Make sure to prepare the glue or putty in a well-ventilated area.
Step 3
Let the product dry/cure according to the manufacturer’s instructions. Turn the sewage line back on again to check if you have patched the leaks adequately.
If you find that the pipes are still leaking, you may need to start this process all over again.
How to Fix Pipes With Equipment
Some iron pipes, or PVC pipes, may need to be fixed with equipment that a professional contractor would normally use. Granted you have them and you know how to operate them, you may be able to do these ‘sophisticated’ repairs by yourself.
1. Hydro-Jetting
Pipe buildup can lead to leaks since the wastewater can’t empty into the sewage system freely. And, should this be the case, you may get rid of the blockage (and subsequently, the leaks) with the help of hydro-jetting.
As the name suggests, this process makes use of pressurized water to remove items that clog the system. It’s the newer and more effective alternative to using steel augers in removing pipe buildup.
The first step of hydro-jetting is to perform an inspection with a sewer camera. This can help you navigate the pipes and see where the blockage is/what needs to be removed.
Once you’ve identified the problem area, go to an access point. Cleanouts and toilets, so far, are excellent choices.
Insert the hydro-jet, turn it on, and let it do its job.
After hydro-jetting your pipes, you will need to run your video camera again to see if you have indeed cleared everything out.
2. Trenchless Sewer Repair
This method involves the use of an epoxy liner, which is also known as cured-in-place lining or structural pipe lining It helps build new pipes inside old ones (given they have retained their structural integrity) without digging the latter.
Because of these features, trenchless sewer repair can help you save money and time. It’s also less intrusive than conventional repair, so you don’t need to dig up your yard to repair the pipes.
This process starts with the insertion of a camera to visualize blockages. Again, you may perform hydro-jetting to remove debris as needed.
Once the pipe is clear, cut the felt liner according to the necessary dimensions. Insert it into an access point that leads to the damaged pipe.
Inflate the bladder to force the epoxy against the walls. Wait for the epoxy to cure (according to the manufacturer’s instructions) before removing the bladder.
Pro tip: This minimally-invasive repair method can lengthen your pipes’ lifespan by another 50 years.
3. Pipe Bursting
Pipe bursting uses HDPE pipes to patch straight-run pipes. It’s also good for repairing damaged pipes that trenchless sewer line repairs cannot address. Ultimately, they make for good replacements because they’re strong yet flexible.
Similar to the processes above, pipe bursting starts with a camera inspection. Once this is done, go ahead and attach the HDPE pipe to a winch (this comes with a cone-shaped head.) Insert the pipe into one access point and pull it out of the other access point.
Once you have the new pipe in place, you may go ahead and remove the old one.
As always, make sure to inspect the ‘burst’ pipe with a camera to see if you installed the new HDPE pipe perfectly.
FAQs
What causes drain pipe leaks?
- Blockage. Items that should not be flushed in the plumbing system may clog the pipe, leading to leaks in ‘weaker’ areas (such as the joints.)
- Root invasion. Root invasion is particularly damaging for clay pipes, although it may affect other pipes as well. This happens because the roots of the trees are attracted to water. So if there are minor leaks in your pipes, they may ‘head’ towards your pipes and damage them as they grow.
- Accidental damage. You may have inadvertently punctured the pipe while digging or doing a DIY renovation project.
- Temperature changes. Extreme cold can make PVC pipes brittle and prone to cracking.
- Corrosion. Homes built before the 1970s are often fitted with iron pipes. Calcium and magnesium buildup through the years can lead to corrosion, which could then fracture the pipes in the long run.
What are the signs that the sewer pipes are leaking?
Common signs include sewage-like odors and a slower drainage system. Other indications include:
- Moisture and/or mold growth on the floors and walls
- Foundation cracks or sinkholes
- Faster-growing grass or more grass in your yard
- Infestation of rodents (mice and rats) or pests/insects (flies, cockroaches, or bugs.)
- Higher water usage/bill
How do you prevent sewer pipe leaks?
To avoid laborious and costly pipe repairs, you should:
- Don’t clog your drain pipes. Avoid throwing oil, paper towels, and other materials that can block your sewage line.
- Remove the tree/s that damage the pipes. Even if you have managed to remove the roots that reach the pipe, there’s a chance that it will ‘invade’ it again. Removing the tree will help make sure that your pipes won’t be subjected to this damage anymore.
- Winterize your pipes. If you live in a cold area, it’s best to get your pipes insulated as this will prevent them from bursting.
- Have your pipes been inspected? Unless you know how to look for pipe leaks, you should hire a professional to inspect your plumbing system at least once a year.
Conclusion
There are two ways of fixing your leaking sewer pipes. The first is through the application of an adhesive material to the damaged area. Examples include glue, putty, fiberglass resin tape, cold-weld adhesive, rubber, or a neoprene coupler.
You may also try to fix your leaky pipes with the use of a sewer camera, hydro-jet machine (for blockages), a structural pipe lining, or an HDPE pipe.
Got more questions about fixing a leaky sewer pipe? Go ahead and post a comment below!