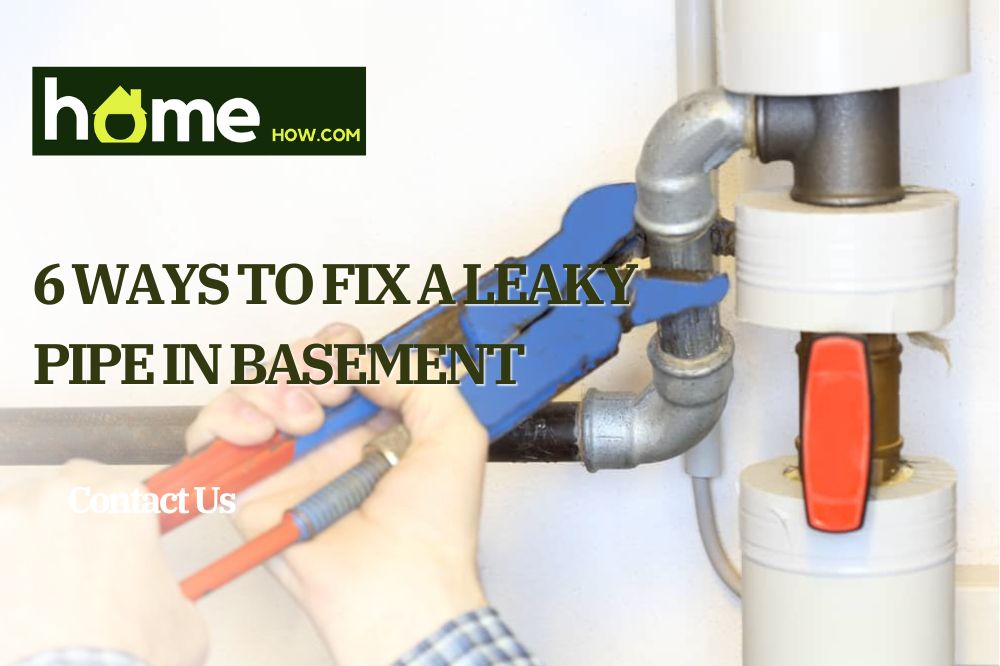
Is your basement a mess right now because of a leaky pipe? Then you need to have it fixed because it can eventually lead to mold and mildew growth.
The good news is you don’t need a plumber to do this (although you can hire one if you want to.) It’s as easy as following these tips on how to fix a leaky pipe in the basement.
Tools Needed
- Wrench method: Wrench
- Plumbers’ tape method: Wrench, plumbers’ tape
- Self-fusing silicone tape method: Self-fusing silicone tape
- Epoxy putty method: Rag, rubbing alcohol, sandpaper or wire brush, latex or nitrile gloves, epoxy putty,
- Patch and clamp method: Rag, rubbing alcohol, file, pipe clamps, wrench
How to Repair a Leaking Pipe in the Basement
Depending on the degree of the leak and the items you have at hand, you may fix the pipes in a variety of ways:
Option 1: Wrench Method
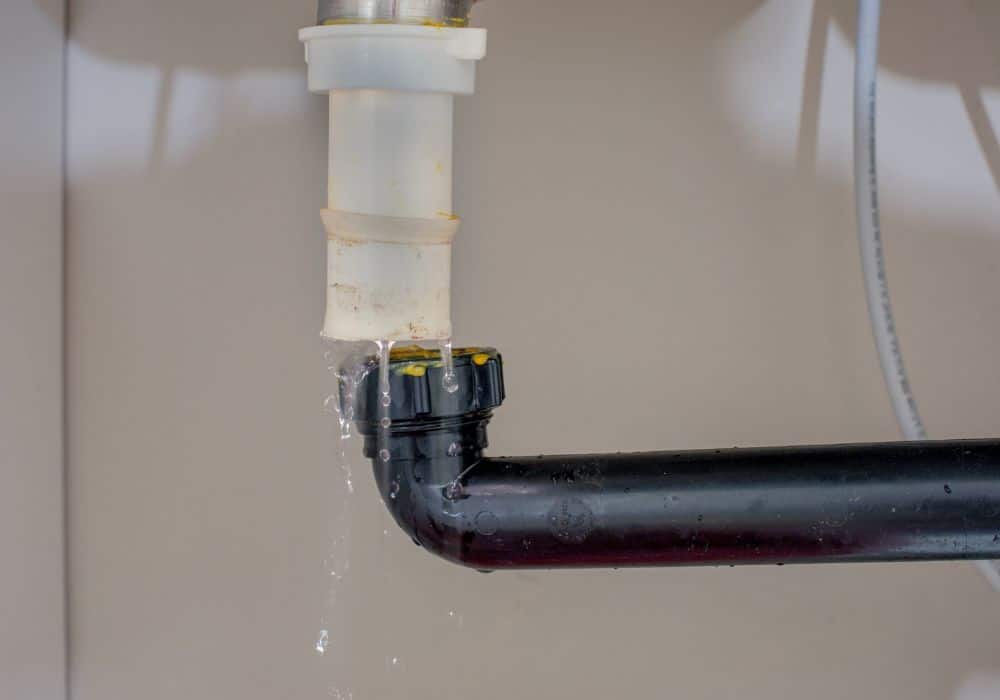
A break or crack is the most common culprit behind leaky pipes. But in some cases, this may be caused by loose coupling nuts.
See, coupling nuts work to affix the drainpipes with the P trap. The latter is a U-shaped pipe that collects waste while preventing malodorous gases from seeping into your home. So if your nuts aren’t tightened well, you will expect leaks in the surrounding areas.
Should this be the case, then all you need to do is tighten the coupling nuts with a wrench.
Option 2: Plumbers’ Tape Method
If you’ve tightened the coupling nut but the basement leaks continue, then the pipe threads’ watertight seals may be the problem. More often than not, this problem occurs in the plumbing systems near the water heater.
The easiest way to address this problem is to use plumbers’ tape. It’s readily available in stores, and it does a good job sealing leaking water pipes.
Here’s how to apply this temporary fix:
- Turn the water line off.
- With a wrench, remove the coupling nuts connecting the P trap with the draining pipe.
- Wrap the plumbers’ tape around the pipe threads. Make sure to follow the manufacturer’s instructions when doing so.
- Place the P trap right back into its position.
- Reconnect the pipes by tightening the coupling nuts with a wrench.
- Turn the water supply on. If there are leaks, you’ll notice moisture forming around the tape
Option 3: Self-Fusing Silicone Tape Method
Just like plumbers’ tape, a self-fusing silicone tape method can help fix the leaks in low-pressure pipe joints. It creates a waterproof area that stops the sewer pipe from dribbling.
One of the best things about the self-fusing silicone tape is that it is relatively easy to use. All you need to do is wrap it around the sewer wipe. You only have to make sure that you overlap the tape as this will adequately cover the breaks/cracks on the pipe.
Pro tip: After applying the tape, remember to check for moisture around it. If there are some wet spots on the tape, then it means you haven’t patched all the leaks. You will need to repeat the process all over again!
Option 4: Epoxy Putty Method
Also known as a pipe putty, this product prevents water seepage by hardening and sealing affected straight pipes or joints.
Here’s how to fix your leaky pipes with epoxy putty:
- Turn off the water supply.
- Drain the leaky pipe. Clean the area with rubbing alcohol and dry thoroughly.
- Smoothen the pipes with sandpaper or a wire brush.
- Wear gloves. Open the container and obtain a one-inch piece of dark epoxy putty.
- Knead the putty until pliable and light gray
- Apply the putty to form a layer 1/2 inch or 0.3 inches thick. Taper its edges to form a watertight seal.
- Let the putty cure according to the package instructions.
- Turn the water back on to check for unsealed leaks, if any.
Pro tip: Don’t forget to wear gloves before activating epoxy putty. It can heat up and damage your skin.
Option 5: Patch and Clamp Method
If your drainage system is suffering from bigger leaks, then you should consider installing clamps. Thanks to their built-in rubber gaskets, these fittings could easily occlude a leak.
Here’s how to do the patch and clamp method on a PVC or copper pipe with a straight-run configuration.
- Turn off the water supply line.
- Clean and dry the leaky area.
- File the pipe surface (sharp edges may damage the patch.)
- Place the gasket on top of the leaky area.
- Apply the pipe clamps in an overlapping portion to completely seal the leak. Tighten them with a wrench.
- Turn the water line back on to check for leakage. This will materialize as condensation between the rubber clamp and the pipe.
Pro tip: Make sure to buy clamps that are the same size as your pipes. If they’re bigger, they won’t be able to patch the leaky areas effectively.
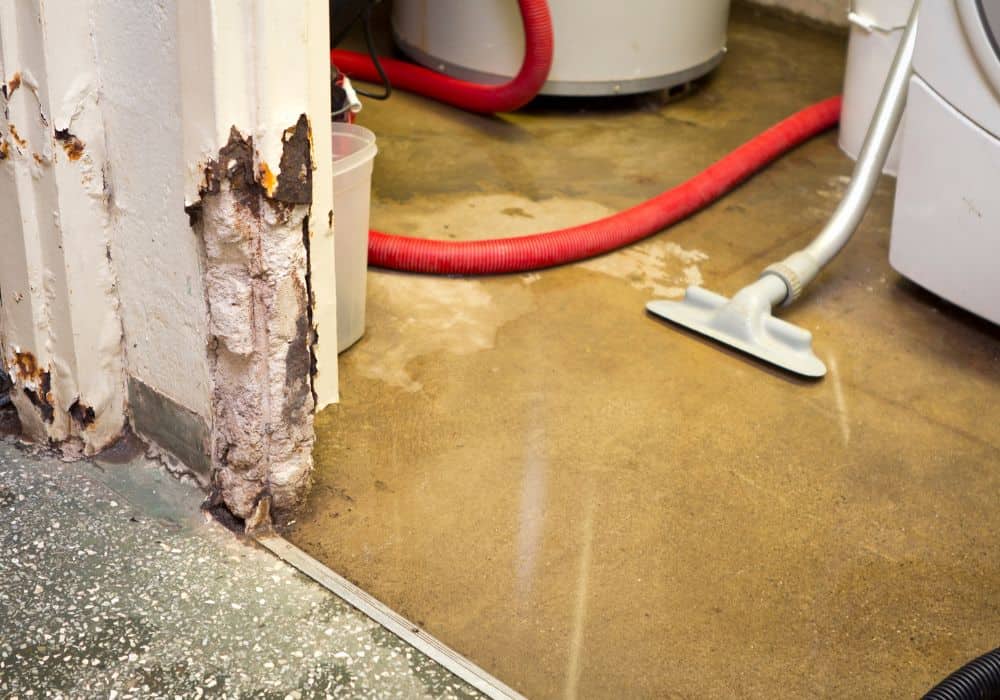
Cleaning Up
Fixing the leaks is one thing. As a homeowner, you will still need to clean the wet area that has caught your attention in the first place.
If your pipes are placed inside a cabinet, then you must clean and dry it. If not, it’ll rot or rust in a few months.
So right after fixing your leaky pipes, you need to:
- Inspect the cabinet for damage. If it is already soft due to prolonged water exposure, then you may need to replace it ASAP.
- If the cabinet is still structurally sound, remove all the items stored inside it.
- Wear cleaning gloves. Soak up all the pooled water with a rag or paper towel until dry.
- Wipe the interior areas with a disinfectant. You can also use a DIY solution made with 4 gallons of hot water and 1 ounce of bleach.
- Dry the cabinet with a fan to reduce humidity inside. If you want to, you can also place a dehumidifier inside it.
FAQs
1. What Causes a Leaky Pipe?
- Loosely-screwed coupling nuts
If the coupling nuts are not put on tightly, leakages may occur in the ‘nutted’ areas.
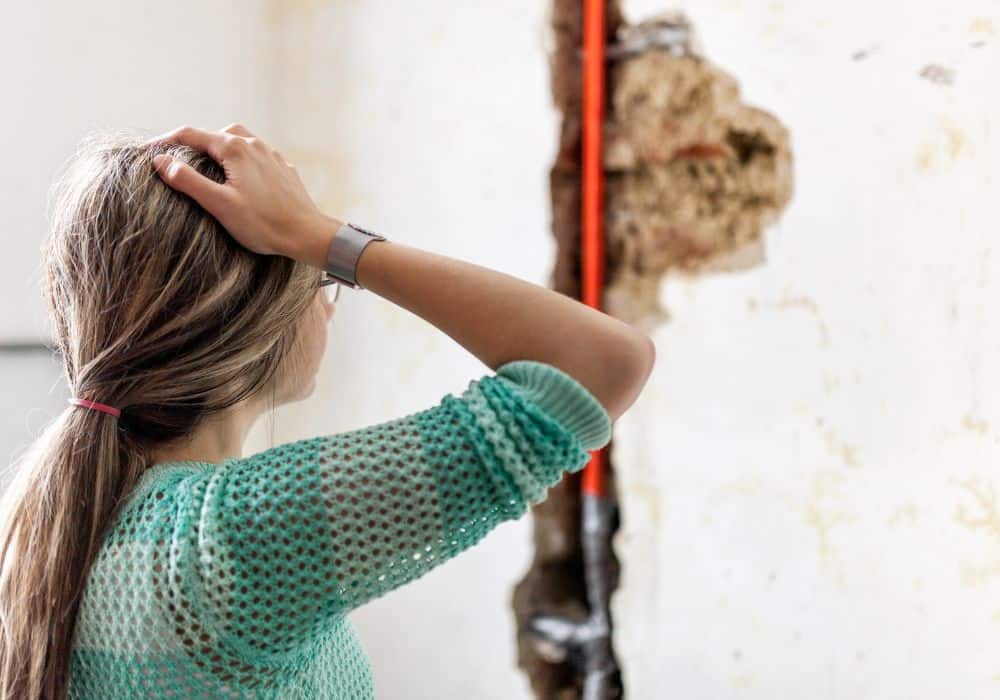
- Corrosion
Corrosion is another reason behind pipe leaks. It can be caused by a variety of factors, such as the ‘hardness’ of water, the presence of certain minerals, hydrostatic pressure, pH level, and water temperature.
Corrosion will not only affect the pipe. It may cause the gaskets to shrink or fail as well.
Corrosion is a huge issue for copper pipes, which may get pitted on the inside. Characterized by blue-green discoloration, this corrosion can eventually result in pinhole leaks.
Not only will these leaks make your basement messy, but they can affect your health as well. If these pipes carry drinking water, then the corrosion may end up dumping chemicals on your supply line.
- Usage of incompatible materials
Some CPVC pipes should not be used with certain products. Doing so can lead to a chemical reaction that can make your pipes (or parts of them) more vulnerable to leakage.
2. How Do You Detect Leaking Pipes in the Basement?
- Check your water meter
Turn off all the appliances and systems that use water. If your water meter is still running despite everything being turned off, then it’s a clear sign that there’s a leak somewhere.
- Walk on your basement floor
Remove your socks and shoes and walk on your basement concrete floor. If you feel a warm/hot spot, then this is probably where the leakage is taking place.
- Use an electronic leak detector
This machine, which is often used by a technician, has acoustic sensors that detect the vibrations brought about by leaks.
3. What Causes a Wet Basement?
Apart from pipe leaks, your basement may get flooded due to these reasons:
- Foundation issues. If your home’s foundation is not sloped accordingly, then groundwater will pool in your basement (rather than away from it.)
- Blocked gutters and downspouts. If these are filled with leaves, twigs, etc. then the rainwater may end up flowing into the basement.
- Blocked drain tile. Similar to the example above, a clogged exterior drain tile can affect the sewer line. When it’s backed up, your basement may flood with runoff water.
- Backed-up sump pump. A sump pump can keep basements in low-lying areas flood-free. But if the pit is backed up with debris, sand, or gravel, the pump will not be able to do its work efficiently. The result? A flooded basement!
- Basement windows. The sealants placed on basement windows may fail and lead to leakages over time. That’s why it’s important to check these areas regularly as they may render your basement wall wet and moldy.
Conclusion
A leaky basement pipe can lead to hazardous mold growth. To prevent this from happening, you can patch up your pipes through any of the following methods:
- Tighten the loose coupling nuts with a wrench
- Apply plumbers’ tape or self-fusing silicone tape around the cracks
- Place epoxy putty around the affected area
- Install pipe clamps around the pipe
As you see, these methods are very easy to do. But if you need more help fixing your damaged basement pipes, feel free to ask your questions below.