The copper water pipe has been a mainstay in residential and commercial plumbing for thousands of years for a lot of great reasons. Like any other pipe, however, it has the occasional drawback or issue such as the frustrating risk of a copper pipe leak.
If you’re having to deal with this problem or you’re wary of the risks for your home, here are some tips for how to fix a pinhole leak in a copper pipe.
What is a pinhole leak in copper pipes and why does it happen?
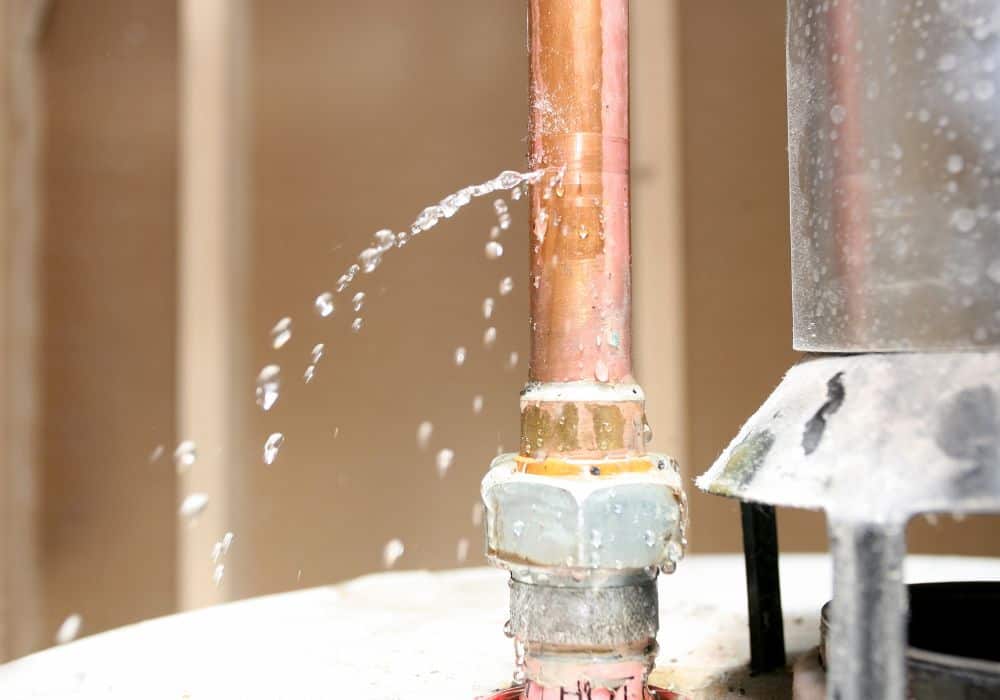
Pinhole leaks in copper pipes are defined as perforations in the copper pipe due to corrosion over time on the inside of the pipe. In essence, while the leak looks like a pinhole on the outside, it happens because a larger part of the pipe is corroded by the water supply flowing through it.
After that, the significant water pressure finishes the job and starts pushing pinholes through the corroded metal. This isn’t the end state of the water damage, of course – if the pinhole leak is left unattended it will grow into an even larger hole over time. The reason we call them “pinhole leaks” is that the leak is typically discovered and addressed before it has grown beyond a pinhole.
How to figure out of there are pinhole leaks in your home’s piping?
Pinhole plumbing problems are among the most common problems in our homes’ piping systems but how can you tell them apart from other plumbing issues? Unfortunately, a lot of the symptoms of many plumbing problems overlap – low water pressure, for example, can be due to pinhole leaks, clogged pipes, blocked air vents, and more.

Yet, some other signs are pretty telling. Here are the main things to look for:
- Your water bill is illogically high
- There is mildew growth or mold stains near your piping
- You’ve been noticing an abnormally low water pressure
- There’s been a lot of condensation on the outside of your pipes
- There is discoloration on your pipes and they are turning brown, blue, or green
- You’re hearing dropping sounds
- There is water damage around or under your piping
Even a single one of those signs can be enough for you to identify and find a pinhole leak. Ignoring a sign and just waiting for more to make things “more obvious” often leads to disaster as pinhole leaks can lead to major water damage in our homes.
So, if you see even the smallest bit of condensation or a slight drop in water pressure, it’s time to start investigating what the exact cause of it is.
Permanent methods to fix a pinhole leak in a copper pipe
Finding the best permanent solution to pinhole leaks in your copper water pipes is a must but it can also be a bit confusing. When reading online you’ll find a lot of “experts” touting solutions that not only aren’t permanent but aren’t even effective in the short term. What’s worse, some of those solutions can be outright harmful as they can introduce contaminants to your drinking water supply.
So, below we’ll go over what makes for an actually safe and permanent fix to pinhole leaks in copper pipes and what are some temporary fixes that can buy you some time.
1. Compression coupling
If you’re new to DIY plumbing, using compression coupling is the easiest and safest method to attempt yourself. Here’s a quick step-by-step:
- Locate the leak
- Mark the leak
- Turn off the water flow from the main
- Drain the pipe of water
- Use a tube cutter to remove the damaged area by cutting at least half an inch of the area around the leak
- Dry the cut area with cotton rags
- Get two retainer nuts and a pipe sleeve of the appropriate size for the area you’ve cut
- Slip on the first retainer nut
- Then, slip on the pipe sleeve
- Apply plumbing pipe dope to the sleeve
- Slip the second retainer nut and tighten both of them firmly to press the sleeve onto the pipe
- Turn the water back on and look for leaks under the sleeve – if there are any, retighten the nuts
This method isn’t foolproof as sometimes the leak won’t be completely halted. That can be fixed by reapplying and retightening the sleeve and the retainer nut. When it works, this is a permanent and code-approved solution that’s perfect for beginners. If it doesn’t work, explore some of the other options below.
2. Soldering
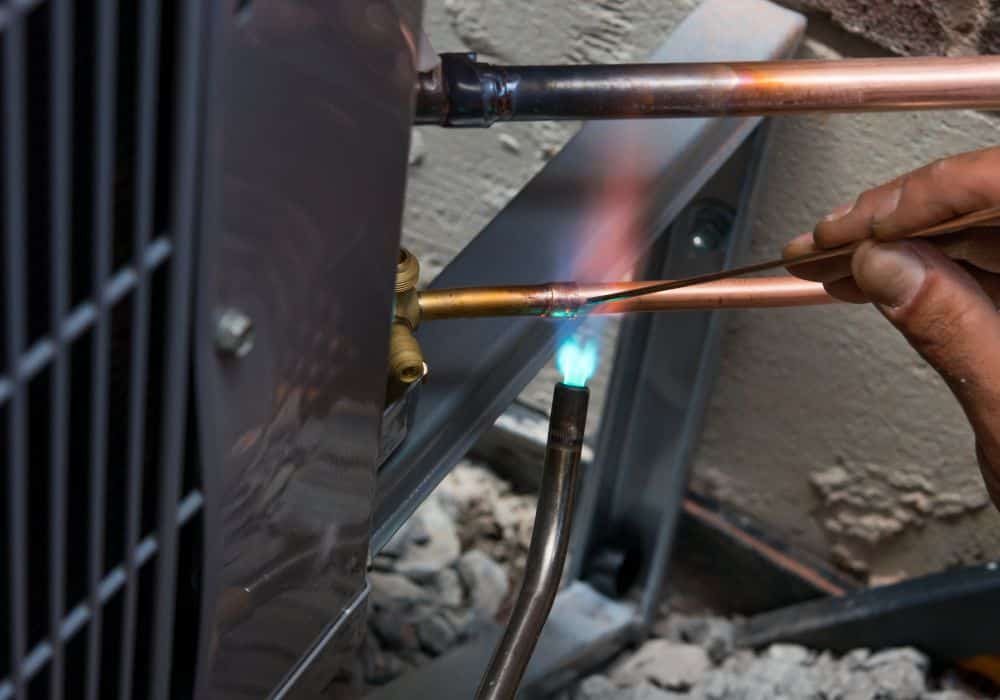
Soldering is seen as the ideal type of permanent repair as it is much more secure than simply tightening sleeves onto pipes. It is also difficult to do for beginners, however, so calling a professional plumber is usually recommended. If you don’t want to call a plumber, here’s a step-by-step you can try to follow:

- Locate and mark the area of the leak
- Turn off the water at the main, drain the main, cut the area around the leak, and dry it properly
- Cut a replacement section of sweat coupling replacement pipe that’s at least an inch longer than the gap you want to cover
- Use a tube cutter and a wire fitting brush to smooth the rough edges of both the replacement pipe and the hole of the damaged pipe
- Slide the sweat coupling replacement pipe over the damaged area, covering it properly from all sides
- Solder the joint on by melting the solder wire onto all the edges of the joint
- Wait at least a few minutes for the solder to cool and test it by turning the water back on
Overall, this is a more difficult and tricky method than using retainer nuts but it’s also much more secure. If this would be your first attempt at soldering, it’s advisable to just call a professional and observe them as they work.
If you want to try it yourself, make sure you have someone else with you to help out and offer assistance in case of an accident. Also, it’s wise to first try soldering on a test pipe.
3. Replace the entire pipe

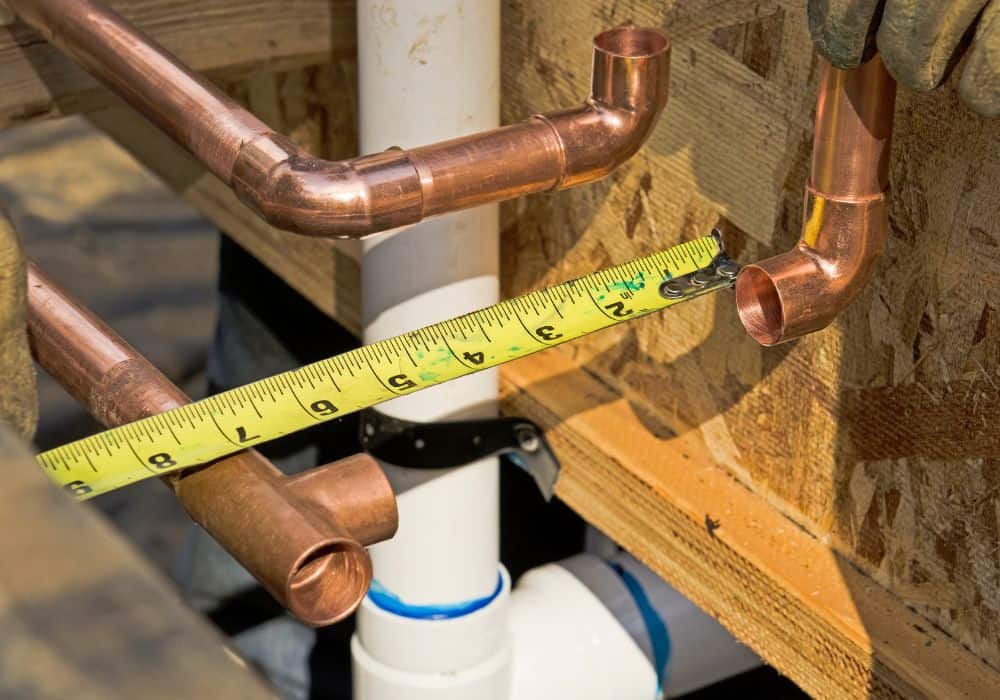
Pipe replacement is usually a costly and sometimes work-intensive method, depending on how long the pipe is and where it’s located. If neither compression nor soldering has worked, however, replacing the damaged pipe is your best bet for a safe, secure, and code-approved fix.
If you get the right pipe, install it properly, and maintain your piping going forward well, this should fix all your uses for decades to come.
Temporary methods to fix a pinhole leak in a copper pipe
If you don’t have the right tools or time to properly treat and seal the damaged section right away, there are some temporary solutions you can consider for a while. Most of them amount to just putting a bandage on a wound but that can be alright if you just need a couple of days to take the appropriate measures for a permanent fix.
1. Repair clamp
Probably the most common temporary method is to use a pipe repair clamp. All you need to do here is locate, measure, and mark the leak, stop and drain the water in the pipe, and pick a repair clamp that’s of the appropriate size for the leak hole. Then, just open the clamp, secure it over the hole, and snap it closed.
The issue here is that this isn’t permanent and may not even work right away as water can continue leaking through the clamp. It’s worth trying to apply it a couple of more times but even if it works it won’t stay on forever.
2. Pipe repair tape
Repair tape is even easier to apply – all you need to do is wrap it around the damaged area and then tighten it as much as you possibly can. This can stop the leak for a while but is far from a long-term solution even compared to repair clamps.
3. Copper wire fix
Another method is to wrap a copper wire tightly over the damaged area and tighten it in place. Then, just solder the wire into place well enough to cover the whole area. This is usually not good enough for pinholes and it requires soldering but it can be good enough for a while as you wait for the plumber to arrive.
4. Epoxy putty
This is a “solution” we don’t really recommend if you need to treat a section of pipe that’s used for drinking water. That’s because epoxy putty can lead to a chemical reaction that can contaminate your water supply. If you need it for drains, however, it can be a half-decent temporary fix until you find a permanent solution.
First, simply combine the two compounds of the putty while wearing protective gloves. Then, apply the mixed compound onto the damaged areas of the pipe and allow it to dry off and harden. After that, the pipe should be usable for a while.
In conclusion – how to fix a pinhole leak in a copper pipe
Fixing a leaking pipe can seem simple in principle but it can often stump homeowners and professionals alike. Sadly, a lot of the “solutions” talked about online are often either just temporary in the best case or outright ineffective or harmful in the worst. Still, there are a few things you can do such as soldering or coupling instead of having to go and change your whole piping system.
