No power to RH wire detected? You might see this message if you’re a Google Nest Thermostat owner. These errors can be found easily thanks to smart thermostat controllers. However, it is up to you to fix the problem.
This article will guide you on how to fix the “no power to RH wire” error on your Nest controller.
Nest “No Power To Rh Wire”
What Does The E74 Error Mean?
If your Nest thermostat displays error codes E74 or N72, this usually indicates an issue with the power supply to the Rh wire.
The e74 error code occurs when no power is supplied to the RH wire. The RH wire is a red wire that provides 24-hour electric power from the transformer to your heating system.
If you have a dual transformer configuration, the Rh wire may be red without an “H” connection. You can usually find the RH wire terminal on your thermostat. If you’re having trouble supplying power to the RH wire, Nest has a few suggestions for fixing the issue.
This error can be caused by a few different issues, so it’s best to troubleshoot the problem before contacting technical support.
The first thing you should do when you see this error is reset your Nest thermostat. You can do this by unplugging your thermostat for one minute, then plugging it back in.
The next step is to run self-tests to ensure that your Nest gets the proper input from the wiring in your house.
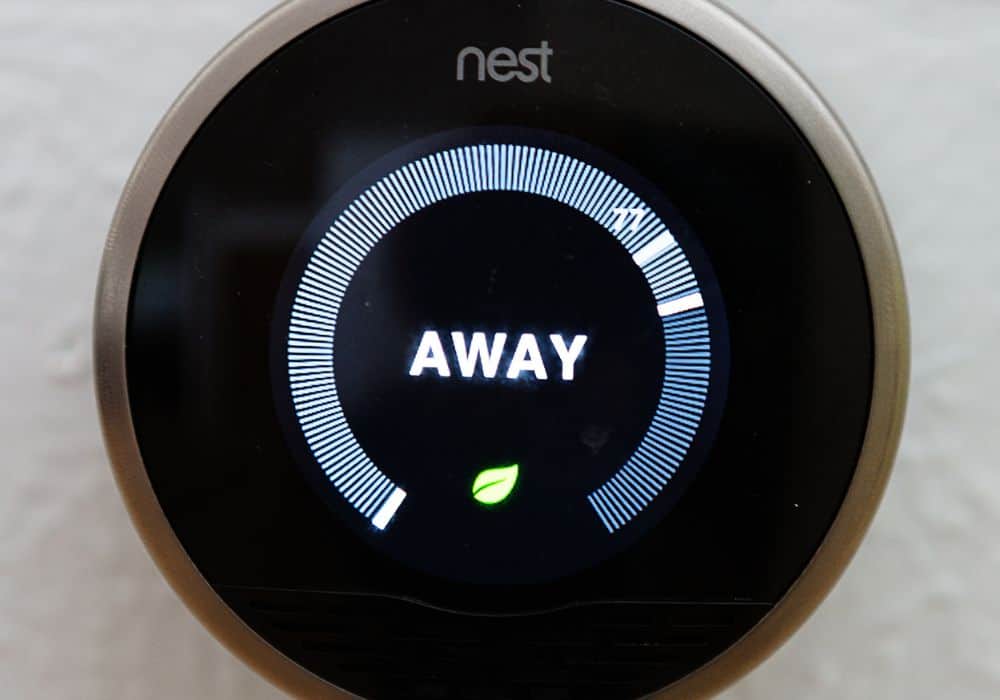
Make sure your thermostat is located in the proper spot on the wall and that the wires are correctly connected.
Why Does This Happen?
This error can be caused by any number of issues, including a loose connection between the power wire and the thermostat, a miswired thermostat, or a faulty installation.
When your thermostat doesn’t receive the right power source, it will change the R/H wire to “no power,” which means that your thermostat cannot control temperature settings.
If you receive this error, you want to troubleshoot the problem as soon as possible. If you suspect your thermostat is miswired, you should hire a professional to do the installation.
And if your thermostat is not installed properly, you can try reinstalling it correctly according to the instructions. But if you experience this error and believe there is no miswiring or installation issue, contact technical support.
Step By Step Troubleshooting Nest “No Power To Rh Wire”
Check the power source and wire connections if the Nest “No Power To Rh Wire” error appears. If the problem persists, try cleaning out the drain pipes. Additionally, check to see if the condensate float switch is installed correctly and functioning.
Instructions for each step are below.
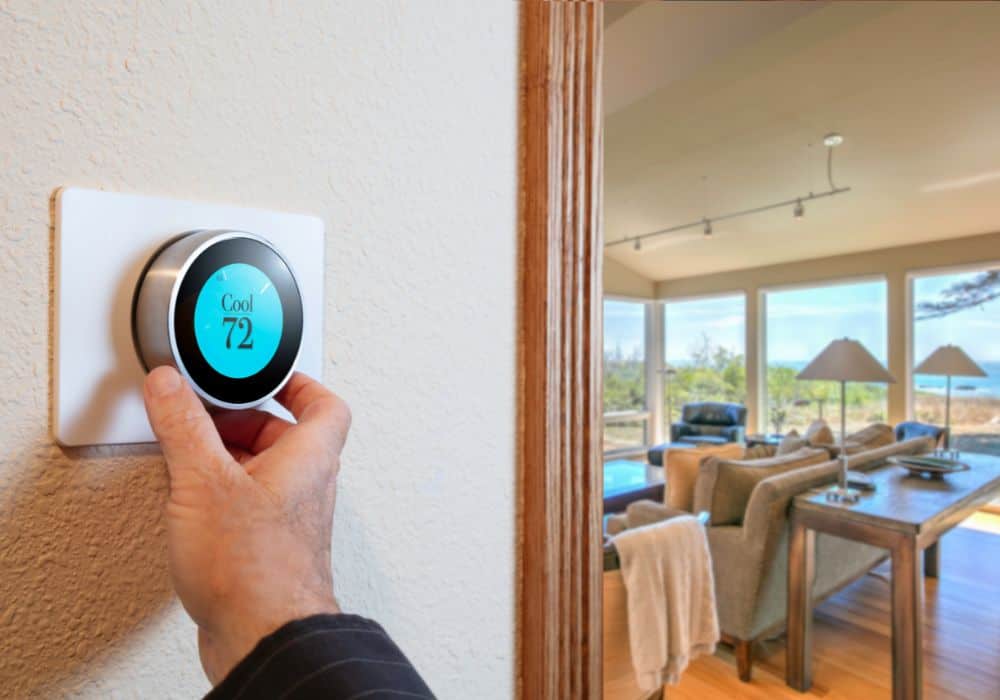
Step 1: Reset Nest And Run Self-Tests
If you’re seeing the “no power to RH wire” error message on your Nest thermostat, the first thing you should do is reset your Nest. Unplug your thermostat for one minute, then plug it back in.
This will restart the device and may fix the problem. You should also run self-tests to verify that everything is working correctly. You can do this by holding the two outside buttons for three seconds.
You should see a rotating arrow icon after you let go of the buttons that indicate that the device is running self-tests.
Step 2: Locate the Thermostat
When installing your thermostat, it is essential to check its location and orientation to ensure it is installed correctly. Again, if you have hired a professional to do the installation, you should ask them to verify the location and orientation of your thermostat before they leave.
If you’re installing the thermostat yourself and you have verified that the power source is connected to the correct wires, and you’re still seeing this error, check the location and orientation of your thermostat.
Your thermostat should be easily visible to the homeowners and in an area that will receive consistent temperature so that it can accurately record the temperature in the house.
Avoid placing your thermostat display in direct sunlight or near heat sources, as this can cause inaccurate readings. Additionally, your thermostat should be oriented vertically, with the screen facing up.
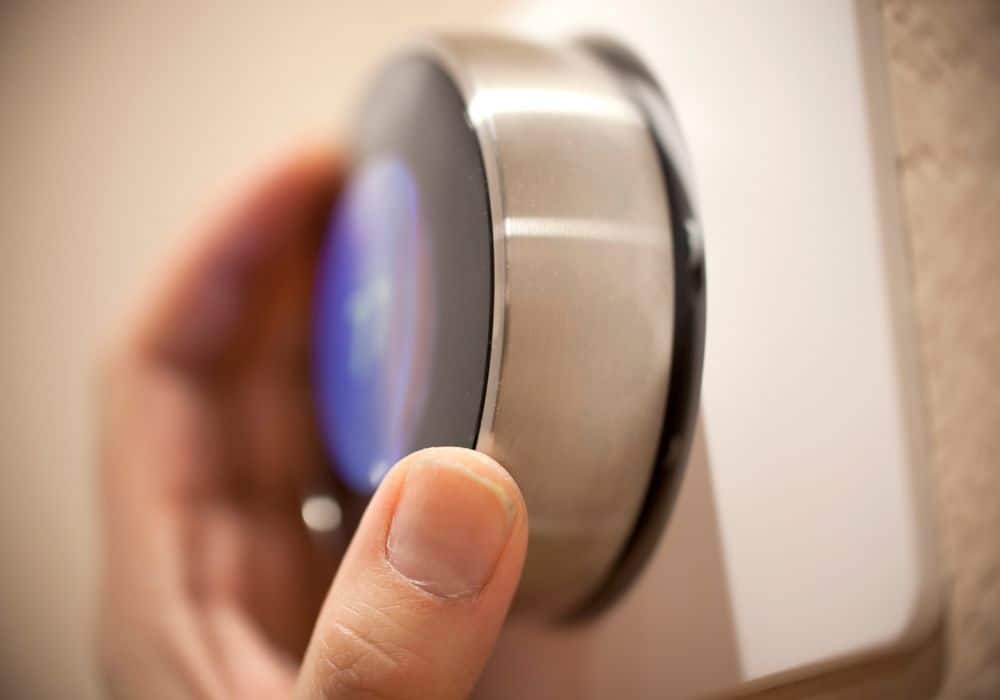
Step 3: Check Your Wire Connections
If you have verified the location and orientation of your thermostat, and you’ve run self-tests and still see the error, you should check your red heating wire connections to see if they are loose.
You should use a multimeter to check your wires and ensure that each wire receives the correct power source.
If you notice that any of your wires are loose, you can tighten the connection by twisting the wire back into place. And if you have verified that your wires are all connected correctly, you should run another self-test to ensure everything is working.
Step 4: Clean Out Drain Pipes
The drain pipes may be clogged if your thermostat is located in an area with a lot of humidity, such as a bathroom or kitchen. This can prevent the thermostat from draining correctly and cause the “no power to RH wire” error. To fix this, you will need to clean out the drain lines. If you feel confident, you can try it yourself.
First, locate the drainage pipe on your thermostat.
Clear the clog. You can use a drain snake to try and remove the clog.
Step 5: Check HVAC Float Switch
If your AC isn’t working and you see the “No Power to RH Wire” error on your Nest display, there’s a chance that the problem is with your HVAC float switch.
The float switch is a safety feature that prevents your AC from turning on if there’s too much water in the pan. It disconnects the power if it detects that the drainage pipe is full or there is a clog.
A floating mechanism will trigger the switch when it comes into contact with water. This turns off the AC.
To fix this, ensure that the float switch is installed correctly and there is no clog in the line.
Step 6: Check The HVAC Contactor Relay
One potential problem is an aging or faulty HVAC contactor relay. This relay is located on your AC unit outside; over time, it can generate sparks. A defective relay coil can also cause the fuse to blow out.
If you suspect the HVAC contactor relay is causing the problem, you’ll need to replace it.
Step 7: Check The HVAC Control Unit Fuse
Checking the control unit fuse is the next thing you need to do by checking the u-shaped wire. If the fuse is blown, it may be caused by an underlying issue with your HVAC system.
A blown fuse generally indicates a problem with the HVAC unit itself and not the Nest thermostat.
If the fuse is blown, you’ll need to replace it with a new one.
If the fuse isn’t blown, the next step is to check the power supply and system switch to the Nest thermostat.
Step 8: Check the Battery
If your Nest thermostat is entirely unresponsive, it may be due to a lack of power. One way to check if your thermostat needs to be charged is to look for the battery icon on display.
This icon means your thermostat is running low power mode, and you must connect it to a power source.
To do this, simply remove the Nest from the wall, insert the provided micro USB cable into the Nest, and plug it into a power outlet. You can check the battery level in the nest settings using the nest app.
Contact A Professional
Before contacting customer support, go over the following list to ensure that there isn’t another issue causing your “no power” error.
- Verify the wattage of your power source by reading the sticker on the back of your electrical panel.
- Make sure that your circuit breaker is on. Open the breaker box and check. If it isn’t, flip the switch on the electrical panel until the circuit breaker is on. This will activate the power source.
- Verify that your wall outlet is working. You can do this by plugging in another device to ensure the outlet is working.
If you have verified everything on this list and are still receiving the “no power” error message, you may need to contact an electrician. A professional will help you troubleshoot the problem and determine if a more severe issue needs to be addressed.
Final Thoughts
The “no power” error on your Nest thermostat can be caused by a few different things. In most cases, the problem is due to a blown fuse, an aging HVAC contactor relay, or a low battery.
If you’ve gone through the steps in this article and are still having trouble, contact an electrician to help troubleshoot the problem. Contact customer support for further assistance.