
Kitchen sink drains rarely start leaking, so If you’re reading this, chances are you’re planning to renovate your entire kitchen. If that’s not the case and your kitchen drain is in fact faulty, it could be because it’s become too clogged, or it wasn’t properly installed in the first place.
Regardless of your reasons to install or replace your kitchen sink, you’ve come to the right place. In this article, we will guide you on how to install the kitchen sink drain step by step, so you can avoid making costly mistakes.
Tools You’ll Require To Install Kitchen Sink Drain
- Wrench
- Screwdriver
- Knife
- Teflon Tape Plumber’s Putty
- Basin Wrench
- Adjustable Pliers
- Measuring Tape
Step By Step Guide: How To Install Kitchen Sink Drain
1. Measure The Sink Drain
The very first step to installing the kitchen sink drain is measuring it, including drain outlet height, the height of the trap arm, and drain hole diameter. This is important because you need to make sure that the new sink drain you’re planning to install is compatible with your sink.
If you buy a sink drain assembly kit with parts that are too large or too small, they simply won’t fit and you’ll have to buy a new one. The measurements include a drain hole diameter for the basket strainer and the height of the tailpiece.
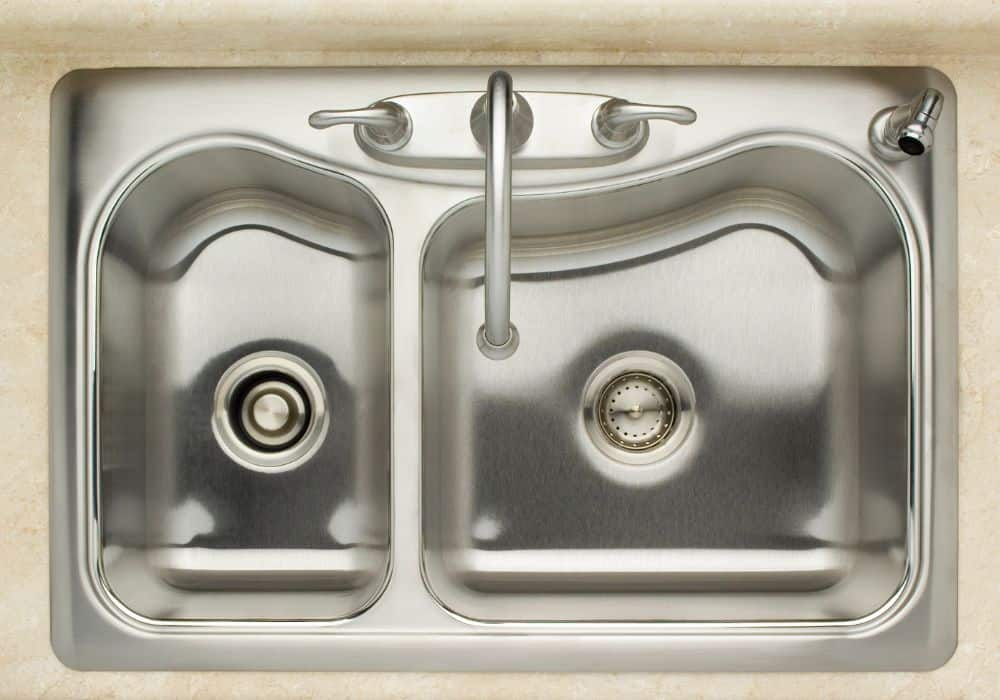
The standard diameter of a kitchen drain hole is 3-½”, which is larger than the usual bathroom sink drain (1 ½”) and the standard height of the tailpiece ranges from 20″ to 24″. Keep in mind that your sink can require different sizes, so always measure before buying.
Pro Tip: It’s recommended to spend more money on a sink drain assembly that has a brass tailpiece instead of a plastic one. It’s more costly but more durable.
2. Shut Off The Water Supply
The first step is to shut off the water supply to your kitchen sink. This will prevent any accidental flooding while you work. You can do this by turning the water valves clockwise to the “off” position. They are usually located under the countertop, close to all the kitchen plumbing.
Once the water is shut off, open the faucet to release any water pressure that may still be in the lines. If the water is still running, check the water valves once again. In some houses, they might be located somewhere else than under the counter.
Pro Tip: It’s always a good idea to have a bucket.
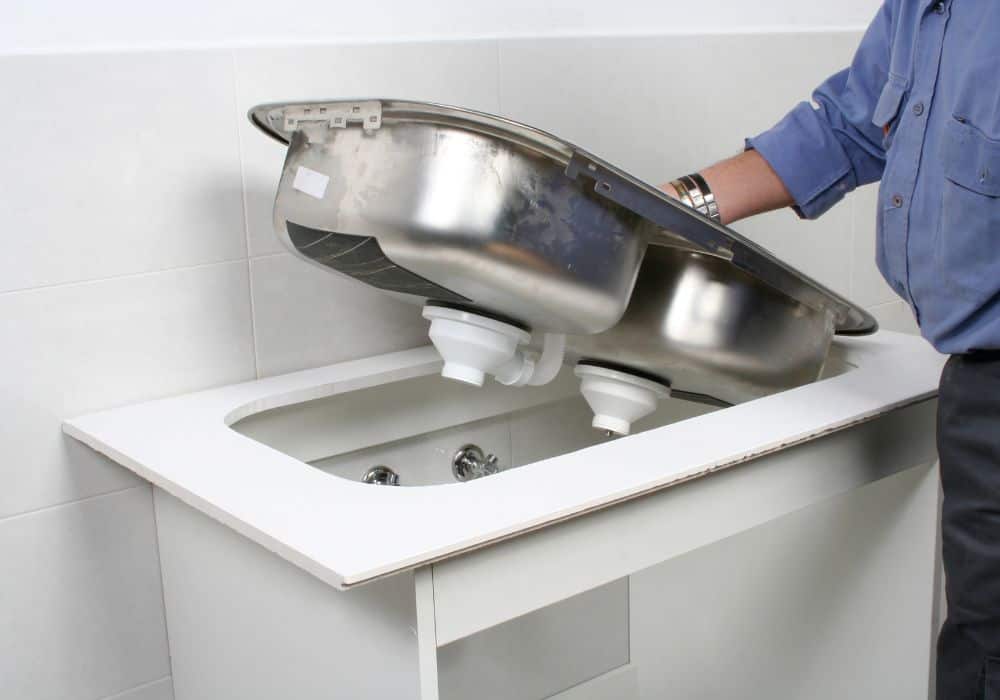
3. Remove The Old Sink Drain
The next step is to remove the old drain. To do this, you will need to use a wrench to loosen the locknut that connects the drainpipe to the P-trap. Once the nut is loose, you can remove the drainpipe and P-trap from the sink.
Pro Tip: Have a rag handy to clean up any water that may have leaked out.
4. Prepare Plumber’s Putty
A plumber’s putty is a pliable substance that you will use to create a watertight seal between the new sink drain and the sink. To prepare the plumber’s putty, start by kneading it until it’s soft.
Once it’s soft, roll it into a rope that’s about ½” in diameter, and about 5″ long. The exact size of the rope depends on your basket strainer, but if it’s too thick or too long you can always remove the excess putty.
5. Apply Plumber’s Putty
Now that you have a rope of plumber’s putty, it’s time to apply it to the new sink drain. Start by wrapping the putty rope around the base of the sink basket. Once the putty is in place, use your fingers to smooth it out and create a uniform seal.
Pro Tip: Make sure it’s as tight as possible because messing up this step can easily result in leakage later on.
Here’s a quick video showing how to use plumber’s putty to seal the kitchen sink drain basket.
6. Install The Kitchen Strain Basket
The next step is to install the kitchen sink drain basket. Start by lining up the basket’s threads with the threads on the sink. Once it’s in place, screw it in until it’s tight.
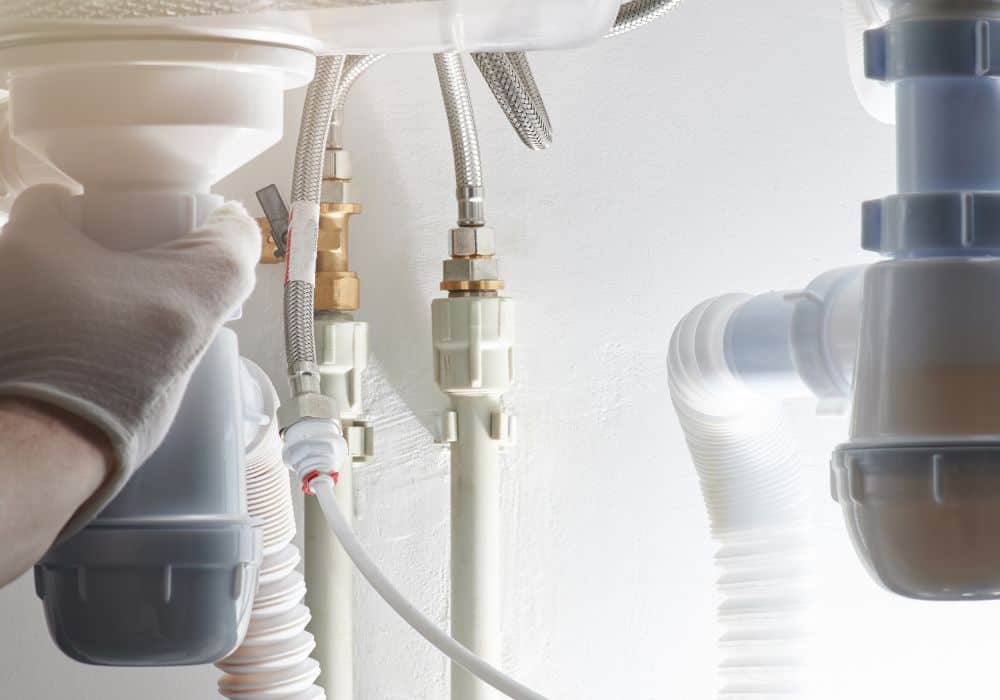
7. Attach The P-Trap
The next step is to attach the P-trap to the new sink drain. Start by lining up the P-trap’s threads with the threads on the drain. Once it’s in place, screw it in until it’s tight.
Pro Tip: Make sure not to overtighten the P-trap because this can damage the parts and cause leaks.
8. Connect The Drain Pipe
The next step is to connect the drain PVC pipe to the P-trap. Start by lining up the drainpipe’s threads with the threads on the P-trap. Once it’s in place, screw it in until it’s tight.
9. Attach The Drain Stopper
The next step is to attach the drain stopper to the new sink drain. Start by lining up the drain stopper’s threads with the threads on the drain. Once it’s in place, screw it in until it’s tight.
Pro Tip: It’s always a good idea to test the drain stopper before screwing it in by pushing it up and down to make sure it’s working properly.
10. Turn On The Water Supply
Now it’s time to turn on the water supply to your kitchen sink. To do this, you will need to use a wrench to loosen the knob clockwise to the “on” position. Once the water is turned on, open the faucet to check for any leaks.
Pro Tip: If there are any leaks, make sure to check all the connections and make sure they are tightened properly.
11. Test The New Drain
To test the new sink drain, start by filling the sink with water. Once the sink is full, open the drain to check for any leaks. If there are no leaks, congratulations! You have successfully installed your new kitchen sink drain.
Extended Tips For Installing Kitchen Sink Drain
1. Maintaining Your New Sink Drain
Now that you’ve successfully installed your new kitchen sink drain, it’s important to know how to properly maintain it to avoid any future leaks or problems. One of the most important things you can do is to regularly clean your sink drain.
This will help to prevent any clogs or build-up that can cause leaks. You can clean your sink drain by pouring a cup of baking soda down the drain, followed by a cup of vinegar. Let it sit for a few minutes, and then flush with hot water.
Another thing you can do to maintain your sink drain is to regularly check the connections for any leaks. This is especially important if you live in an area with hard water, as the minerals can build up and cause leaks. If you notice any leaks, make sure to tighten the connections.
2. Storing Your Tools
If you’re planning on doing any future plumbing projects, you should know how to properly store your tools. This will help to prevent any rust or damage that can occur. One thing you can do is create a dedicated space for your tools. This can be a shelf in your garage or a toolbox.
Additionally, you can label the tools so you know what each one is for. Another thing you can do is to regularly clean your tools. This will help to remove any dirt or grime that can build up over time. You can clean your tools with a cloth and soapy water.
3. Other Tips
Here are a few other tips to keep in mind when installing a new kitchen sink drain:
- Make sure to wear gloves to protect your hands.
- Make sure to work in a well-ventilated area.
- If you’re not sure how to do something, it’s better to ask a professional.
- If you have a garbage disposal, make sure to disconnect it before starting the installation process.
- It’s always a good idea to have a bucket handy, just in case.
- Have a rag handy to clean up any water that may have leaked out.
- If you’re not sure whether or not your sink is compatible with a new sink drain, take a look at your old sink drain to see what size and shape it is. You can also measure the drain hole to get an idea of what size drain you need.
- Make sure the plumber’s putty is as tight as possible when you’re applying it to the sink drain. This will help prevent any leaks.
Conclusion
Installing a new kitchen sink drain can seem like a daunting task, but with our step-by-step guide, it’s easy! Just make sure to follow the steps carefully and you’ll be finished in no time. Here’s a quick recap of what you need to do:
- Shut off the water supply
- Remove the old sink drain
- Install the kitchen strain basket
- Connect the P-trap
- Attach the drain stopper
- Turn on the water supply
- Test the new sink drain
Do you have any questions about how to install a kitchen sink drain? Let us know in the comments!