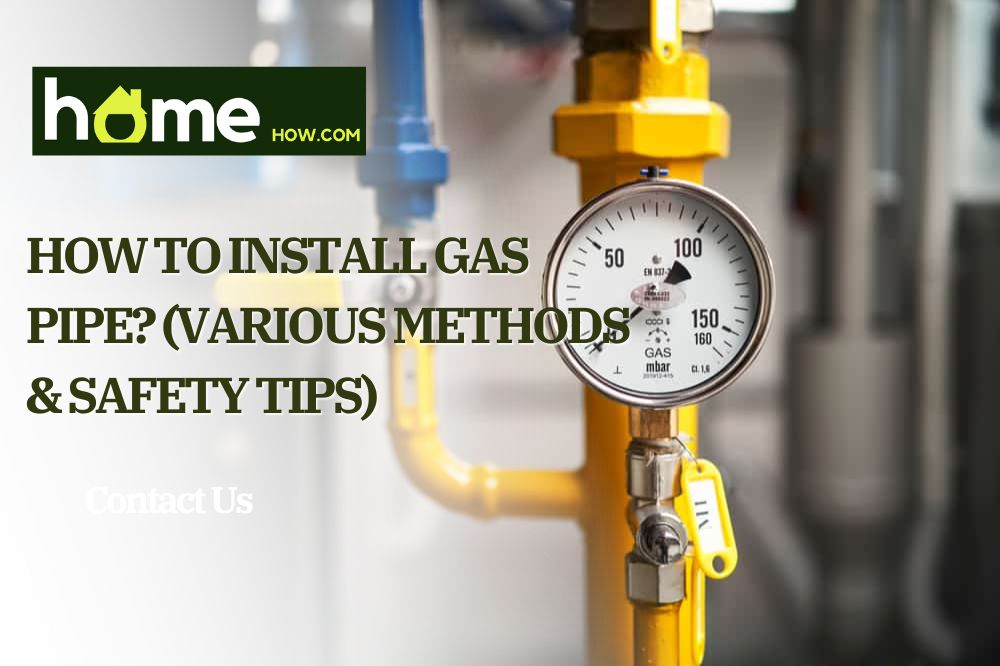
Whether you’re installing a new cooker, fireplace, or gas-powered appliance in your home, installing a new gas pipe is something we’re all faced with at some point.
But there’s a lot of anxiety around working with gas, and people often think they’re not up to the task before they even begin.
But like any form of plumbing, following safety checks and step-by-step tutorials ensure you’ll succeed.
This article will explore various methods of connecting a gas pipe to your network for different skill levels. We’ll also highlight the safety precautions you must adhere to and share our expert tips to secure your gas effectively and securely.
Methods for Gas line installation
The traditional method
- Source the proper sizes of pipe. Use a band or miter saw if you need to cut them to specific lengths.
- Widen the cut-ends of the pipe with a reamer.
- Apply pipe dope (joint compound) to the connectors. This adhesive will ensure your connection will become leak-proof and pressure tight. Never use Teflon tape for this.
- Thread the pipe into the tapered thread loosely to ensure you have the right-sized tube for the connection. Do this by hand to ensure the pipe is properly making contact.
- When confident the pipe fits, use two sharp pipe wrenches to tighten the pipe into the connection.
- If you’re installing several pipes, use a crescent wrench to hold other pipes in place along your line – otherwise, they might shift when you’re tightening new pieces.
- Continue connecting pipes together until you reach your appliance. If your machine uses a metal flex hose (for easy servicing), install a nipple fitting to make the connection to the main gas line.
Expert Tip: If you’re installing the gas pipe to a new appliance, installing a shut-off valve along the line allows you to turn off the appliance when not in use.
The Press Connect method
Although common in Europe, the press connection method of gas pipes didn’t reach America until the late 1990s. Recent changes in the National Fuel Gas Code mean that press-connect fittings are now an effective alternative to traditional methods of installing gas pipes. The advantages of this method are that there are a variety of clamp sizes for every pipe size.
The only additional tools you need in your arsenal are the press fittings and a crimping tool.
- Source the proper sizes of pipe. Use a band or miter saw if you need to cut them to specific lengths.
- Clean cut ends with an emery cloth, and use a deburring knife to smooth and free burs from abrasive edges.
- Place the pipe into the press fittings, ensuring that it complies with the recommended depth from the fitting’s manufacturer.
- Set the crimping tool around the join, and power the device. The crimp applies the proper torque required to create a leak-free connection.
Safety precautions before working with gas pipes
Working with gas requires the utmost care and concentration, and often you will need up-to-date qualifications that satisfy laws and regulations.
Below are some of the most important considerations you must adhere to for a professional, safe, and long-lasting gas pipe installation.
1. Safety testing & inspection
Always turn the gas supply off at the gas meter before installing, replacing, or repairing pipes.
To ensure your installation is leak-proof, you must test all your pipes. There are two ways of doing this.
- Manometer: This equipment can test pressure in pipes, telling you if there’s any loss in your system. This can be done without turning on the gas.
- Soap: Apply a soapy liquid solution to all the pipes, including the ones you weren’t working on. Other pipes in the network might shift out of place because of all the force applied. Turn on the gas. Leaked gas will create bubbles along the line.
2. Proper sizing
The layout of your gas pipe is critical to the success of the installation, but it also ensures the pipe stays in place, isn’t damaged, is supported, and ultimately that you are kept safe.
Plan ahead, including the exact sizes of your pipes. Different pipe sizes are suited for different appliances and environments. For example, residential homes typically use a lower pressure system with pipes sized to around ½ or 1”, whereas industrial and commercial places opt for bigger pipes.
Additionally, different appliances require different pressure to work optimally. You may not be able to use the same pipes for water heaters, dryers, etc. Refer to the manufacturer’s labels for exact BTU information.
3. BTU (British Thermal Units)
BTU is a unit of energy measurement used by the U.S. Energy Information Administration (EIA) as an appliance’s minimum requirement for gas use.
Regulations often change depending on the make and model of appliances. Refer to their manuals for BTU requirements.
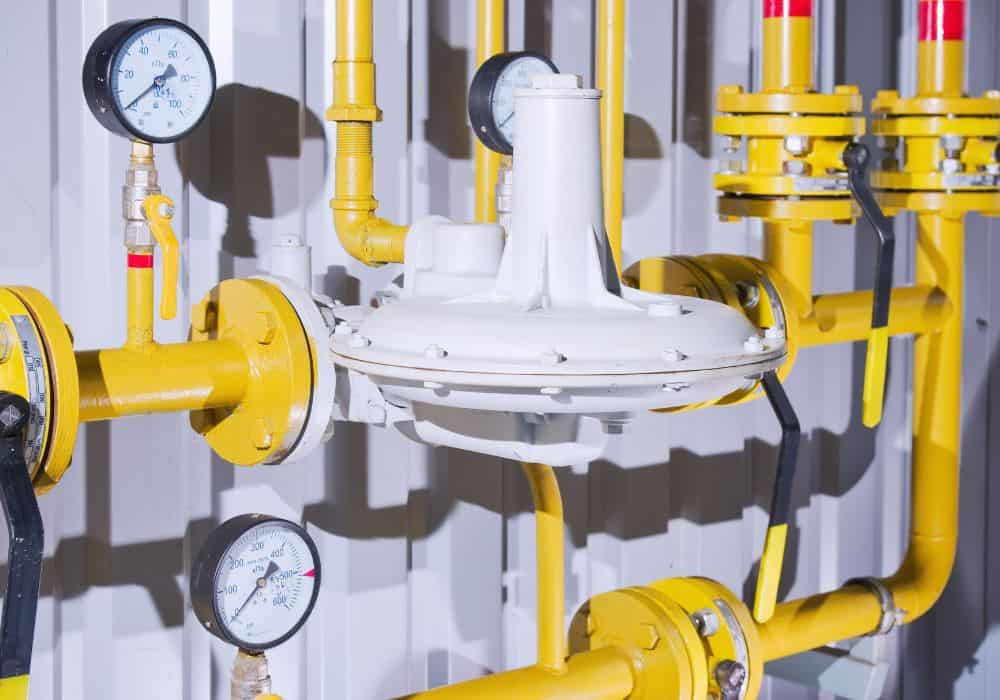
If you’re connecting multiple gas appliances to a network, you may need to consider a regulator to ensure adequate pressure and guarantee gas will reach its destination.
Below is a table of the most common gas appliances and the BTU per hour they require:
| Appliance | Demand in BTU/hour |
| Barbecue (residential) | 40,000 |
| Domestic clothes dryer | 35,000 |
| Domestic gas range | 65,000 |
| Domestic recessed oven section | 25,000 |
| Fireplace gas log | 80,000 |
| Gas refrigerator | 3,000 |
| Storage water heater, 30-40 gallon tank | 35,000 |
| Storage water heater, 50-gallon tank | 50,000 |
4. Proper couplings
Nowadays, pipes are cut and threaded to designated sizes for maximum convenience. The most common sizes range from 8ft to 18 inches. Any pipe below 12 inches is often called a nipple pipe.
But depending on your appliance’s location, there may not be a pipe length. In this scenario, you must use couplings to join together two pipes. Start at the source and connect outward towards the appliance. Remember, when you thread pipes together, you can expect to lose a couple of inches in length – calculate this you’re your plans.
5. When cutting pipes
Although pipes come in various lengths, sometimes our appliances are in awkward or hard-to-reach places, requiring specific lengths of piping. It might make more sense to use several smaller pipe lengths, for example, to bypass an obstacle.
If you are cutting pipes to a required length, always remember to:
- Always factor in the length lost when pipes are threaded into connectors.
- Ream cut ends. When cut, the inside diameter often contracts. Reaming will help widen the hole back to its original sizing.
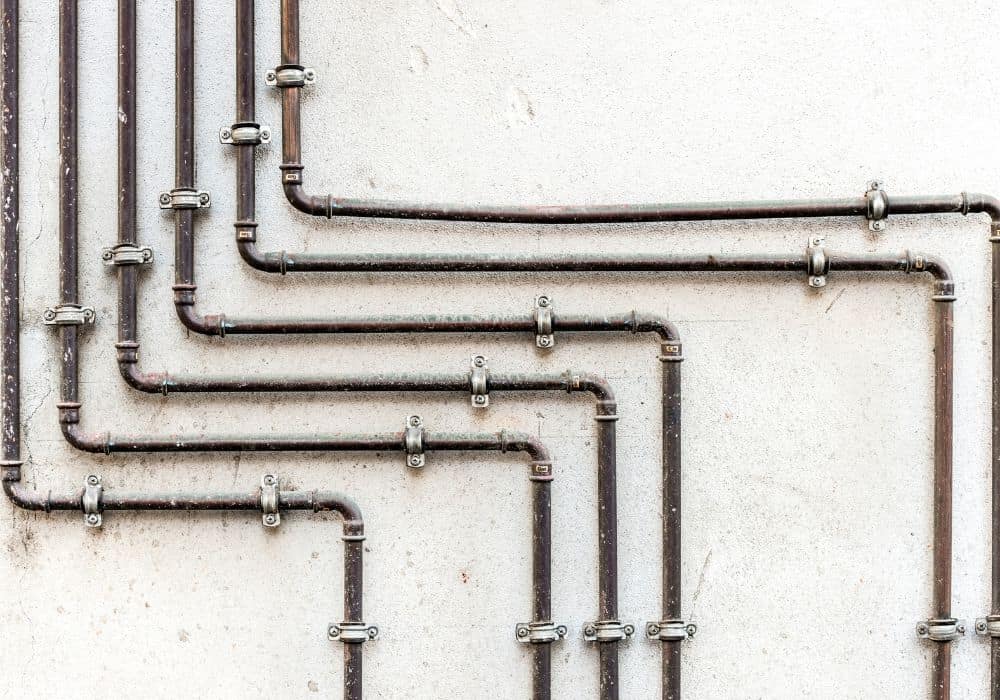
6. Acceptable materials
Several materials can be used for gas piping, including copper, CSST, black iron, PVC, polyethylene, and PEX. Most fittings will be made of brass as it is corrosion-resistant.
That said, certain jurisdictions may only permit certain materials with additional certifications. If in doubt, contact your local authorities or a contractor for information on what’s legal or not.
Expert tips:
- Always turn off the gas supply before installing pipes to the network.
- Before connecting new lines, examine your existing network for signs of corrosion, leaks, or cracks. Make repairs before installing new parts.
- Measure lines correctly and source the right-sized pipes and fittings to speed up work and ensure a leak-free installation.
- Be careful not to over-tighten fittings, as you might crack them from sheer force.
- Always secure your pipes to prevent them from falling and disconnecting.
- Don’t be worried if appliances hiss after installing new pipes – this is trapped air being pushed out of the system. This should stop after a few minutes.
- If installing several pipes or fittings, be careful when wrenching pipes into place – they might move connecting lines with them.
- Installing valves throughout your gas line ensures you can turn off gas in one section without affecting another.
- Check with local authorities or professionals on what pipe materials are acceptable, require certifications before use, or are outright banned for gas use.
- Always perform a leak test afterward to ensure you’ve installed the pipe correctly. Apply a soapy solution to the pipe and look for bubbles forming.
Conclusion
For beginners and experienced plumbers alike, working with gas can be an anxious experience. After all, installing a gas pipe requires precision, care, patience, and an appreciation of safety guidelines.
But as we’ve shown in this article, it is a straightforward process that any homeowner can do once they follow the steps and be patient.
Whether installing a gas fireplace or gas stove or rerouting your existing network, follow stringent health and building regulations, and you will no doubt succeed. But if you still have questions about installing a gas pipe or have expert tips to share, please leave a comment below.
But remember, when working with gas pipes:
- Turn off the gas before ever working on gas pipes.
- Ensure you have the appropriate-sized pipes and fittings
- Always check for leaks when finishing installations
- Follow manufacturer guidelines on an appliance to find the most suitable pipe, size and BTU required.