You can’t choose your family, but you can choose your home, friends, and job.
However, by the time we realize this fact, we’ve already spent so much time in one place that it’s hard to move on from it. For this reason, millions of people with the opportunity to leave areas where hurricanes are a regular thing stay where they are their whole lives.
When a hurricane is in town, you hide somewhere, ride out the storm, and after a day or two, continue with your life, hopefully without any significant changes.
But what if you own an older house that isn’t secured against hurricanes? Wouldn’t it be nice if you could not worry every single time if this is the time the roof will fly away?
Well, you’ve come to the right place because we’ll teach you how to install hurricane straps with an existing roof.
What Are Hurricane Straps?
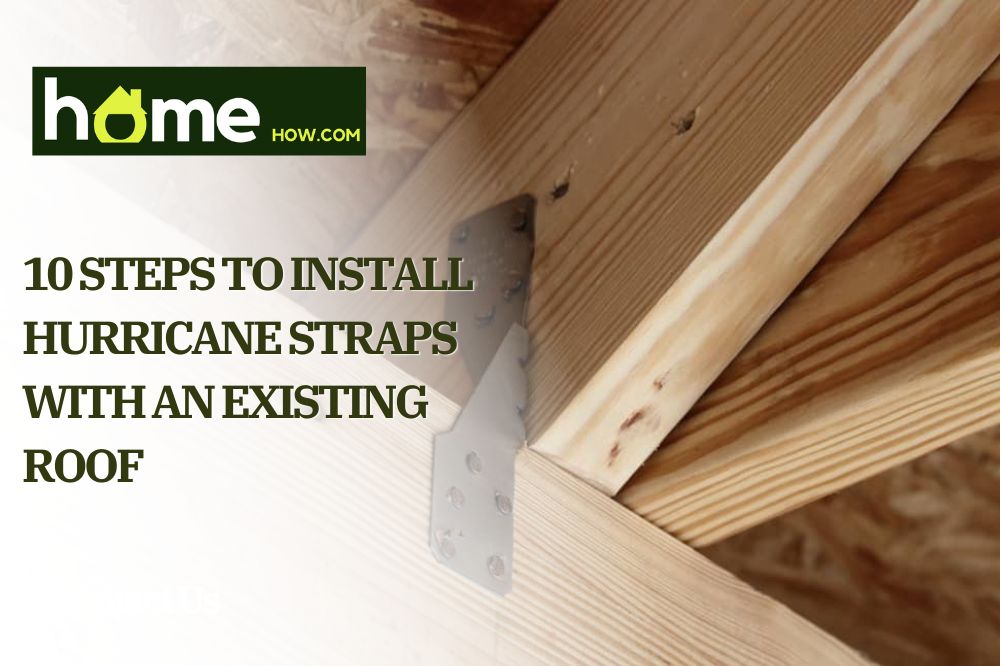
Hurricane straps are a special kind of fasteners that help securely fix the roof to the wall construction. By doing this, you’re basically attaching the roof to the foundation of the house, making it extremely hard for a hurricane to lift it and leave you without a roof over your head.
They are also known as hurricane clips, ties, anchors, connectors, and brackets and are made of galvanized or stainless steel. Nowadays, they are mandatory in areas where hurricanes (high wind speeds over 74 mph) are a common occurrence.
How To Select Proper Hurricane Ties For Your Existing Roof?
There are several criteria that you must consider when buying hurricane ties.
1. What Is The Demand Load Of The Truss Or Beams?
Let’s say that the roof trusses on your home have an uplift of 800 lbs at each end. What to do in this case? Of course, you will buy those hurricane ties whose minimum uplift capacity is bigger than you need. To see hurricane ties’ capacity, consult the product specifications page.
2. What Are The Dimensions Of The Trusses And Beams?
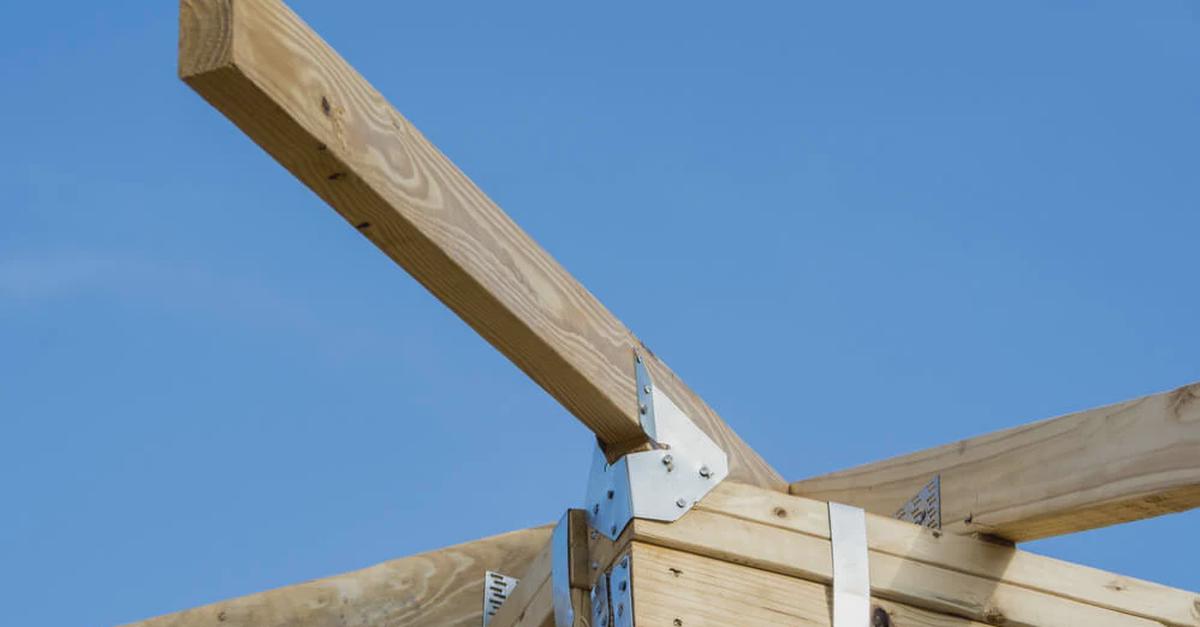
There are basically two types of hurricane straps. The first one is the single-sided twist hurricane straps which are installed only on one side of the wood construction. If you’re planning on buying them, choose a variety that is long enough to be fixed on both roof and walls.
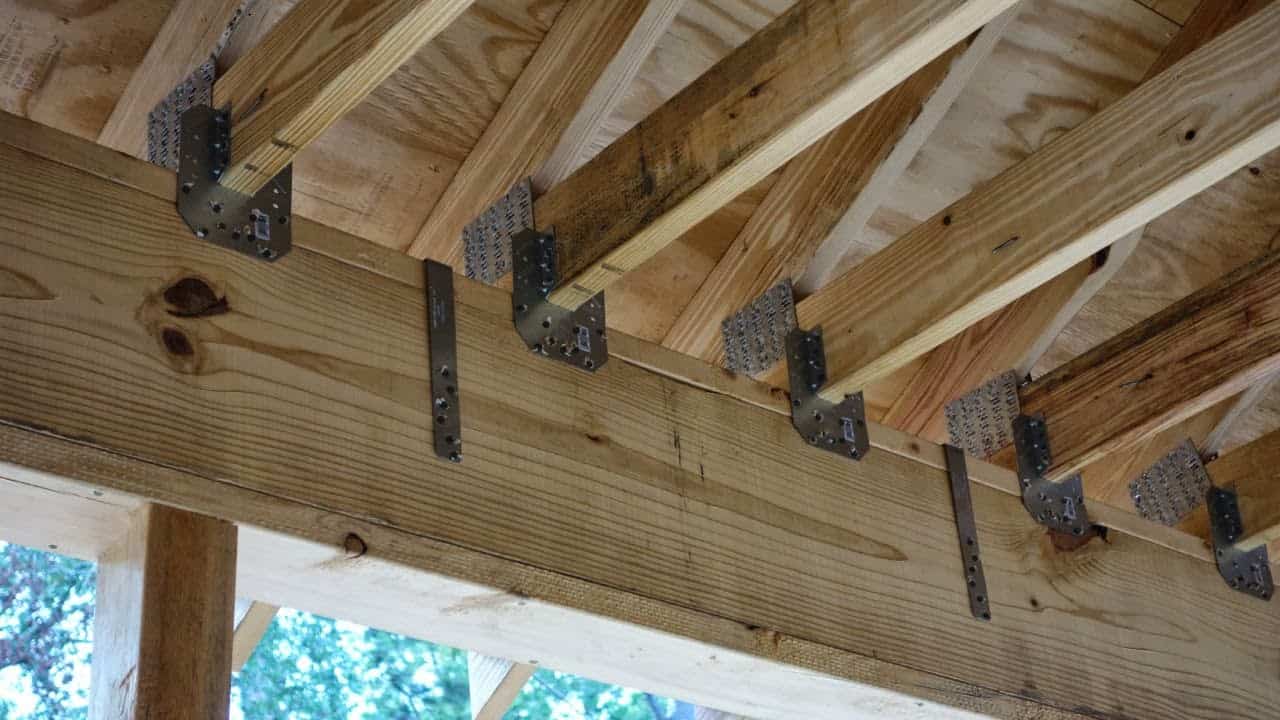
There are also U-shaped hurricane ties. The rafter or beam sits in the tie’s cradle while the lower part of the strap is mounted to the top plate of the wall. Of course, since the wood is inserted into the cradle, you will have to choose those whose width corresponds to the width of the wood frame.
3. Does Your State Or Municipality Require Special Hurricane Ties?
When it comes to installing hurricane straps with an existing roof, many states and municipalities require homeowners to use special straps that have passed certain inspections and tests, so keep this in mind.
4. Are Your Roof And Walls Aligned?
The last thing that you have to take into account is the alignment of the roof and wall. In most houses, these two are aligned, which means you can use a single bracket to secure the wall and the roof.
If not, you will have to use two straps to secure every spot where the wall and roof framing aren’t aligned. But that isn’t always enough, so you might need two different types of hurricane straps to do the job.
Step-by-step Guide On How To Install Hurricane Straps With An Existing Roof
Installing hurricane straps while the house is being built is much easier because the house is barren, and all the connections between the roof’s and wall’s structure are clearly visible.
However, do not despair if you want to do this on an existing roof. Yes, it’s a little more challenging, but it can be done.
Step 1: Find The Spots Where The Trusses Meet The Beams
You should first visit your attic to find out what are the spots where you must install hurricane straps. But to learn that, you first need to locate the places where you will use them.
To locate them, find the places where the wooden construction (wall) that is horizontal to the ground meets the wooden construction (roof) that runs diagonally upward.
Step 2: Uninstall Soffits If You Need To Locate Outside Rafters
If you are doing this same process outside, you may have to uninstall the wooden, aluminum, or vinyl soffits. Only after you remove them will you gain access to the rafters, and then you will be able to locate the spots where you will strap hurricane ties.
Step 3: Remove Drywall If You’re Installing Straps From Inside The House
Installing straps inside the house requires removing the drywall to access your walls’ wooden structure. Of course, you will only remove a small part of the upper drywall since this will be enough to install the hurricane straps.
When you’re done tearing down the drywall, find the top plates on which the bottom half of the strap will be fastened.
Step 4: Mark And Count The Spots Where The Trusses Meet The Beams
Whether it’s attic, outside, or inside – now you know where you will install hurricane straps. Mark these spots, so you remember them later and count them to know how many ties will be necessary when you start working. You will need at least one strap for each place where the beams (studs) join the truss and rafters.
Step 5: Measure The Length Needed To Connect The Truss And Beams
The next task on the list is measuring the length needed to connect the truss and beams. Not only are there lots of different hurricane ties they also come in many sizes since trusses and studs aren’t of uniform height, width, and length.
Step 6: Buy the Appropriate Hurricane Ties
We’ve told you about the criteria for choosing hurricane ties, and now you also know how many and in which size you need them. It’s time to go to the home improvement store and buy the appropriate ones.
A thing to note is that a lot of manufacturers include instructions on how to use their ties, so don’t throw away the packing when you get home. Instead, read and follow the instructions carefully.
Step 7: Buy Proper Nails
While shopping for straps, you will most definitely encounter a section with nails that are used for fastening straps.
Some hurricane tie manufacturers like Simpson also manufacture and provide special fasteners, which should be used to fix the ties to the wood construction. Check if the company that produces the ties you want to buy also makes nails. It’s best to use their products entirely.
More importantly, you should use nails and screws made of the same material as the strap since this will prevent corrosion that could damage the residential structure by not allowing the ties to do their job in case of a hurricane properly.
Last thing you should keep in mind when purchasing fasteners is their length. Like straps, you can find nails in different sizes and lengths, which means that not every nail can be used in every situation.
The most widely used length of fasteners is 16d but check the product page on your hurricane ties to find out if this length is the one you should be buying.
Step 8: Fasten Hurricane Straps To Wooden Roof And Wall Construction
Let’s finally get our hands dirty and start installing the straps.
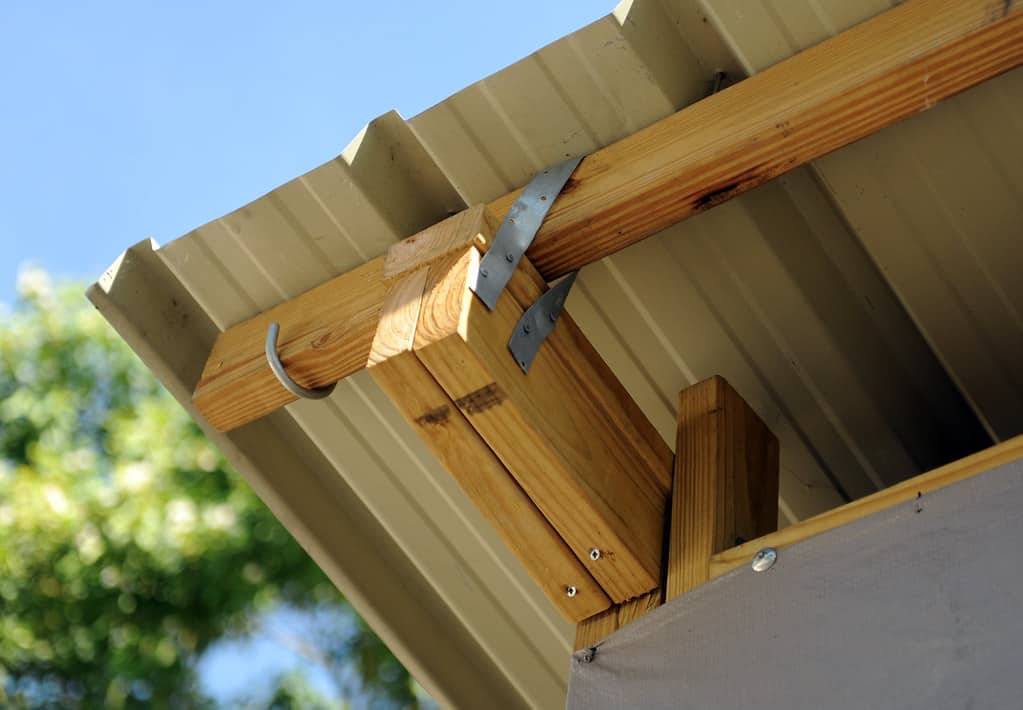
Place the strap so one half is on the rafter and the other on the beam. After that, start hammering the nails using a pneumatic nail gun or your regular hammer. Of course, you will need as many nails as there are holes on the strap.
When you’ve finished nailing all fasteners to one strap, no additional work needs to be done. Your new strap is securely attached.
Repeat the process of fastening the strap to the roof and top plates of the wall for each marked spot.
Step 9: Make Sure You’ve Done Everything By The Book
When you’re done with everything, it’s time to double-check all the places to make sure you didn’t forget something or that you didn’t fasten some straps with enough nails.
Step 10: Reinstall Soffit Panels/Repair Drywall
Finally, reinstall the soffit panels if you were doing the installation on the outside of your house. If, on the other hand, you were doing this inside, repair the drywall by installing it in the places where you attached hurricane straps.
Conclusion
We told you it was not difficult, and we believe we weren’t wrong. Yes, you can install hurricane straps on an existing roof without problems. Here are the steps one more time:
- Find the spots where the trusses meet the studs
- If necessary, remove the drywall or soffit panels to be able to install straps
- Measure the length needed to strap a tie to both wall and roof constructions
- Buy proper hurricane straps and nails
- Fasten straps to both wall and roof constructions
- Go over all the installments after you’ve finished
- If necessary, reinstall soffit panels or repair drywall
Got something to ask? Visit the comment section, and we’ll gladly help you.