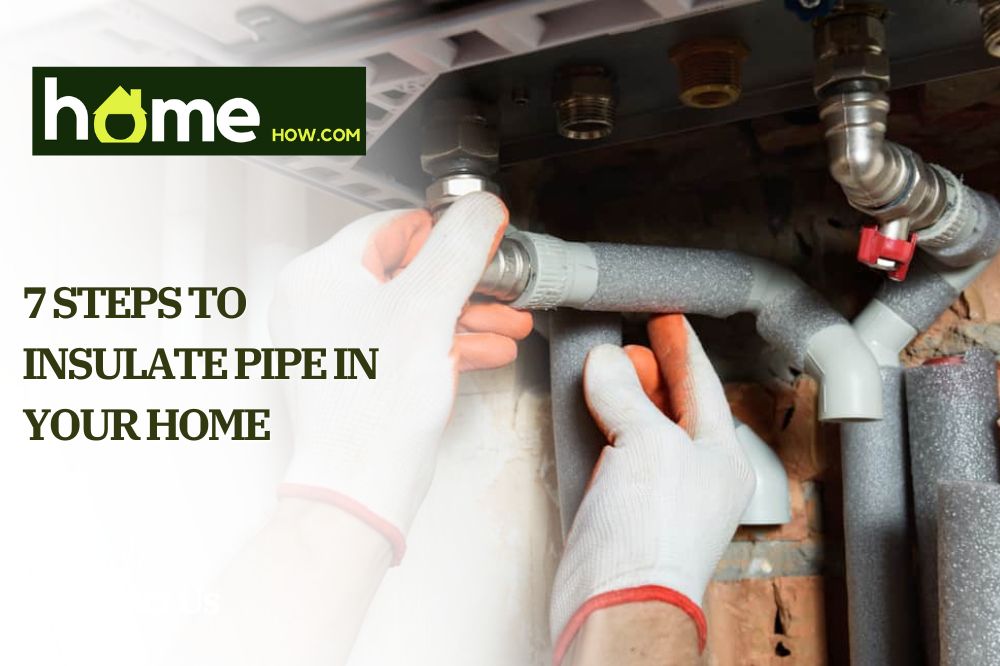
Installing pipe insulation before the winter is one of those annoying tasks no one wants to do but we all know we have to unless we want to one day wake up to burst pipes in our exterior walls or if we don’t want our energy bills to be two times higher than they need to be.
So, how to insulate pipe systems in your home, what materials should you use, which pipes do you need to focus on, and what other tips do you need to get the job done well and easy enough? Let’s go over the whole process step-by-step below.
Why do you need to insulate pipes?
There are a few main reasons why you need to insulate parts of your home’s plumbing and heating systems. All of them are important with the first being quite serious too.
1. Freezing and bursting
Cold water pipes, particularly metal ones such as copper or galvanized steel pipes, are very susceptible to bursting in freezing temperatures. Even certain plastic pipes can fall victim to that if they are a bit too rigid and don’t expand well enough in cold temperatures.
New homeowners in colder climates don’t always think about that but it takes one accident to flood your entire home or worse – your home’s walls.
The ideal solution to this problem is to change the cold water pipes in your home’s plumbing system with ones that are not susceptible to bursting in the cold. This can be a costly and time-consuming endeavor, however, since many of the pipes you’d need to change are inside walls. So, the other thing to do is insulate the exposed pipes in unheated spaces as well as your home’s exterior walls.
2. Heat loss
Cold pipes are not the only problem to consider even if they are the most urgent one. Hot water pipes also often need to be insulated in order to prevent a loss of heat. Of course, this is less of a problem in that it doesn’t threaten to literally flood and destroy your home.
However, having exposed hot water pipes running from a water heater or another heating device and through colder areas that don’t need heating is a really easy way to needlessly inflate your energy costs for no reason. The solution to this issue is to simply insulate those hot water pipes too so that they can retain their heat and deliver it where it’s supposed to go.
3. Prevent pipe sweating
The third issue to watch out for is “pipe sweating”, i.e. the condensation that often occurs on cold pipes inside heated areas. This happens because the cold surface of the pipes gathers moisture from the air and turns it into water droplets on the pipes.
This is arguably the least impactful issue but it’s still more than enough of a problem to warrant action. Such pipe sweating draws moisture from the air and reduces the relative humidity in your home – something that’s already a problem in the winter anyway.
What’s more, it also concentrates excess moisture around the pipes which can lead to mold forming on the walls and behind furniture, to puddles of water on the floor beneath cold water pipes, and so on.
4. Raise the overall heating temperature in your home
If you live in a particularly cold climate, saving on energy costs in the winter may not even be your main concern. Instead, you might be more worried about managing to heat your home adequately in the first place, regardless of the monetary cost.
Insulation on hot water pipes can help with that as, depending on how much you place and where, the insulation can raise the average temperatures in your home in the winter by 2 to 4 degrees. This is quite significant for a one-time fix that requires no additional energy costs through the years.
Which pipes do you need to insulate and where?
Going off of the three main reasons you need pipe insulation, let’s look at which pipes you should focus on exactly:
- Cold water pipes in unheated areas such as your basement, crawl space, attic, etc. to prevent pipe bursting
- Hot water pipes in unheated crawl spaces, attics, and other cold areas to prevent loss of heat and higher energy costs
- Cold water pipes in heated areas to prevent condensation and “pipe sweating”
- Cold and hot water pipes in exterior walls by insulating the walls themselves to prevent both pipe bursting and loss of heat
How to insulate the pipes in your home?
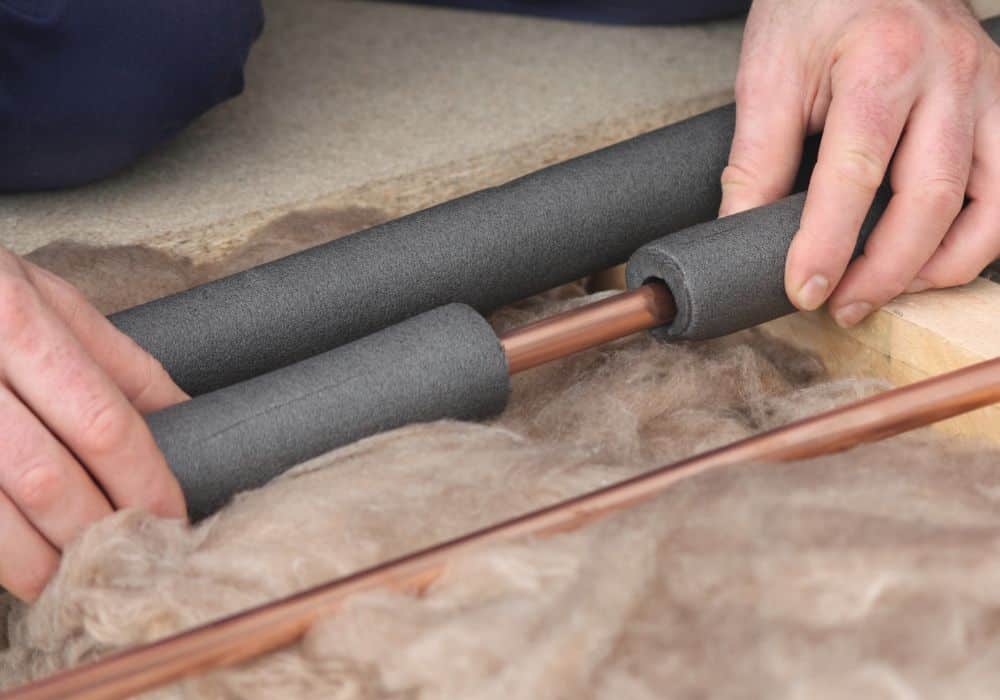
There are several different pipe insulation methods and materials you can use such as foam sleeves, fiberglass pipe-wrap, insulation strips, and other pipe insulation materials. Each comes with its own instructions for easy installation but beyond those, the insulation process is really pretty similar in most cases. Here’s what you’d want to do:
1. Pick the right insulation for the job
If you want the best results, you’d do well to choose the most suitable insulation for your situation. To do that, there really are two main factors to consider – R-value and convenience.
R-value is a simple term that indicates the thermal resistance of a particular material, usually of the types of insulation materials we are going to talk about below such as flexible foam, fiberglass, adhesive strips, and so on.
That R-value normally ranges from 1 or 1.5 to 7 with the lower numbers indicating a lesser thermal resistance and the higher – better resistance. Simply put, if you want better insulation, get something with a higher R-value.
For most winters in moderate climates, experts recommend an R-value of at least 3 for your pipe insulation. If you live somewhere with even harsher winters, however, you might want insulation with an R-value of 5, 6, or even 7.
As for the “convenience” factor – here we broadly mean to consider which type of insulation would be easier to install and maintain on your particular pipes. For example, long sleeves of flexible foam are great for long and straight pipes while adhesive strips are great for pipes that twist and turn a lot.
2. Prep the pipes before insulating
You’d also do well to do some basic cleaning of the pipes to remove dirt and grease off them. This would help the insulation stick better to the pipe as there wouldn’t be any (or much) air and moisture left between the pipe and the insulation. Stuff like that can seem small but it’s the difference between the insulation coming undone in a couple of winters and staying put for a decade.
3. Get the right equipment
Almost regardless of the type of insulation you’ve got, you’d still want to prep the following items:
- Utility knife
- Scissors
- Gloves
- Tape measure
- Flashlight
- Zip ties
- Duct tape
- Strong adhesive
Tools like these would come in handy when securing the insulation in place for a long time.
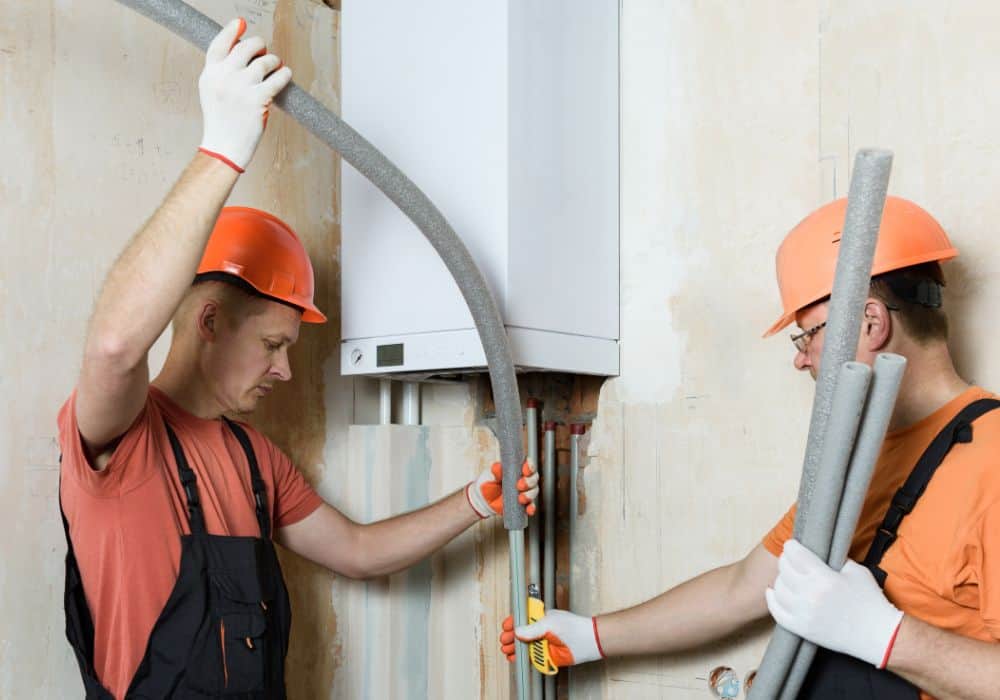
4. Start applying the insulation
Today, homeowners have lots of choices when it comes to pipe-wrap insulation. Fortunately, most types of pipe wrap are installed in a very similar manner – by just slitting the pipe sleeve around the pipe and sealing it with the adhesive strips it has on it. Take a look at how simple fiberglass is to install, for example.
Other types of insulation such as pipe-wrap insulation need to be wrapped around the pipe in a spiraling fashion and then secured in the ends with duct tape or another adhesive. Any commercial insulation comes with its own instructions but they are all made to be as simple and straightforward to use as possible.
5. Properly duct tape and secure any loose ends
Regardless of what type of insulation you’ve chosen, it’s always a good idea to reinforce it with some extra duct tape. Yes, foam pipe sleeves. Aluminum foil tape, polyethylene foam, rubber insulation, fiberglass insulation, and many other types can be self-sealing, but they can still often be helped with a bit of extra duct tape here and there for better stability and insulation.
6. Install frost-free faucets too
Frost-free faucets don’t really “insulate” but they are designed with a special valve that prevents water from getting trapped in the faucet – quite handy in freezing temperatures.
7. Check all parts of the insulation every year
Annual checks of all parts of the insulation are a good idea. Even if it hasn’t fallen off, it’s smart to re-seal any cracks you see in the long sleeves to make sure they continue to insulate as well as possible.
In conclusion – why and how to insulate pipe systems?
If you live in a colder climate you should know that pipe insulation is as important for your home as the pipes themselves. Without proper insulation, your home’s plumbing and heating systems are susceptible to heat loss, condensation, and even bursting during the colder winter months.
Ideally, your home will have been built with its environment in mind and the pipes in your plumbing and heating systems would have been built with the proper cold-resistant materials. Unfortunately, that’s often not the case. And, even when it is, exercising caution and putting pipe insulation on is still a good idea.