If you’re working with pipes, it’s important to know how to measure them correctly. Incorrect measurements can lead to wasted materials, time, and money. In this article, we’ll show you how to measure a pipe so that you can get the job done right the first time.
Tools You’ll Need to Measure a Pipe
- Measuring Stick/Ruler
- String
- Caliper (Optional)
- Micrometer (Optional)
- Calculator
Step-by-Step Guide: How To Measure a Pipe?
Step 1: Identify The Type of Your Pipe (Male, Female, No Threads)
There are many ways to categorize pipes, but the one important for measuring them is the thread type. Threads are grooves at the ends of the pipe that allow it to be fitted with other pipes or fittings.
There are three types of threads-male, female, and no threads. Each one requires a different measuring method which we will go over in detail.
Before we get into that, you need to identify the type of your pipe. If your pipe has a smooth end without any grooves, it’s a straight pipe with no threads.
If your pipe has grooves on the outside, it’s a male pipe, and if the grooves are on the inside, it’s a female pipe.

Step 2: Measure the Length
- Straight Non-Threaded Pipe
Once you know the type of your pipe, you can measure the length. For a straight pipe with no threads, simply use a tape measure to get the length from one end to the other.
- Male-Threaded Pipe
If the pipe has threads, you will need to measure from the tip of the thread to the bottom of the pipe. Note the measurement and subtract 1/4 inch to account for the length of the threads.
- Female-Threaded Pipe
Measure the length of the pipe from the tip to the end, and note the measurement. Then, subtract 1/2 inch to account for the length of the threads.
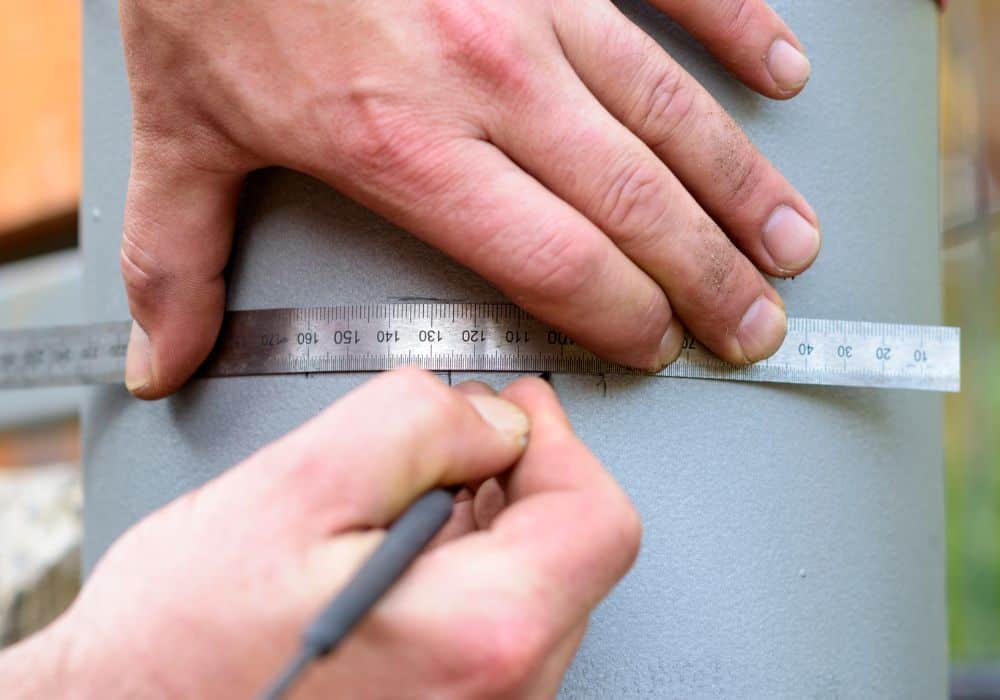
Step 3: Measure the Outside Diameter (OD)
After measuring the length, you will need to measure the diameter of the pipe. For a pipe with male threads or a pipe with no threads, you have to measure the outside diameter (OD).
The outside diameter measurement is the distance between two perpendicular points on the outside edge of the pipe.
There are a couple of ways to do it.
- If You Have a Caliper
Open the jaws of the caliper until they are slightly wider than the outside diameter of the pipe.
Place the caliper around the pipe so that the jaws are touching the sides of the pipe.
Read the Scale (Here’s a quick video showing how to read vernier caliper scales)
- If You Don’t Have a Caliper
Evenly wrap a string around the pipe.
Mark the string where it overlaps to form a complete circle.
Use a ruler or tape measure to measure the length of the string.
Divide the length of the string by π (≈3.14) to get the outside diameter of the pipe.
Step 4: Measure the Inside Diameter
If you have a pipe with female threads, you’ll have to measure the inside diameter (ID). The inner diameter is the distance between two perpendicular points on the inside edge of the pipe.
To measure it yourself, you’ll need a special caliper or micrometer that has outside jaws, which can measure the diameter of holes, like the inside of a pipe.
- Open the outside jaws of the caliper until they are slightly narrower than the inside diameter of the pipe.
- Place the caliper inside the pipe so that the outside jaws are touching the inner sides of the pipe.
- Read the Scale
Step 5: Determine the Schedule (SCH)
The schedule is the thickness of the pipe wall. The most common schedules are 40, 80, and 160. You can usually find the schedule printed on the side of the pipe. If it’s not there, you can use a micrometer to measure the thickness of the pipe wall.
To do that, open the jaws of the micrometer until they are slightly wider than the wall of the pipe. Then, place the micrometer around the wall of the pipe, and turn the thimble until the jaws are “hugging” the wall. Finally, read the scale.
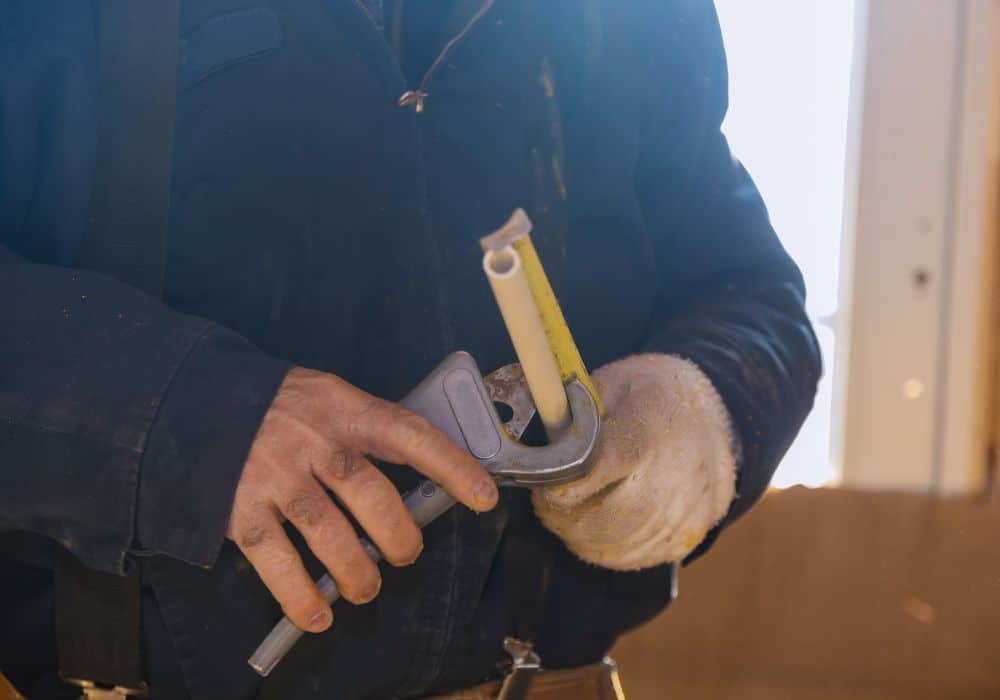
Step 6: Measure the Pitch (The Distance Between Threads)
The pitch is the distance between two adjacent threads. To measure the pitch, you will need a thread pitch gauge tool. First of all, find the matching size notch on the gauge by placing them on the threads.
When you find the notch that perfectly fits the threads, read the pitch size on the size of the notch. Now that you know how to measure a pipe, you’re ready to get to work. With the correct measurements, you can be sure that your project will go smoothly.
Pipe Standards
If you’re shopping for pipes or fittings, you need to know the types of measurements, so you can buy the right size for your needs. There are several size standards, depending on the type of pipe you’re going to need.
Referring to the standard charts is the easiest way to “measure” the pipe.
1. Iron Pipe Standard (IPS)
The pipe standard followed in the U.S. usually has tapered threads, which are difficult to measure without a chart. Here you can find the size info chart for iron pipe standard (IPS) from the American National Standards Institute (ANSI).
Despite the standard name, the size info also applies to other kinds of pipe, like PVC, brass, carbon steel, and stainless steel pipes. That said, if you have another type of pipe, like CPVC, PB, Pex, and copper, you have to refer to other size charts.
2. Copper Pipes – Copper Tube Sizing (CTS) and British Standard BS. 6017
North America (the U.S. and Canada) uses K, L, and M types of copper pipes. You can find their nominal size chart information here.
Countries in Europe follow British Standard BS. 6017, and uses X, Y, and Z types of copper pipes. You can find their nominal size chart here.
3. Ductile Iron Pipe Size (DIPS)
DIPS sizing standard is usually used for larger pipes that are utilized for drinking water distribution. Ductile iron pipes can be unlined (UNL), cement lined (CL), or double cement lined (DCL).
Here’s a chart for the nominal size, thickness, and inside diameters of ductile cast iron pipes.
4. Pex Pipes
If you’re using pipes made of crosslinked Polyethylene (PEX), then you have to refer to the ASTM F876 Standard Specification. Here’s a chart for that:
| Nominal Pipe Size
(inches) |
Average Outside Diameter
(inches) |
Min. Wall Thickness
(inches) |
Average Inside Diameter
(inches) |
| 1/2 | 0.625 | 0.070 | 0.510 |
| 3/4 | 0.875 | 0.097 | 0.681 |
| 1 | 1.125 | 0.125 | 0.875 |
| 1 1/4 | 1.375 | 0.153 | 1.069 |
| 1 1/2 | 1.625 | 0.181 | 1.263 |
| 2 | 2.125 | 0.236 | 1.653 |
| 2 2 1/2 | 2.625 | 0.292 | 2.041 |
| 3 | 3.125 | 0.347 | 2.431 |
Extended Tips For Measuring Pipes
- If you’re working with a curved pipe, you can use a string or cord to measure the circumference of the pipe.
- If you are working with a large pipe, it may be helpful to use a pipe stand
- When using a caliper, be sure to zero the tool before taking measurements.
- If you don’t have a micrometer, you can use a vernier caliper to measure the wall thickness.
- Make sure to use the right type of micrometer for what you’re measuring. If you’re measuring the outside diameter of a pipe, you’ll need an outside micrometer. If you’re measuring the inside diameter of a pipe, you’ll need an inside micrometer.
- Use digital calipers or micrometers for quicker measuring. Such tools have a digital screen that shows the size reading.
- There are many different PVC pipe sizes, and they come in different Schedules, two of the most common are Schedule 40 and Schedule 80. Schedule 40 has thinner walls than Schedule 80.
- Use Nominal Pipe Size (NPS) If You’re Living In North America and other countries that use the Imperial System, and Diameter Nominal (DN) If You’re Living in Countries That Use The Metric System.
- NPS charts use inches, while DN charts use millimeters.
- If you’re shopping for pipes, you need to know the types of measurements, so you can buy the correct pipe for your needs.
- Plastic pipes (PVC, PEX, ABS, CPVC, etc.) usually have manufacturer’s markings on their outside walls, reading their nominal sizes.
Conclusion
Measuring the pipe isn’t difficult, especially if you have tools for that. To find out the actual diameter of the outside of the pipe, follow these steps:
- Wrap a string around it and make a mark on the string at the point where it forms a circle.
- Straighten the string and measure its length from the end to the marking.
- Finally, divide the length of the measurement by π (≈3.14).
If you have any questions about measuring pipes, let us know in the comments!