Figuring out how to paint a PVC pipe sounds like it should be easy but there are actually a few key tips and tricks to it.
The reason for that is PVC pipes were initially intended for plumbing only and have a very particular molecular makeup that stops most liquids from bonding with the surface of the pipe. This is one of the many great features that make PVC pipes awesome but it also makes painting them tricky.
Fortunately, there are ways to circumvent this issue. Namely, there are some new types of specific paints that are designed to stick to the PVC pipe surface. These plastic paints usually come in spray cans but some are also available in regular cans. So, here is a simple 10-step process for how to paint PVC pipe.
10 steps to painting PVC pipes
Exercising caution when handling paints and other chemicals is always a must, whether we’re talking about acrylics, latex paints, or cans of spray paint. If street artists know to be protected when painting murals on the sides of buildings, you should be careful when painting PVC pipes in your garage too. Here’s how you should best approach the whole process:
1. Choose the right paint
The first key step that will determine the ultimate success or lack thereof of your PVC-painting exercise is what type of paint you choose. Fortunately, nowadays there are plenty of options with almost every type of plastic paint in a spray can able to work for the surface of the PVC pipe.
You should be able to find such paints in most hardware stores as well as online and on Amazon. Some fan-favorite paints are Krylon Fusion and Rust-Oleum Plastic Spray Paint but there are many others you can go for too. Just make sure that the packaging of the paint you choose explicitly says that it’s suitable for painting on plastics and PVC in particular.
2. Prep the necessary additional tools
Painting a PVC pipe is a time-sensitive process with pretty precise time frames and pauses needed between each phase. So, if you want everything to go smoothly, it’s smart to prep all the gear you’d need ahead of time so that there are no unnecessarily long breaks. The things we’d suggest getting ahead of time include:
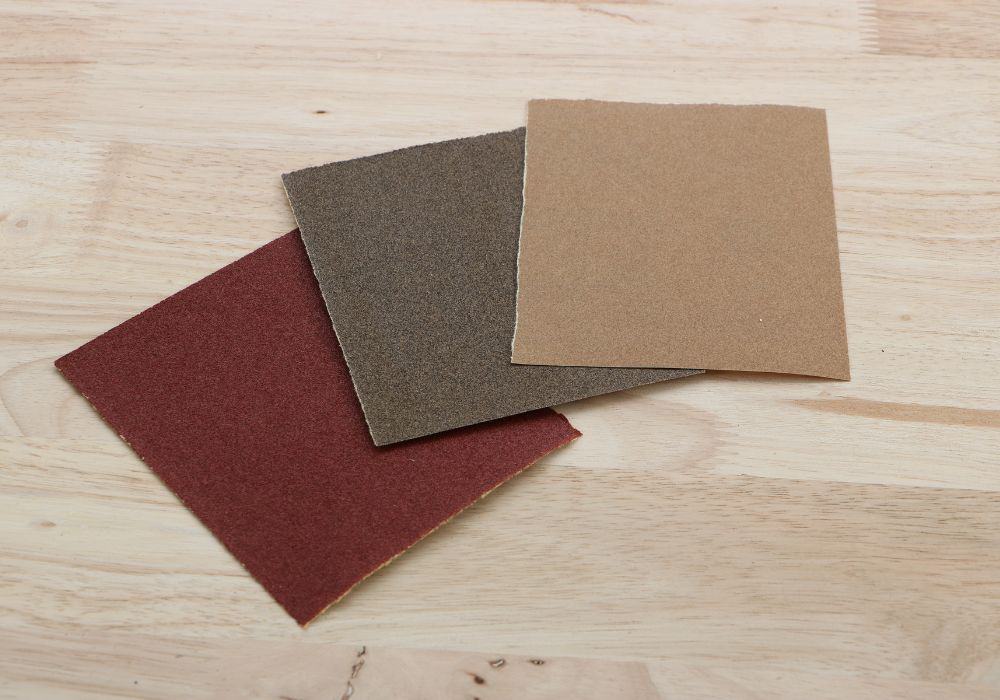
Grit sandpaper, specifically 220-grit sandpaper – quite a lot of it too, especially if you have lots of pipes to cover
- Rubber gloves
- Face covering – mask and goggles
- A good paint brush if you’re not using a spray can
- Drop cloths
- Acetone – again, lots of it if you have lots of pipes to paint
- Newspapers, old rags, and other covers for the surfaces in your work area you want to keep clean
These are more or less the must-haves but you should really plan your own process ahead of time and think about what else you might need.
3. Pick the right day, environment, and conditions
Next, it’s especially important to pick the right day, time of day, and the environmental conditions in your work area before you start. Here’s everything we’d recommend you consider before you start:
- Pick a low-humidity day – too high humidity in the air will slow the drying process and can even affect how the paint looks once it has dried
- Choose the right work area – something like a garage or a workshop is fine but it must have good airflow as paint fumes can be nasty to breathe in. This means having multiple doors and windows and keeping them open during the whole process. Working outdoors, such as in your yard, may sound tempting but it’s not a good idea as stuff such as debris and dust in the air or a sudden rainfall can easily affect the whole endeavor.
- Keep all heat sources away – acetone is very flammable as are many of the other materials you’re going to use, so it’s incredibly important to keep all heat sources and other electrical appliances out of the work area (this includes smoking too).
4. Prepare, cut, resize, and connect the PVC pipe beforehand if necessary
This can seem obvious but we’ve heard about lots of people who’ve made this mistake – painting first and then realizing that they actually need to resize the piece a bit more or add a connection.
Obviously, doing all this ahead of time is not “a must” the same way safety precautions are but it is smart to do all necessary cuts and connections ahead of time, to try whether the pipe fits where it’s supposed to go, and to only then go ahead and start painting it.
5. Sand the PVC pipe you wish to paint

With all the preparations out of the way, let’s get into the process itself. The first thing you’d want to do is to thoroughly sand the whole PVC pipe with grit sandpaper. It’s especially important to do this by hand and not use an electric sander, however, as that tool can easily wear the PVC pipe down too much, even if you’re careful with it.
Instead, just hand-sand the pipe using gentle but thorough motions in every direction. The goal is to smooth out the pipe and remove all uneven areas. You should also have lots of sandpaper with you and switch the sheet you’re using frequently as the waxes coming off the PVC pipe will reduce the sandpaper sheets’ effectiveness pretty quickly.
6. Wipe the pipe clean and let it dry off
Once the pipe is smooth and even, it’s time to get the acetone and a clean rag. This step is simple – just dampen the rag or cloth piece with the acetone, and clean the pipe as best as you can. Remember to use your rubber gloves for this step as well as to open all windows in the garage if you haven’t already as well as remove all heating devices and potential fire-starters from your immediate area.
The purpose of this step isn’t just to remove all the sanding dust off the pipe but also the properly drench the surface of the PVC pipe with acetone. This is important as that will temporarily swell the surface area of the pipe, open up its surface pores, and make it even easier to spray paint.
After that, let the pipe dry off adequately for at least 20 minutes to half an hour. You don’t want to paint over a wet pipe but you also don’t need to wait unnecessarily long.
7. If needed, apply a layer of primer
Some plastic paints will require a coat of primer spread on the pipe before painting. Such priming is usually a must for non-spray paints but whatever the case, it should always be noted in the manufacturer’s instructions. If a primer is needed, just lightly and easily brush a light layer on top of the clean pipe and then paint over it – it’s the same process as with any other object you’d wish to prime and paint.
The purpose of the primer is to make the paint stick more easily to the pipe’s surface. For this, it’s best to get a primer in a basic matte white color as you can color over it in any color you like. PVC pipes themselves are usually white too so there should be no issue with the primer’s color here.
8. Spray the pipe with your chosen spray paint
Next, the fun part – just lay the pipe over some newspaper pieces or other surface covers and start spraying over it. Ideally, the pipe will be a bit elevated so as little of its surface area touches the ground as possible. If you’re using non-spray paint, just get a second clean brush and start spreading the paint lightly and evenly over the pipe.
Regardless of the type of paint you’re using, make sure you’re going from top to bottom and you’re not making the first layer too thick – there will be a second layer afterward. As with the acetone – let the first layer of paint air-dry for about 20 to 30 minutes before you add the second layer.
9. Apply a second coat of paint after the first has dried off
Add the second layer of paint just as you did the first. The two layers of paint will ensure that the pipe looks good and it’s important that they are thin layers to avoid any unevenness in the end product.
10. Wait at least a day – or more – before using the pipe
The minimal wait time after applying the paint should be 24 hours so that it doesn’t come off easily after a touch or a light knock. If there’s a more serious risk of knocks and scrapes, it’s a good idea to wait even more than that – up to a week even, if possible.
In conclusion – how to paint PVC pipe
Overall, painting PVC pipes isn’t that much of an issue if you’ve picked the right type of paint and if you exercise basic precautions such as wearing gloves and a face mask, working in a well-ventilated space, and so on. Still, those things need to be pointed out as it’s easy to miss a step if you’re new to this type of DIY work.