If you own a PopSocket, you probably know how handy they are. We love our big devices, but you must admit they can be pretty tricky to operate with one hand. This is where PopSockets come in. They’re designed to help you grip your device better and can double as a phone stand.
So you love your PopSocket because it’s useful and a stylish accessory to boot. Have you ever tried removing it? Say you want to transfer it to your new device. PopSockets stick pretty hard to your phone case, making them tricky to remove. If you’re wondering how to remove a PopSocket, read on for a step-by-step guide and expert tips.
Tools You Need
There are several methods you can adopt to remove your PopSocket without damaging anything. The tools you’ll need are simple objects you have around the house. Some of the must-have tools include:
- An ID/credit/business card
- Dental floss
- Hair dryer
- Duct tape
- Alcohol
- Baking soda
- Nail polish remover
Step-by-Step Guide to Removing a PopSocket

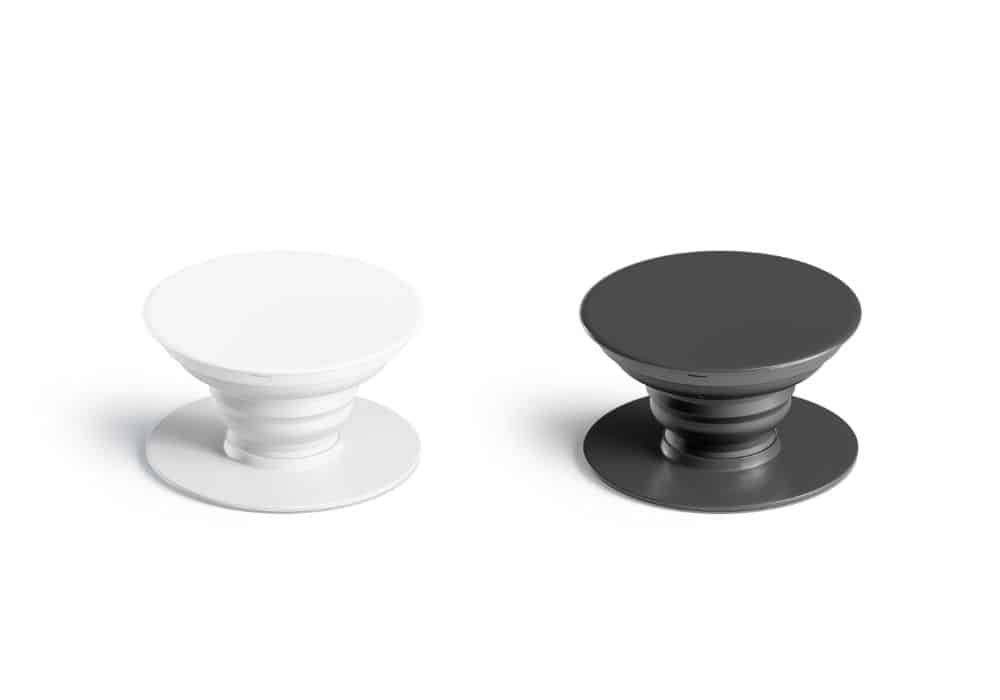
This guide applies specifically to sticky PopSockets, which attach to your phone through an adhesive gel. Magnetic PopSockets are a lot easier to remove. Most people prefer the sticky PopSockets because they are stronger, hence more grip.
Step 1: Collapse the PopSocket
Never attempt to remove your PopSocket while it’s expanded. It’s advisable to push the top down until it’s flat against the device before removing it. This will help you avoid detaching the PopSocket from its base during the removal process.
You should be gentle with the expandable button, especially if you plan to re-use the PopSocket. If the button falls off, you can re-attach it using the connector tabs on the base. However, this is dependent on the type of PopSocket you use.
Step 2: Get Your Nails or Tool of Choice Under the PopSocket Base
Position your fingernails carefully against the sides of the PopSocket base and gently slide them underneath. Long nails are particularly helpful; as they will help you get a good grasp. Your nails don’t have to go all the way in, just as long as you can feel the base starting to detach from your phone.
Step 3: Gently Pull the PopSocket Away From the Device
Once you have a good grip on the socket, pulling is the easy part. Do it carefully, as you don’t want to ruin the adhesive gel. The best way to go about it is to start from one side, pulling gently toward the other.
Pro tip: you can use some of the tools mentioned above if your nails aren’t doing the job.
- Hair dryer: Move a hairdryer back and forth over the area to melt the adhesive if the grip is too firm. Do this for about thirty seconds, then try pulling again. If it doesn’t work, repeat the process until the adhesive is loose enough.
- Dental floss: Slide dental floss under the sticky gel and move it down slowly until the socket comes off. If you don’t have dental floss, a hanging wire or any thin string will work fine.
- Business card: Any type of card is an excellent tool for removing a PopSocket. The thinness of the card allows it to slide between the phone and the adhesive, and you can peel it away slowly. The card can also be used to remove debris and lint that might be stuck to the adhesive.
- Baking soda: Sprinkle some baking soda generously over the PopSocket. Next, brush off the excess baking soda using a toothbrush. Make sure the baking soda is on all sides of the PopSocket, as well as the residue on your phone’s surface. Use a damp cloth to wipe the PopSocket off and clean your phone’s surface.
- Alcohol: Isopropyl alcohol is very effective at dissolving PopSocket sticky adhesive. Spray the alcohol on the PopSocket and phone surface, then wipe it off using a cloth. You can use a cotton swab for hard-to-reach areas. Be sure to wash your hands after using the alcohol to avoid dermatitis.
- Nail polish remover: To dissolve the PopSocket sticky adhesive, you can generously pour nail polish over it and wipe the surface off with a clean cloth. Nail polish remover works best for small surfaces. Remember to clean your hands thoroughly here, so you don’t get dermatitis.
Step 4: Attach the Sticky PopSocket to the New Device
Make sure to move the PopSocket within 15 minutes to avoid the gel drying out. While it’s still sticky, you can transfer it to a new device or a new spot on the same device.
Before re-attaching the PopSocket, run it under cold water for three seconds. This helps to clean it and help increase its stickiness. The PopSocket should air dry for ten to fifteen minutes before re-attaching it. You can lay it on a paper towel with the sticky side facing up. If it’s not dry after 10 minutes, you can use a paper towel to wipe the base and dry it manually.
Pro tip: PopSockets do not stick very well to surfaces made from silicone, leather, or waterproof surfaces. After attaching your PopSocket to the new surface, let it rest for about an hour before expanding. This gives it enough time to fully adhere to the surface so it won’t come off easily.
Tips for PopSocket Use and Maintenance
Like most phone accessories, you want your PopSocket to last as long as possible. The best PopSockets are designed to re-stick even up to 100 times, provided you maintain and store them properly. Here are some tips to make your PopSockets last longer:
1. Choose the Ideal Type
People are often concerned about whether or not a PopSocket can ruin your phone case. In most cases, it’s about whether the PopSocket is compatible with the phone case. If your phone case is thin, the PopSocket can stretch it out and make it loose.
If your case is heavy-duty, the PopSocket can also add too much weight, which puts stress on the seams. Consider the type of phone case you have to determine the most appropriate PopSocket.
2. Avoid Removing It Repeatedly
PopSockets are perfectly safe to remove, but you should avoid doing it too often. In most cases, continuous removal causes dirt to build up on the adhesive gel, significantly reducing its grip.
If you notice the PopSocket is no longer sticky, use warm water to clean off the dirt, leave it to air-dry, and then reapply it to your phone.
3. Don’t Overuse the Expandable Button
One of the reasons PopSockets are so popular is their expandable button. It’s very satisfying to expand and collapse your PopSocket, especially if you tend to fidget. However, pulling the button too hard can cause it to fall off.
When expanding and collapsing your PopSocket, be as gentle as possible. If it does fall off, check to see if you can re-attach it to the sticky base. Most PopSockets have connector tabs you can use.
Tips for Getting Rid of Adhesive Residue
Removing PopSocket Residue From Your Device
If you remove your PopSocket and there’s a residue left on the phone case or surface, here are a few tips to help remove it:
- Dip a lint-free cloth or paper towel in warm water and gently wipe the residue away
- If the residue persists, use a cotton ball or Q-top with rubbing alcohol to get rid of it
- For particularly stubborn residue, you can use commercial adhesive remover like Goo Gone
Removing Popsocket Adhesive From Your Hands
Sometimes when removing your PopSocket, some of the adhesive sticks to your hands. Luckily, you can easily remove it using soap and warm water. If that doesn’t work, use a commercial adhesive remover.
If the soap and remover don’t work, you’ll need a more potent solvent, like nail polish remover or acetone. Be careful when using these solvents on your skin. Start by testing the solvent on a small part of your skin to ensure you won’t have an allergic reaction.
You can also avoid the adhesive altogether by greasing your hands before attaching or removing the PopSocket. The grease makes the PopSocket slide easier, and the adhesive won’t get stuck on your hands. Avoid using too much grease, and clean your hands immediately afterward to prevent dermatitis.
Conclusion
Hopefully, you’ve learned something about PopSockets and how to remove them from your phone case and other surfaces. As you’ve seen, removing a PopSocket is not as difficult as it may seem. You can do it yourself using simple household items.
PopSockets can last long, provided you take proper care of them. Ensure they’re attached firmly to the surface, gently pull the collapse button, and avoid moving them around too often.
When removing your PopSocket, follow the following simple steps:
- Collapse the PopSocket
- Get your nails or tool of choice under the PopSocket base
- Gently pull the PopSocket away from the device
- Attach the sticky PopSocket to the new device
If you have any additional questions about PopSockets, let us know in the comments below!