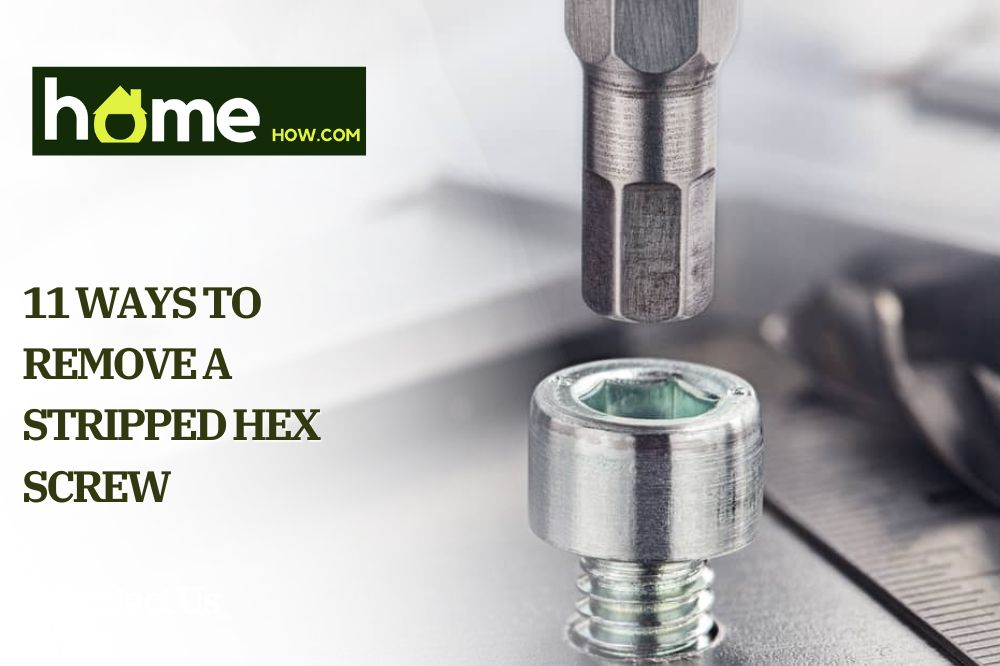
Modern tools like wrenches and screws make life much easier, but something as simple as stripping the screw becomes a pain to deal with. This usually happens when you use too much power or fail to seat the driver in your screw, and the removal process gets complicated.
A stripped hex screw cannot grab the tool properly to give you the leverage needed for removal, and it requires a unique approach.
In this article, we explore 11 reliable methods to remove even the most stubborn stripped hex screw.
Best Methods for Removing a Stripped Hex Screw
When removing a stripped hex screw, it’s important to use an approach that will not make the issue worse. These methods for removing stripped hex screws aim to keep the remaining screw head intact for proper grip and leverage.
We’ve put the easiest and most accessible methods for removing a stripped hex screw first on the list. As you go down, it becomes more difficult, and you may need to purchase additional tools to remove the screw.
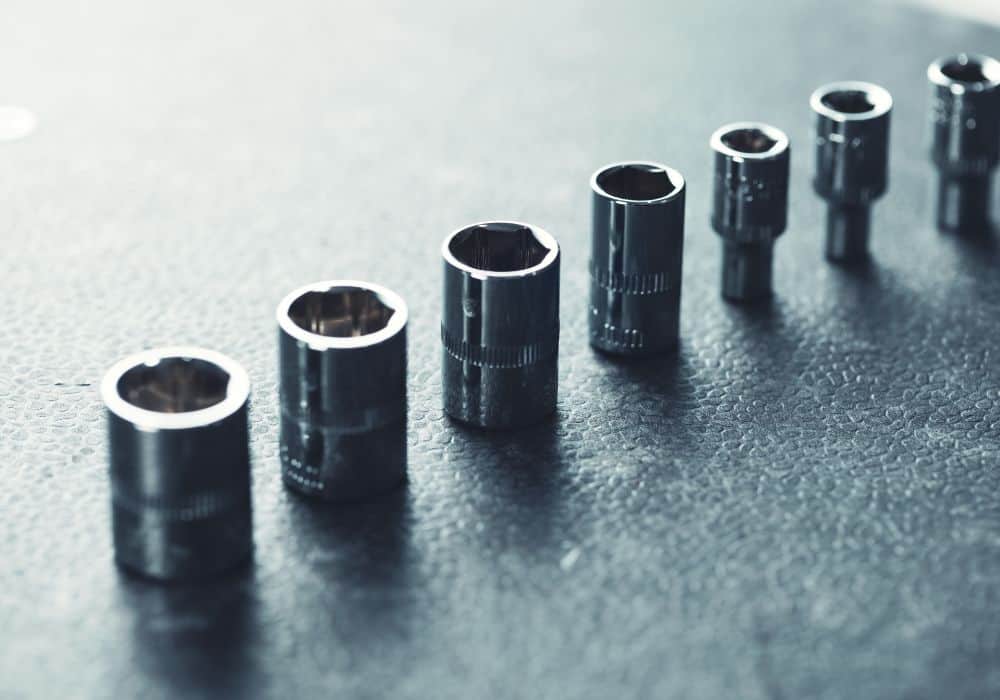
1. Torx Wrench
Hex sockets are one of the most popular designs beyond flathead and Phillips sockets, but when their hexagonal shape strips it’s difficult to get the leverage you need to remove the screw. The start shape of a Torx bit provides a better grip, and it can work out your stripped screw with ease.
While they aren’t as popular, most tool kits come with at least one Torx wrench. If not, you can’t go wrong with upgrading to a more inclusive kit.
Choose one that is slightly larger than the hole of your scrapped hex screw, then push it firmly.
Once you verify there is no wiggle room, turn the wrench counterclockwise to remove the stripped hex screw.
2. Rubber Band
For this method, you only need a rubber band that is wide enough to completely cover the hex hole on your screw head. Any thin rubber item, such as a disposable rubber glove, will work the same.
Cover the stripped hexagonal hole, then use your allen wrench to push the rubber into the hole. It should settle in snuggly, and then you can try to unscrew the hex screw like normal.
Rubber improves the grip of the allen wrench by filling in the gap created by stripping the screw. You can also try this method in conjunction with the one listed above.
3. Channel Locks
Channel lock pliers, also known as plumber’s plier or tongue-and-groove pliers, have a locking mechanism that lets you secure the jaws in a fixed position. This takes some of the workloads off of you, and you can focus more on getting the leverage you need to remove the stripped hex screw.
This method only works with screw heads that protrude enough for you to lock the pliers on. Fit them around the exposed screw head, then clamp down and secure the pliers tightly on the screw head before trying to turn the screw for removal.
If the pliers slip at all, stop what you are doing and try to tighten them more before proceeding. Any slippage may damage the screw head further, and it can destroy the grip in cheaper pliers.
4. Friction Drops

Friction drops like EZ Grip use a solution of finely ground metal powder. These are near diamond level hardness, and they work to fill small gaps created in stripped screw heads.
To use friction drops, place a drop or two in the stripped hole of the hex screw and then fit your Allen wrench in. While you wiggle it to get a good fit, the friction drops move to bridge the gap between the tool head and the screw surface.
You should feel the tool lock into place, and then you turn it as normal to remove the stripped hex screw. Use a lubricant to free up any screws that still feel locked in place.
5. Hammer and Screwdriver
If you have enough faith in your strength, you can try using a Philip’s screwdriver and a hammer to loosen the screw enough to work it out. Unlike the Torx wrench, this risks ruining either tool along with the screw, but it’s effective when other methods fail.
Wear a pair of safety glasses to protect your eyes from any pieces that may break off of the screw or the structure from the percussive force.
Start with a screwdriver that fits snuggly in the hex hole of your stripped bolt or screw, then tap the end with just enough force to work it into the hole. The angled Philip’s head should dig deeper into the screw, then you can use the hammer or brute force to remove the screw.
6. Center Punch
Those who lack the strength needed to hammer the screw out may have better luck with a center punch. This tool features a sharp point that can lock into the screw, while the spring back creates the force needed to unstick it.
Place the tip of the center punch on a flat part of your screw head so it has better leverage when it locks in. Make sure the punch points to the left so it turns the screw counterclockwise when struck.
Pull the spring back, then let it go. Do this as many times as needed, and it should turn the stripped screw head enough to work it loose.
If the spring force is not enough, use a hammer on the handle of the punch to provide greater force. You may damage the tool, screw, or structure, but the pointed edge of the center punch will lock into place better than the screwdriver in the previous method.
7. Old Hex Key and Epoxy
If you have an old hex key you don’t mind tossing out, attaching it to the stripped screw may be your best bet.
Find an epoxy solution that dries fast and locks in place, then spread it on both your screw hole and the end of your hex key. Make sure it does not get on the surface around the screw; this further bonds the screw to the structure you’re trying to remove it from.
Fit the tool into the hole, then leave it to set for the directed time. This varies from a few minutes to a few days, but the longer you wait the greater your chance of success.
When the epoxy dries, the two items are basically welded together and you should be able to turn the tool and remove the screw.
8. Cutting a New Slot
One of the more effective (and most dangerous) methods for removing a stripped hex screw requires the use of a power tool and a metal cutting blade. Because this runs the greatest risk of damage or injury, this should be a last resort.
Mark your screw head with a line to ensure you cut where intended, then don a pair of safety glasses. Use your saw, Dremel, or angle grinder to create a shallow slot in the screw, then use a flathead screwdriver to work the stripped screw from its spot.
If you end up with a slot that’s too narrow to fit the screwdriver, we suggest hitting the screwdriver into the marked area to chisel a new slot.
9. Drilling the Screw Out
A high-torque power drill and a strong bit provide the power you need to drill straight through the stripped screw. Start with a titanium or cobalt drill bit that’s the same size (ideally larger) than the screw’s threads.
While wearing safety glasses, set the bit in the hole, then use a slow speed and steady pressure to drill through the screw.
This eats up the existing screw that’s locked in place, leaving you with a similar (or slightly larger) pilot hole.
10. Screw Extractor
Screw extractor kits are relatively inexpensive, and it’s a good idea to have one on hand if you work with screws often. These have two ends: one for cutting and one for removal.
Start with the removal side in your drill and the cutting side available. Drill slightly into the middle of the stripped hex screw head, then turn the extractor over to use the removal side.
Place the bit in the hole you just drilled out, then put your drill in reverse. The reversed threads catch in the hole, then twist your screw for extraction.
11. Applying Heat
Heat removes a stripped hex screw easily from a metal surface by expanding the area around the screw threads. This opens it up just enough to work the screw out, even when you can’t get a complete connection with your Allen wrench.
Do not use this method near flammable or fragile materials, and wear safety goggles while you work with the flame.
Light a propane torch, then hold the flame over the stripped hex screw head for about 5 to 10 seconds. This should be long enough to expand the surrounding metal, but not long enough for the screw to heat enough to redden.
Fit your tool into the hole, then try turning the screw counterclockwise for removal.
Finishing Thoughts
A stripped hex screw is a pain to deal with, but it’s better to address the issue sooner rather than later. Regardless of which method you choose for removal, move through the process slowly to prevent further damage to the screw.
Start with the simpler methods to potentially save you time and minimize damage to the screw or the object in which it is fastened.
Have you tried any of these methods for removing a stripped hex screw? Let us know how it went in the comments!