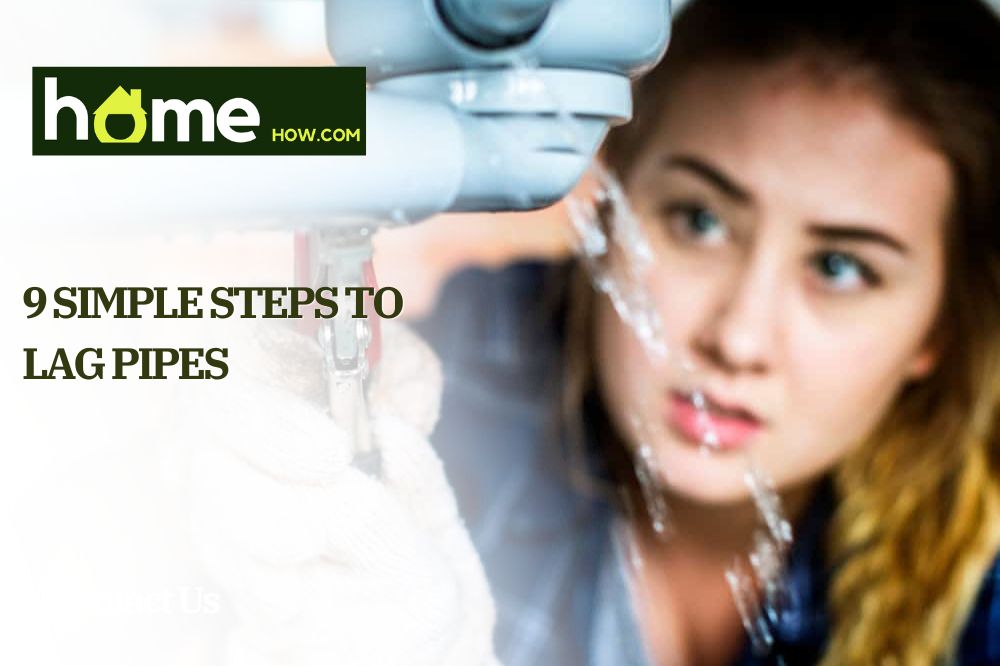
If you’re a homeowner, the last thing you want to deal with is a burst pipe. But unfortunately, it’s a common problem that can happen at any time. And if you’re not prepared, it can cause a lot of damage to your home, or increase the water bill.
That’s why it’s important to know how to repair a burst pipe. In this article, we’ll show you step-by-step how to do it. We’ll also provide some extended tips to help you prevent pipes from bursting in the future.
Tools You’ll Need To Repair Burst Pipe
For burst pipe repair, you will need the following tools:
Optional Tools:
- C-Clamp
- Pipe Repair Clamp
- Epoxy Putty
Step-by-step guide: How To Repair Burst Pipe
Step1 – Shut off the water
The first step is to shut off the water. This will prevent any further water damage to your home and will make it easier to repair the burst pipe.
If you don’t know where your water shut-off valve is, take a look at your water meter. There should be a shut-off valve next to the meter.
Step2 – Drain the pipe
Once the water is shut off, you need to drain the pipe. This can be done by opening the faucets at the highest and lowest points of the house. This will allow the water to drain out of the pipe. It’s also a good idea to open the drain valves to drain any water that might be in the pipes.
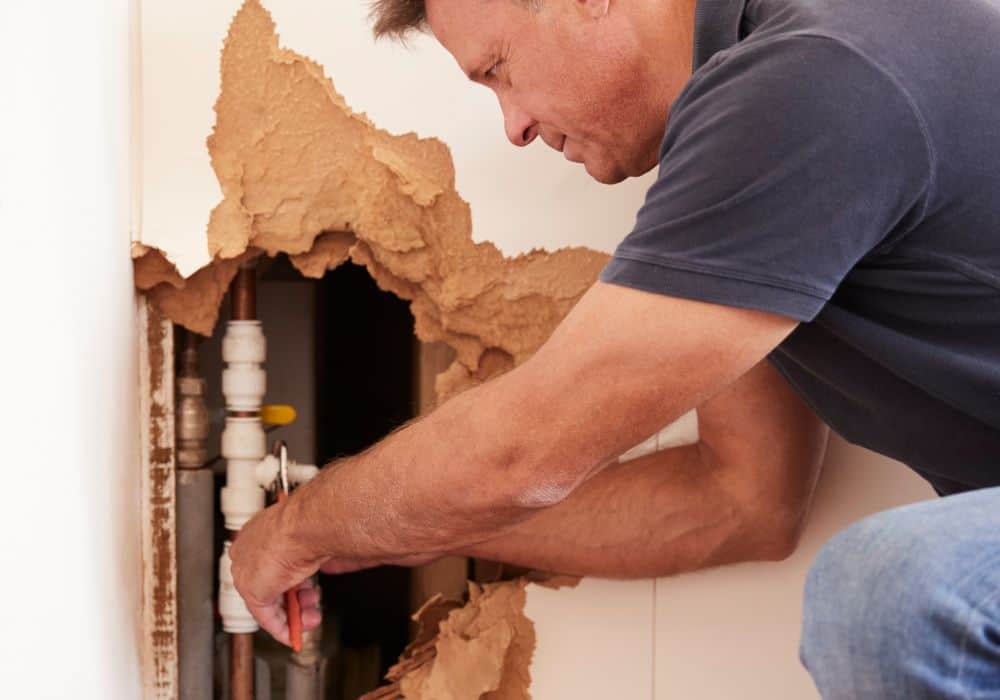
Step3 – Cleanup The Moisture and Turn on the Heaters
If there’s spilled water, mop it up with a towel. If there’s any wet insulation, remove it and throw it away. You can also use a wet/dry vacuum to remove any water that’s pooled on the floor.
You can also turn on a dehumidifier or heater fan to dry out the area. If you have a basement, make sure to open the windows to let fresh air in. If you have a crawl space, make sure the vents are open.
Getting rid of as much moisture as you can prevent the growth of mold and mildew.
Step4 – Decide Which Repair Method You’re Going to Use
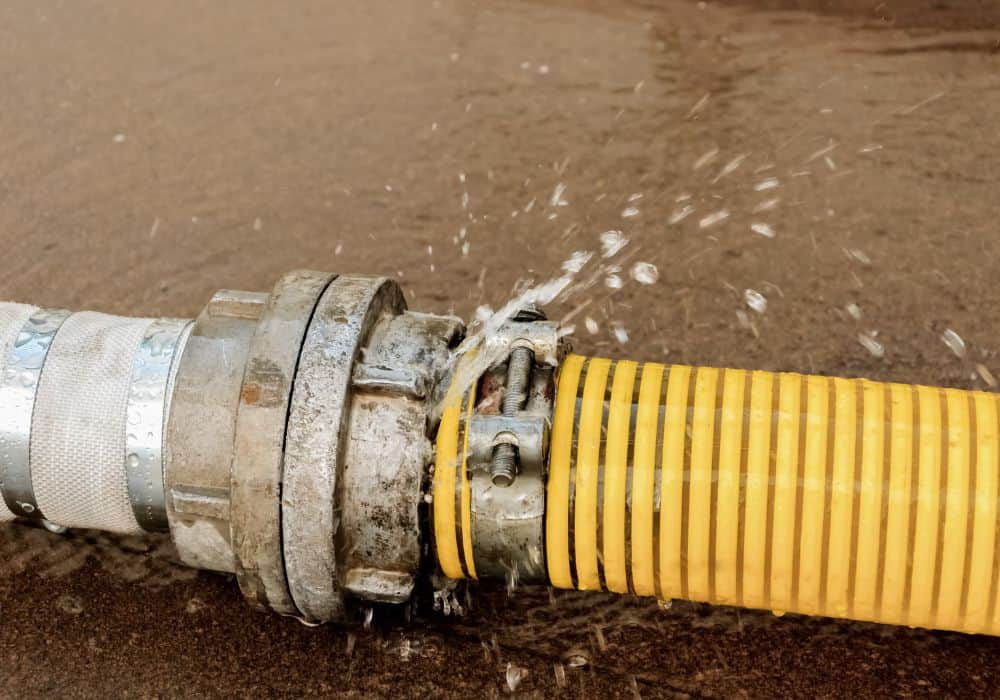
There are several types of repairs you can do to repair a leaky pipe. Each has its own pros and cons, so selecting the right method of repair is essential for preventing further damage. The method that you use will depend on the severity of the leak.
- C-Clamp
C-clamps are an excellent way to temporarily fix a small leak until you can replace the entire section of the pipe. It’s a quick fix that will take only a few minutes, and you can do it without soldering.
To use a C-clamp, you need to find a waterproof layer and put it over the leaky area. Then, tighten a block of wood with C-clamp over it, until the water stops coming out of the pipe.
It’s a temporary fix, but you can continue using your plumbing normally until you go through a more proper fix.
- Pipe Repair Clamp
If you want a more permanent solution that will last until you can replace the entire section of the pipe, you need to use a pipe repair clamp. It’s a bandage for your plumbing that will last much longer than a C-clamp, but you need to solder it in place.
To use a pipe repair clamp, you need to put it over the leaky area and solder it in place. You can then turn the water back on and use the plumbing normally until you have time to replace the entire section.
- Epoxy Putty
If you want a quick fix that will last until you can replace the entire section of the pipe, you can use epoxy putty. It’s a putty that you can mold over the leaky area and that will harden in place.
To use epoxy putty, you need to mold it over the leaky area and wait for it to harden. You can then turn the water back on and use the plumbing normally until you have time to replace the entire section.
- Duct Tape
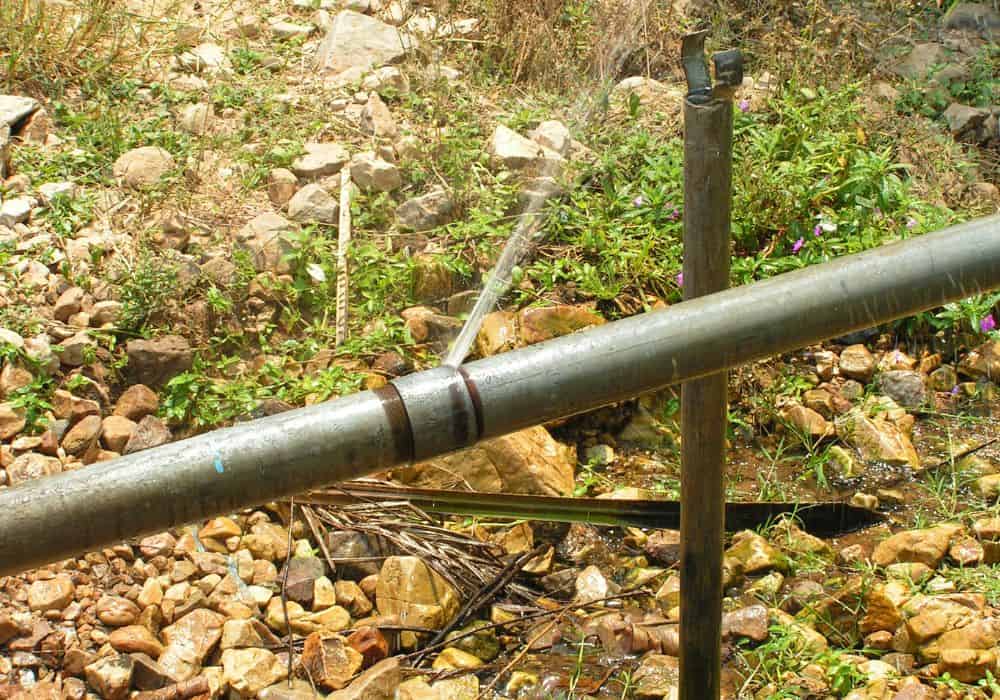
The most common type of pipe damage is pinholes. They’re caused by natural corrosion, especially if the water in your plumbing system is too hard. These small holes can’t cause much damage to your property quickly, but you shouldn’t ignore them.
Even tiny leaks add up over time, and the best way to deal with such pinholes is duct tape or another similar type of waterproof tape, like fiberglass tape. It will prevent the leak to some degree but aren’t suitable for a long-term solution
It’s like a bandage for your pipe until you can repair it properly. If you’ll use some sort of tape as a temporary fix, simply wrap it around the leaky area. Make sure to overlap the edges of the tape so that water can’t get through.
- Pipe Replacement
If the damage to the pipe is too extensive, you may need to replace the entire section of the pipe. This is the only way to ensure that the leak doesn’t come back. If that’s what you need to do, continue following the guide.
Step5 – Cut Out The Damaged Section
Once the pipe is drained, you need to cut out the damaged section. There are many available tools you can use, depending on the type and diameter of your pipe. Softer pipes, like PEX, PVC, ABS, and copper pipes, can easily be cut with pipe cutters.
Sturdier pipes, like cast iron pipes, might require a snap cutter or a power tool, like an angle grinder or a reciprocating saw. If you’re using a power tool, make sure to wear protective gear, like glasses, ear protection, and gloves.
Step6 – Measure and Cut a Replacement Section
Once you have cut out the damaged section, you need to measure and cut a replacement section. Use the same tools you’ve used to cut out the burst pipe.
Step7 – Prepare the Replacement Pipe for Installation
Before installing the replacement pipe, you might have to deburr the pipe. If the cut wasn’t particularly clean, the ends of the pipe will be jagged, and you have to remove them using a deburring tool or sandpaper.
Sand away all the edges so the ends of the replacement pipe are clean. Now, apply flux to the outside of both ends of the pipe, to ensure that your soldering will be solid. If you’re using a fitting to make the connection even stronger, apply flux on the inside ends of the fitting.
Step8 – Solder the Replacement Pipe
Once the replacement pipe is prepared, it’s time to install it. This is done by soldering the pipe to the existing pipe. You’ll need a soldering torch, lead-free solder, and pipe joint compound.
Start by heating up the joint with the soldering torch. Once the joint is hot enough, apply the solder to the joint. The solder should flow easily into the joint. If it doesn’t, the joint isn’t hot enough.
Here’s a quick video showing how to solder a replacement pipe.
Step9 – Turn on the Water
Once the replacement pipe is connected, you can turn on the water. Slowly turn on the water at the main shut-off valve and check for leaks. If there are no leaks, you can turn on the water at the faucets and check for water pressure.
If there are leaks, you’ll need to turn off the water and check the connections. Make sure the connections are tight and there are no gaps. Once you’ve checked the connections, you can turn on the water and check for leaks again.
Extended Tips
Here are some extended tips to help you prevent pipes from bursting in the future:
- Insulate your pipes: This will help to keep your pipes from freezing in the winter.
- Know where your main water shut-off valve is: This will help you quickly turn off the water in the event of a burst pipe.
- Check your pipes regularly: This will help you to identify any potential problems before they become serious.
- If you’re unsure whether you can fix the pipe yourself, call a professional plumber.
- If you notice mildew growing in your home, chances are that somewhere around that area there’s a leaky pipe.
- If you have an older home, make sure to check your pipes regularly, as they are more likely to burst.
- If you live in an area with hard water, make sure to install a water softener. This will help to prevent the pipes from corroding.
- If you live in an area with extreme temperatures, be it cold or hot, make sure to insulate your pipes.
Conclusion
If you have a burst pipe, the first thing you need to do is shut off the water. Then, you need to drain the pipe and clean up any water that’s spilled. Once the area is dry, you need to decide which repair method you’re going to use.
If the damage is minor, you can use a C-clamp, pipe repair clamp, or even duct tape. For more extensive damage, you may need to replace the entire section of the pipe. To do so, you have to:
- Cut out the damaged section of the pipe
- Measure it and cut an appropriately sized replacement pipe.
- Replace it by soldering
Once you’ve repaired the pipe, you can turn on the water and check for leaks. If there are no leaks, you can use the plumbing normally.
If you have any questions about repairing burst pipes, let us know in the comments!