Have you noticed a strange smell or a damp patch in your home lately? These are common signs of a leak in your drains and will require investigating. If your inspection reveals a leaking pipe, what are your options?
Luckily, there are several DIY options for a drain pipe repair without having to call in a professional plumber. In this article, we cover different methods to address the leaking drain issue in your home. We have also included information on how to locate water pipes and the main sewage line so you can check them for leaks.
What is a Drain Pipe?
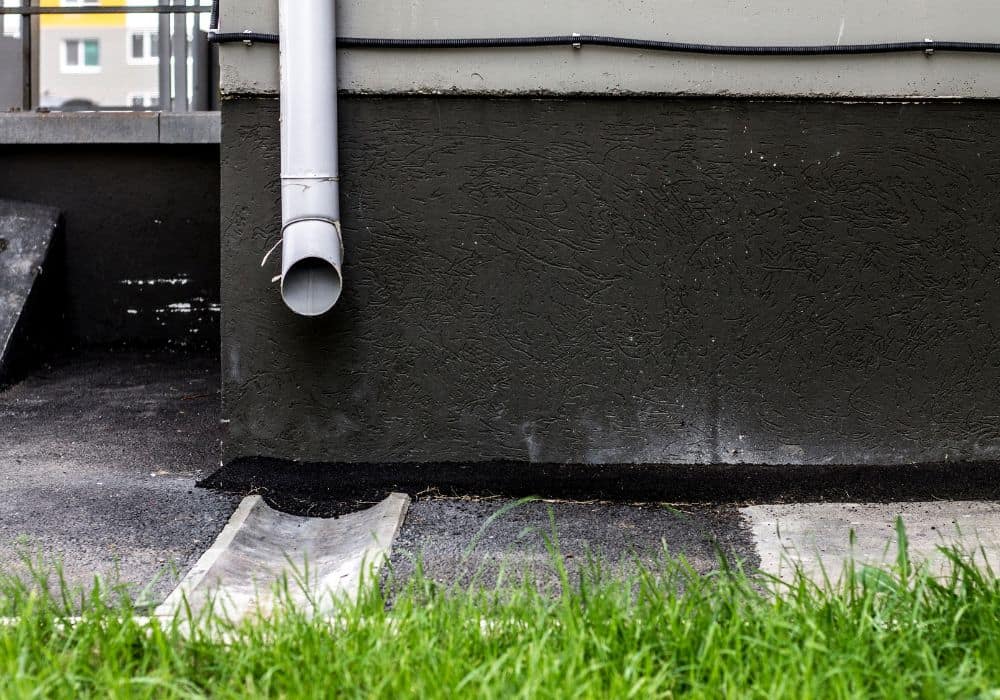
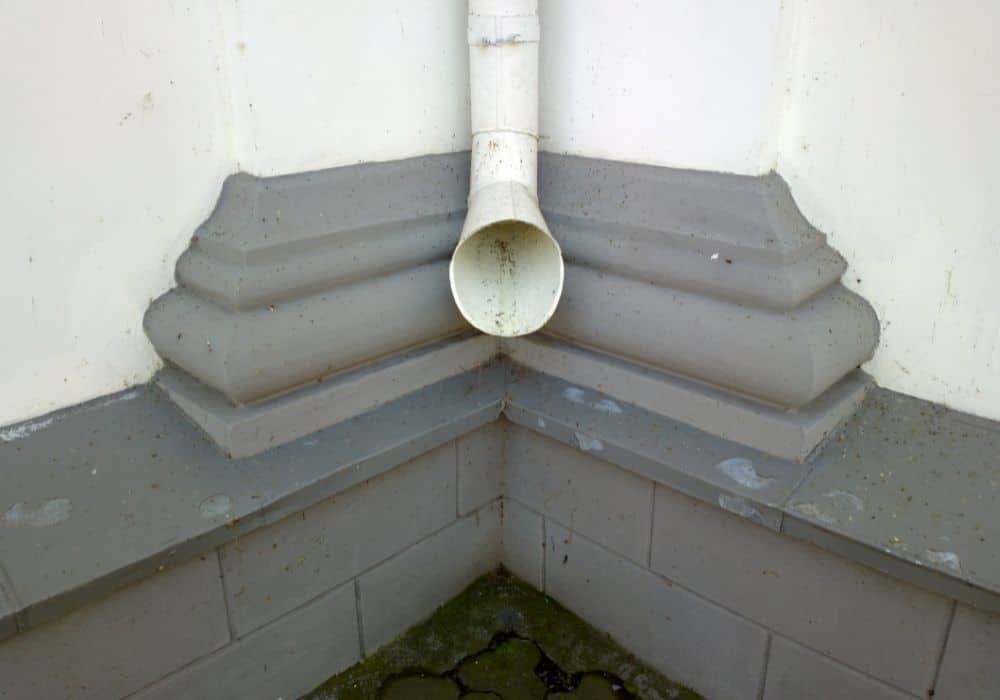
Let’s begin by defining what drain pipes are. They are pipes that remove water from a particular area, for example from roofs, parts of your land, or your home. Removing water from these areas is key to preventing issues such as water damage to your home, flooded basements, or soil erosion.
Where Are Drain Pipes Located in Your Home?
The drains from your home all lead to the main sewer line that connects with either your septic tank or the drainage system in the local area. When wastewater leaves your house via the drainage system, it uses gravity to flow down and out. Here’s where to find your waste pipes that connect to the drainage system inside your home.
- In the kitchen: waste pipes from your sink and dishwasher are located underneath the sink. If your washing machine is in the kitchen, its waste pipe is usually connected to the drainage under the sink, too.
- In the bathroom: there will be several waste pipes and not all will be visible. These include the waste pipe from the sink and bathtub waste pipe that starts from under the tub and runs into the walls or under the floor. Wastewater from showers exits through the drain hole on the floor into pipes beneath the floor.
- Toilets: the waste drains for toilets are under the toilet and extend into the floor.
How Do You Locate The Main Drain Pipe?
You should know the location of your main wastewater drain in case of issues with it such as cracks, leaks, or blockages. Knowing where the sewer access points are located on your property will make repairs and replacements easier.
The indoor cleanout point for your drainage system is most commonly found in your garage, basement, or crawl space. Look for a pipe with about a 4-inch diameter. It will have a screw cap with a square knob or a notch on the top. Note that you may also have an outdoor point or none at all.
If you haven’t been able to locate the main sewer line inside your house, look outside. You are most likely to find the access point in the house’s foundation or near the street. Usually, the sewer line will stick out of the ground, but can sometimes be hidden in overgrown vegetation.
It is also possible to have a buried cleanout point. The most likely location for a buried point is on the side of your home that is closest to the bathroom on the main floor.
What Materials Are Used For Drain Pipes?
The material of your drain pipes depends on the age of your drainage system and your home. In modern homes, or older homes that have their plumbing redone, the pipes are most likely PVC, ABS, or copper pipes. In homes built before the 1960s that haven’t had their pipes replaced, steel and cast iron pipes are common.
The most popular choice in residential settings for over four decades now has been PVC. Pipes made out of PVC are light-colored and highly durable. They are long-lasting and corrosion-resistant. PVC pipes come in different grades, which include schedules 40 and 80, and CPVC.
How to Repair Drain Pipe
Since the drain pipes you are most likely to find in your home are PVC pipes, we will focus on how to repair PVC drain pipes in this article. If you need to repair your PVC drain pipe, there are different methods you can choose from. Below, you will find six ways you can fix the pipes in your home or garden.
Method One: Using Hose Clamps and Rubber Tape
If you have a minor leak in your pipes, you can use the hose clamps and rubber method to fix the leak. Here is how to do it.
- Begin by cleaning the damaged area so there is no dust or dirt on the surface.
- Next, tightly wrap the rubber tape around the cleaned area.
- Once the rubber is in place, you will need to put the separated hose clamps around the area with the leak. Tighten the clamps until the leak stops.
Important to know: If your leak gets bigger, this method will stop working so make sure to keep an eye on your repairs to prevent any damage to your home.
Method Two – Fiberglass Resin Tape
If you are looking for a short-term fix until the damaged drain is replaced, using fiberglass resin tape is a good option. For a longer-term option, choose fiberglass resin cloth. You can find more details about the cloth method below. First, here is how to use the tape.
- Clean the area of the leak thoroughly using a damp cloth.
- Before the surface has a chance to dry, wrap the resin tape around the section of the pipe with the leak. The resin is activated once it comes into contact with water when it hardens and slows down the leaking.
- Leave the resin to harden for at least 15 minutes before using the pipe.
Method Three – Fiberglass Resin Cloth
If you are looking for a more permanent solution, then using resin cloth is better than using resin tape. Here is how to use the cloth. Note that as well as the cloth, you will need a UV light to use this method or be able to take the pipe out into the sunlight.
- Clean the PVC pipe around the damaged area.
- Before you apply the cloth, the leaking area will require light sanding. This will make the surface more adhesive.
- Place the resin cloth over the leak.
- Shine your UV light onto the cloth. This will begin to cure the resin. Alternatively, you can place the pipe in direct sunlight outside.
Method Four – Silicone Repair Tape
Similarly to the first method we shared, this method is also suitable for smaller leaks. This is a straightforward method as the tape comes in a roll, which makes wrapping it around the pipe easy. This is how you do it.
- As usual, start by cleaning the area.
- Next, wrap a few rounds of tape around the leaking section. Ensure you are going above and below the leak, too.
- Check the tape is securely in place before you use the pipe.
Important: Silicone tape is a compression tape so it needs to be wrapped very tightly.
Method Five – Epoxy Putty
What is epoxy? It comes in either liquid or putty form and can be used to repair leaks in PVC pipe joints as well as on the surface. Here’s how to use it.
- Prepare the area by cleaning it and drying it thoroughly. Make sure that no water can get in contact with the area until your repairs are finished.
- Follow the manufacturer’s instructions to prepare the putty or liquid epoxy if needed.
- Apply the epoxy on the dry surface or joint of the PVC pipe.
- When the putty covers the leak and the surrounding area, leave it to cure for at least ten minutes.
- When you first use the pipe again, check there is no leaking.

Method Six – Replacing Your Pipe
All the methods we have included above are great if you have a minor leak or are looking for a temporary fix. However, sometimes the leak can be too big to repair and you will need to replace the existing pipe with a new pipe. You will need a saw, PVC primer, and PVC glue to replace the damaged pipe.
- Start by turning off the water supply to the pipe. You can either do this with the local switch near the pipe or you may need to turn off the main water supply.
- Next, measure about one inch of pipe on both sides of the damaged section and mark the pipe.
- Cut the pipe with, for example, a hacksaw or a ratchet cutter.
- Drain the water from the pipe into a bucket and then dry it using a clean cloth.
- When the pipe is drained and dry, insert your replacement section into the gap to make sure it fits properly.
- Remove the replacement pipe and apply the PVC primer. You need to apply the primer on the outside of the old pipe and the inside of your new pipe.
- Apply glue over the primer.
- Put the new pipe in its place, twisting it to secure it in place. Hold in place for ten seconds. This will help to form a strong bond.
Conclusion
While a broken drain pipe is never good news, it doesn’t necessarily need to be a costly affair that needs professional labor. Issues with your drainage pipe can be easily fixed as long as they are discovered early while the leak is still small. You can avoid expensive repair costs by choosing one of the methods described in this article.
We have focused on PVC pipes in this article. However, we are aware that some people may need to repair copper pipes in their homes. In this video from Williams Plumbing & Heating, you can learn two quick and easy ways to fix small leaks in copper pipes.
If you have any questions on how to repair drain pipes, you can write them in the comments section.
I like that you said how your home’s age, as well as the age of your drainage system, will determine the material of your drain pipes. There have been clogs in the drains for more than a week, and they are not just in the kitchen. As a result, I believe there is an issue with the main sewer lines. To have a drain repair professional examine this with the proper types of equipment, I will make a call. Thanks!