Do you have a broken sprinkler pipe? As this can lead to significant water damage and high water bills, you must address this problem ASAP.
Although this may seem like a job for a professional plumber, it’s not always the case. You can fix this problem on your own! It’s just a matter of following this guide on how to repair irrigation pipes like a pro.
Let’s begin!
Tools Needed
- Preparatory steps (1-5): Gloves, Permanent marker, Hand trowel, Cloth
- Saddle repair kit method: Saddle repair kit, PVC primer, pipe cement
- Slip coupling method: Hacksaw, Band clamp, Slip coupling, Screwdriver
- Compression coupling method: Hacksaw, utility tool,
- Splice pipe method: Hacksaw, smaller diameter pipe, cement
How to Fix Irrigation System Leaks
Step 1. Turn the Sprinkler System On and Find the Leak
If you don’t know where the leaks are, then the best way to detect them is to turn the sprinkler heads on. Run it for at least 2 minutes.
If your system is divided into zones, make sure to activate one area at a time.
If the PVC pipe is exposed, then you should be able to spot the leak right away. But if the pipes are concealed, you can catch the cracks by looking for:
- Water sprays or mud formation
- Water bubbling
- Faulty spray heads (the pipe leading to this head may be broken if the sprinkler connected to it is working)
You can also try to listen to the sound of running water.
Want to learn more about finding in-ground sprinkler system leaks? Watch this informative how-to-video.
Step 2. Mark the Leak
Once you’ve detected the area of leakage, label it with a permanent marker (if the pipe is exposed.)
If the pipe is underneath, you can place a rock (or anything else) to ‘mark’ your dig site.
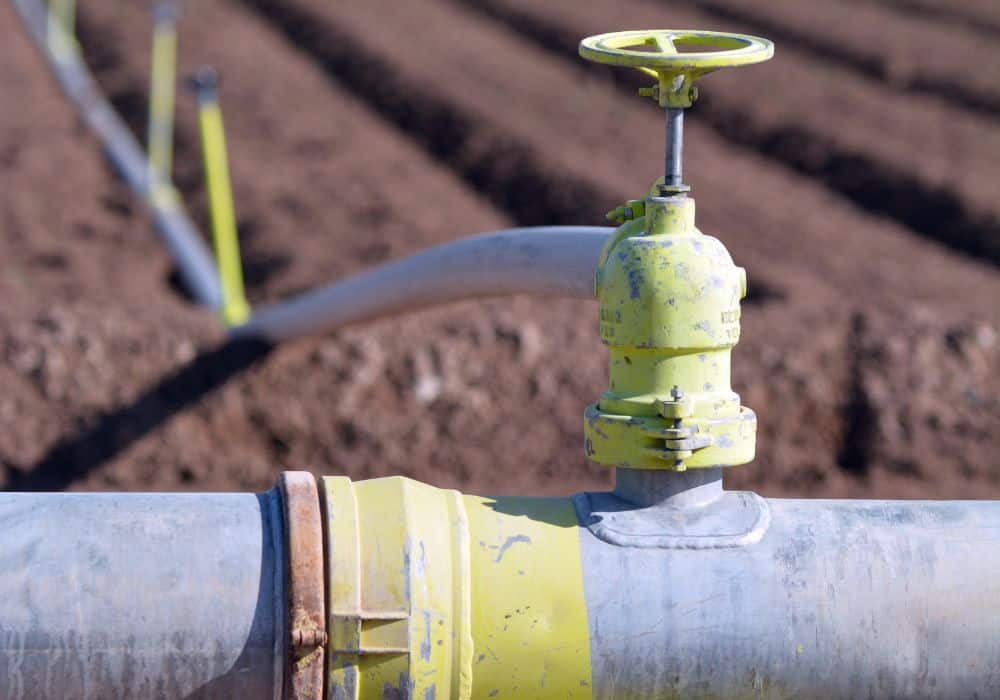
Step 3. Turn off the Water Supply
After finding the leak, you can go ahead and turn off the water supply valves.
Make sure to wait for 1-2 minutes before proceeding to the next step. If not, you’ll be met with water-filled pipes!
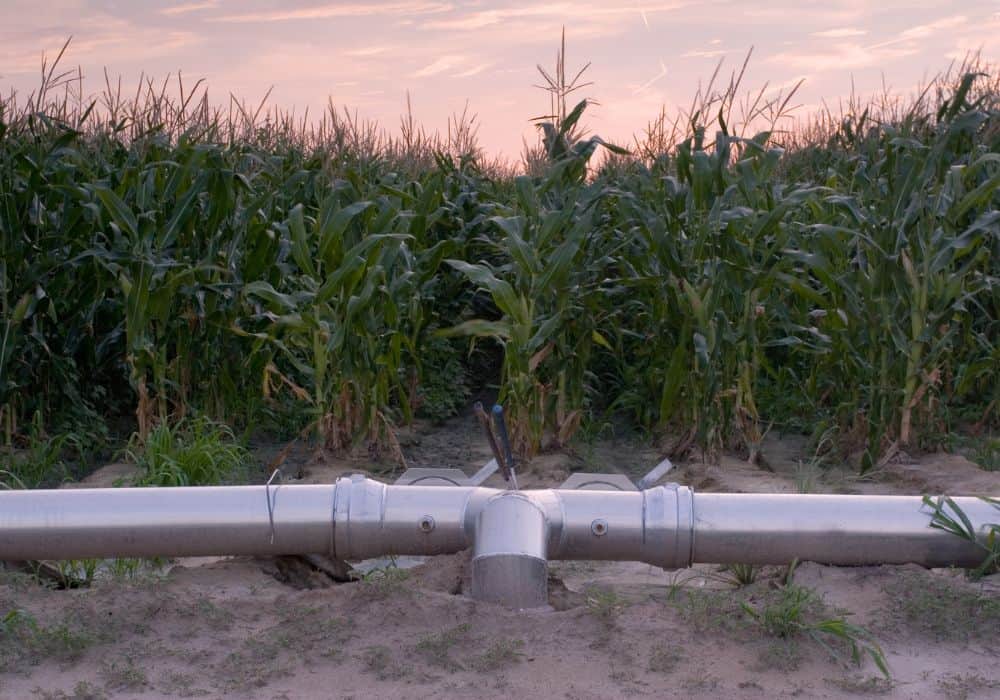
Step 4. Dig and Locate the Damaged Section of the Pipe
Unless the pipe is already exposed for fixing, you’ll need to dig the area with a leaky pipe.
First, create a square patch with a hand trowel or shovel. That way, you can replace this patch once you’re done repairing the leak.
Next, try to remove at least 2-3 inches of this patch. This will give plant roots enough room to grow after you place this patch back on the ground.
Finally, carefully dig around the square until at least 6 inches of the damaged water line is exposed. Make sure to make at least 4-6 inches of clearing below the pipe – this will make the repair process easier for you.
Step 5. Clean the Pipe
Use a wet cloth to remove the soil and debris on the pipe. The saddle repair kit, slip/compression couplings, or spliced pipe won’t ‘stick’ well on dirty pipes.
Step 6. Repair the Damaged Area
Saddle Repair Kit Method
Ideal for small leaks, a saddle repair kit can help you seal the pipe through these simple steps:
- Apply PVC primer/cleaner on the repair kit. This material will help strengthen and lengthen the lifespan of the joined areas.
- Put pipe cement on both the repair kit and the damaged pipe. Don’t let the primer or cement dry for if they do, you will need to reapply them.
- Place the kit piece on top of the cracked pipe and join them together.
- Let the cement dry. Follow the manufacturer’s recommended curing time.
Slip Coupling Method
A slip coupling is a flexible material that you can use to replace the damaged old pipe. It is recommended for patching medium-sized holes or leaks.
Here’s how to install this fixture:
- Cut the Broken Section of the Pipe
Use a hacksaw to cut at least 2 inches of the damaged pipe. As always, make sure to burr the edges to make for a watertight fit.
If you can read the size of the pipe you need to replace, then you won’t have a problem finding a slip coupling at the store.
If not, you can always wrap a string around the pipe and knot it. You can take this to the hardware store and use it as your measurement reference.
Pro tip: If you want to be 100% sure, then bring the cut pipe with you. Remember: Getting the right slip coupling is important. A bigger model will cause leaks, while a smaller coupling won’t be able to accommodate your existing pipe.
- Affix a Band Clamp on Each Pipe End
Place a band clamp, which is a metal strap, on each pipe end. This will help secure the slip coupling.
- Place the Slip Coupling
To install the coupling, slide both ends to the existing pipe. Make sure to extend it to its maximum reach.
- Tighten the Band Clamps
You can use the band clamp mechanism itself to tighten it. Likewise, you may use a screwdriver to affix the clamps well – but not too tight!
Compression Coupling Method
As the name suggests, a PVC compression coupling ‘compresses’ its fitting into another (in this situation, the irrigation pipe) to create a watertight seal. Similar to slip coupling, it may be used to patch medium-sized leaks.
To install this material, you first need to:
- Cut a small portion of the damaged pipe. Remove the burrs with a utility tool.
- Remove the compression coupling ends.
- Slip a nut on each pipe. Remember to point the threaded socket toward the cut end.
- Slip in the rubber washer after each nut.
- Slide the coupling so that it is centered over the cut area.
- Move the washer and nut toward the compression coupling. Tighten the parts but don’t overdo it for the coupling may end up cutting and damaging the pipe.
- Check the seal for signs of leakage.
Splice Pipe Method
When it comes to bigger leaks, splicing the pipe and replacing it with a new one is the best solution.
Here’s how to go about this type of irrigation repair:
- Cut the damaged area and burr the ends of the existing pipes.
- Apply PVC cement on the new pipe (should be smaller in diameter) and the in-ground pipe.
- Slide the small, new pipe into both ends before the cement dries. Hold the connection for 30 seconds. Wipe the excess adhesive, if any.
- Follow the instructions on drying the cement. This may take up to 2 hours, so be patient!
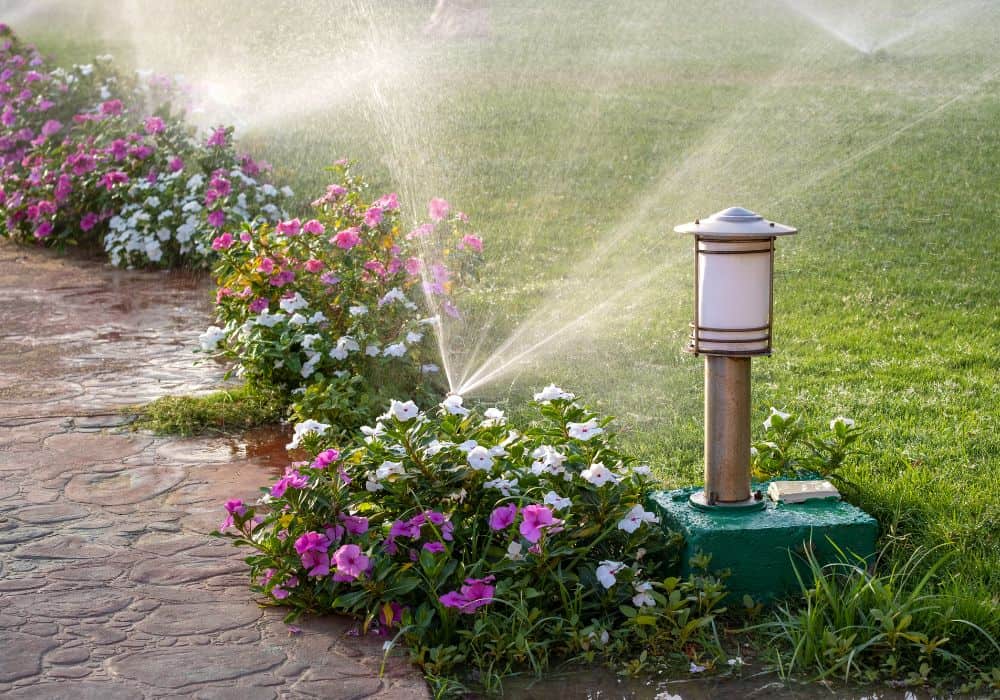
Step 7. Check for Leaks
Turn the sprinkler system back on to check for leaks in the repaired area. Let the water run for 2-5 minutes to make sure that the clamps or couplings don’t come loose.
Step 8. Re-fill the Dug Area
Fill the area with the soil and square patch you’ve removed. You should be able to fit all the dirt you’ve removed back in!
FAQs
What causes a damaged sprinkler line?
Possible causes for a broken pipe include:
- Defective parts or compression fittings. That’s why you need to check these parts before you buy them – and when you install them!
- Faulty installation. Not following the manufacturer’s instructions will just lead to leaky irrigation pipes.
- Frost/frozen water. During winter, water can freeze, expand, and burst irrigation pipes.
- Damage caused by lawn equipment or edging. You need to be careful when digging or fixing your yard for you might end up hitting irrigation pipes!
- Damage from tree/plant roots. Roots have an affinity for water, which is why they can invade irrigation pipes. If root damage keeps happening, then the best thing to do is reroute your irrigation system.
What are the signs of a leaking irrigation pipe?
You know you have to fix your sprinkler system if you experience any of the following:
- Broken pipes. Damaged above-ground irrigation pipes will be obvious to the naked eye.
- Wet lawn. If there is pooling under the sprinkler head, then there is probably a pipe leak underneath.
- Low water pressure. If your sprinkler isn’t ejecting as much water as it should, then a broken irrigation pipe may be to blame.
- Dry lawn. A saturated lawn is not the only sign of a busted irrigation pipe. If you’ve been watering your lawn religiously but it appears dry, then one of the pipes feeding the sprinkler head may not be working.
- High water bill. If you’ve checked all the house pipes and they’re good – but you still have a higher bill – then you may want to inspect your irrigation pipes.
Conclusion
To fix an irrigation system leak, you need to:
- Turn the sprinkler system on to find and mark the leak.
- Turn the water supply off afterward and dig the damaged area.
- Clean the pipe and repair it accordingly (different steps apply to different materials.)
- Turn the system back on to check for leaks and fill the dug area.
As you see, you can easily fix damaged sprinkler system pipes. But if you have more concerns about these processes, don’t hesitate to shoot a question below.