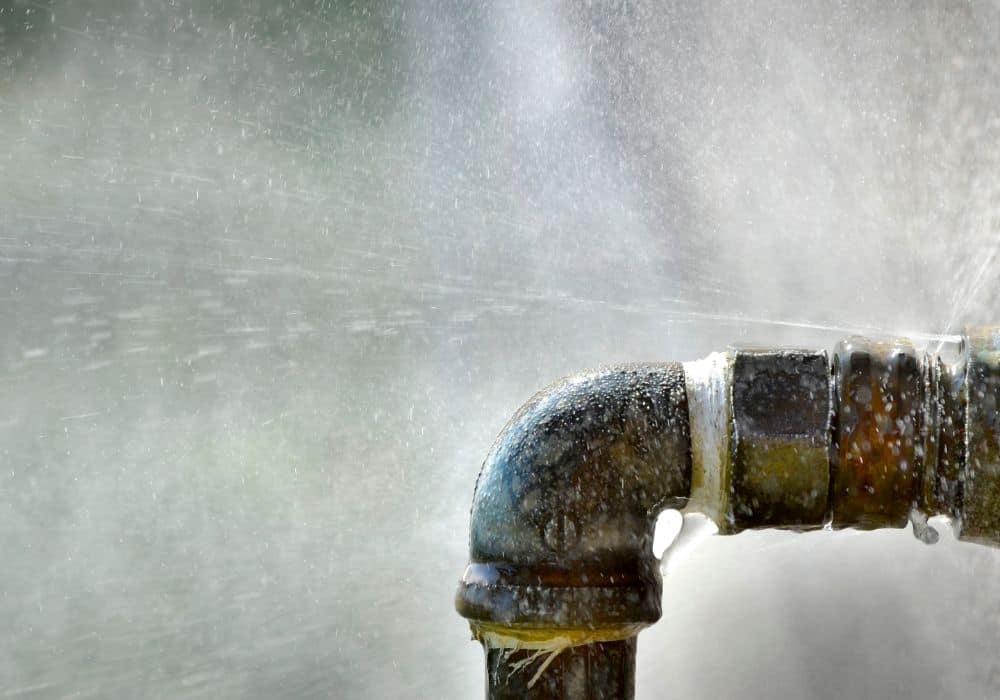
Is there a pipe leak anywhere in your house? Well, you have to address this right away. If not, you may be faced with rotten floors – and worse, the growth of harmful mold.
Worry not for you can do temporary fixes (and permanent ones too) right off the bat. In fact, here are 9 ways how to repair leaky pipes easily.
Tools and Materials Needed
- Wrench fix method: Wrench
- PEX pipe crimping method: PEX crimping tool, PEX test gauge
- Plumber’s tape method: Plumber’s tape
- Silicone tape fix: Silicone tape
- Pipe/epoxy putty repair method: Cloth, gloves, sandpaper, epoxy putty
- Pipe repair cast method: Cloth, sandpaper, gloves, water,
- Patch/clamp repair method: Cloth, metal file, neoprene rubber patch, repair clamps
- Slip coupling method: Marker, pipe cutter, deburring tool, slip coupling
- Soldering method: replacement piping, pipe cutter, emery cloth, silver solder, solder flux, fitting brush, torch
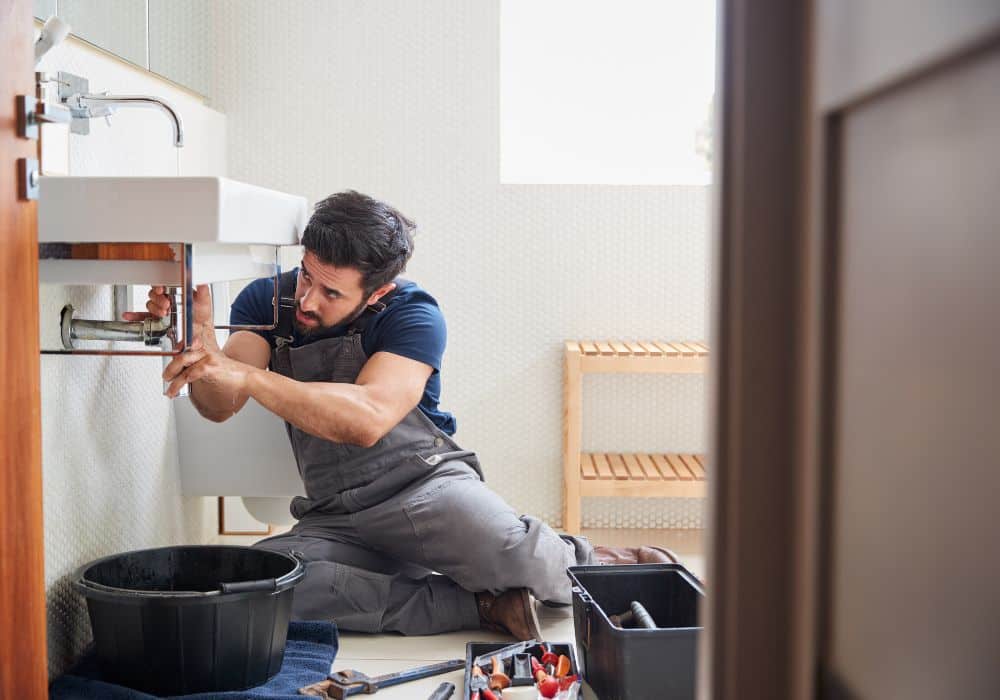
How to Fix a Leaky Water Pipe
Depending on how ‘severe’ the damaged section of pipe is, you may try any of these 9 quick-fix patching methods:
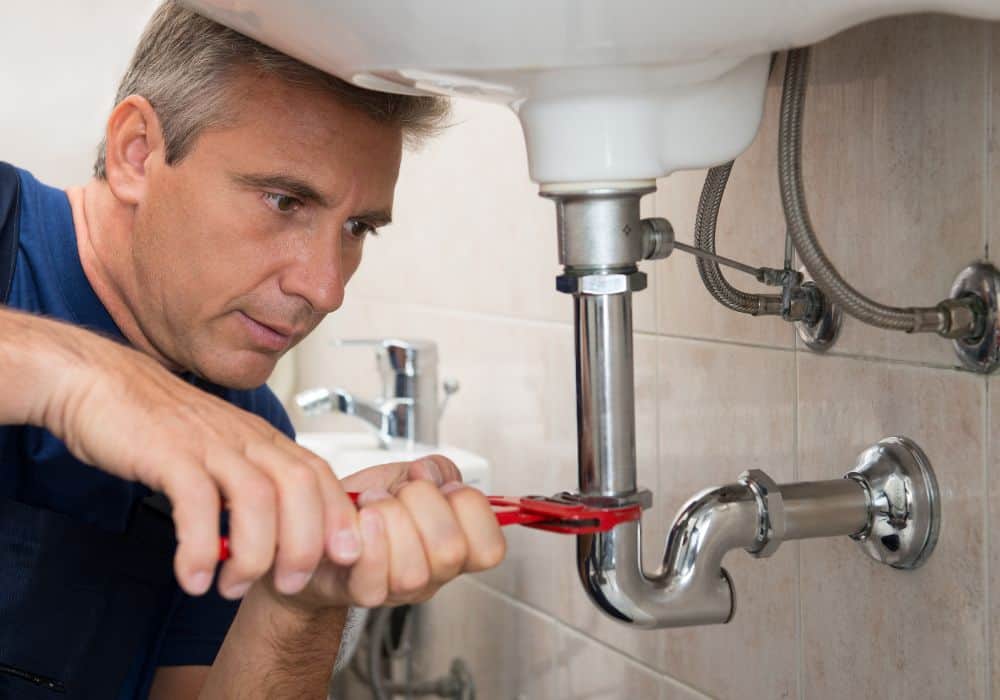
1. Wrench Method
More often than not, a broken pipe is to blame for leaks. That said, a lot of homeowners are unaware that the cause is actually loose connections.
To address this, you need to use a wrench to tighten the nuts. These connect the sink draining pipe to the P trap. This is a curved pipe that prevents noxious gases (such as methane) from entering your home.
2. PEX Pipe Crimping Method
Water supply lines are often supplied by PEX pipes. If you have these plastic pipes and they’re leaking, the culprit is often found in the connections.
To prevent further leaks, you will need to perform the PEX pipe crimping method:
- Turn the water supply off.
- Use a PEX test or go/no-go gauge to check the crimp.
- If the ring doesn’t fit the test slot, you will need to crimp the area with a PEX crimp tool.
- Check the crimp with the gauge to see if it fits perfectly into the test slot.
- Turn the water supply on to check for leaks.
3. Plumber’s Tape Method
Let’s say you’ve already tightened the loose nuts. If a piece of pipe is still leaking, then you may need to use plumber tape. This temporary solution helps seal worn-out pipe threads, thus preventing spills.
To go about with this method, you will have to:
- Use a wrench to unscrew the loose nuts. This will disconnect the U-shaped pipe from the drainpipe.
- Apply the plumber’s tape to cover the small leak. Make it a point to read the manufacturer’s instructions as you go about this step.
- Reattach the pipes and screw the nuts back.
- Turn the faucet on and check the ‘taped’ pipe for signs of leakage. If moisture is present, then you may need to cover additional parts of the pipe with tape.
4. Silicone Tape Fix
Similar to plumber’s tape, silicone tape creates a leakproof layer that stops leaks in low-pressure lines. Using this is quite easy too for you don’t necessarily have to turn the water supply off.
It’s as easy as wrapping the tape around the damaged area of the pipe. Make sure to stretch it and overlap the layers as you do so.
5. Epoxy Putty Repair Method
Pipe putty or epoxy putty works by plugging the cracks in pipes and joints. Here’s how to use epoxy putty for plumbing repair:
- Turn the main water supply off.
- Drain the damaged supply pipes. Clean the surface and dry it thoroughly. Roughing up the area will help the putty bond better to the pipe.
- Put on gloves. Obtain the right amount of dark gray putty that will cover the affected area.
- Work on the putty to make it pliant. Tip: You know it’s ready to use once it turns light gray.
- Patch the crack with a half-inch or 1.3-cm layer of epoxy putty. Cure the material as per the manufacturer’s instructions.
- Reopen the supply line and assess for moisture formation around the putty edges. If there is, then it means that you haven’t sealed the leak well.
6. Pipe Repair Cast Method
A pipe repair cast kit, which you can easily find in a hardware store, involves the best of both worlds: epoxy putty and pipe wrap.
Here’s how to use this kit:
- Turn the line off.
- Clean the leaky area of the pipe and dry it thoroughly. Sandpaper the surface as well for better adhesion.
- Wear gloves. Get an adequate amount of putty and knead it until pliable.
- Place putty around the damaged area.
- Combine the pipe wrap resin compound with water.
- Wrap the resin tape over the putty so that one layer overlaps the other.
- Let the putty and cast set according to the manufacturer’s instructions.
- Remove the cast. Turn the supply back on and check for leaks.
7. Patch/Clamp Method
Neoprene rubber patches and repair clamps are best used for sealing big cracks on a CPVC or copper pipe.
Here’s how to do pipe repairs with these materials:
- Turn the supply line off.
- Clean the burst pipe with a rag. File any sharp edges that may destroy the patch.
- Apply the patch and repair clamp (size should be similar to the broken pipe) so that it covers the entire section of the damaged pipe.
- Tighten the hose clamps.
- Reopen the supply line and check for moisture around the rubber patch. If there is, then you will need to re-apply the patch and clamps.
8. Slip Coupling Method
If you want a permanent fix that’s up to code, then you should consider installing a slip coupling. This patches your existing pipe and forms a watertight seal.
Depending on what pipe you have to fix, you’ll need to purchase slip couplings that are made from the same material (e.g., PVC couplings for a broken PVC pipe.)
Here’s how to patch a broken pipe with slip couplings:
- Turn the water supply off.
- Clean the damaged section and dry it.
- Hold the coupling against the leaky pipe. Mark the spot where the coupling ends on both sides. These will serve as your guide when cutting the damaged pipe.
- Use a pipe cutter to remove the marked area. When doing this, make sure to put the cutter’s edge 1 inch/2.5 cm inside the marker. Rotate the cutter and tighten the screw. Repeat the tightening process until you cut through the pipe.
If you are using a scissor-like cutter, all you just need to do is use it like you would a regular pair of scissors. - Deburr the inside and outside parts of the pipe.
- Slip the coupling onto the pipe ends. Depending on the product you’ve purchased, you may have to tighten the couplings by hand or by wrench – so make sure to read the instructions carefully!
Pro tip: You can also use a hacksaw to cut the pipes, although the edges won’t be as neat/smooth.
9. Soldering Method
Soldering is another permanent solution that can help stop leakages. This process takes these 7 steps:
- Measure the damaged area to determine how much new pipe you’ll need. Gather all the other supplies listed above.
- Turn off the water supply. If you have a compressor, use it to get rid of all the water in the pipe.
- Remove the damaged area with a pipe cutter or hacksaw.
- Polish the pipes that you will use with a cloth and a fitting brush.
- Apply flux to each end of the pipe that will be soldered.
- Solder the new pipe into place. Let it cool accordingly.
- Turn the supply back on to check for leaks.
FAQs
What causes pipes to leak?
While pipes are inherently sturdy, they can leak because of the following factors:
- Cracks. These often result from temperature changes, i.e. freezing weather can cause the pipe to burst.
- Water reacts with metal pipes, thus leading to rust formation. If this is not managed, corrosion can lead to bigger (and more expensive) pipe damage.
- Excess pressure. Material can build up around the pipe, thus narrowing water flow. This can cause pressure build-up, which can later lead to cracks and leaks.
What are the signs of a leaky pipe?
A pinhole leak may not be obvious right away. In most cases, you’ll only be alerted to cracks when these arise:
- Dripping sounds
- Increased humidity
- Bubbling or peeling paint
- Sudden puddles
- Mold or mildew
- Presence of dirt or air in the water
- Rusty pipes
- High water bill
- Bulges or cracked pavements
- Sinkholes or potholes
Where should you check for pipe leaks?
If there are leaks in your bathroom, you should check under the sink and near the shower stall/tub. It’s good to inspect the caulking as well for signs of cracks.
When it comes to kitchen leaks, make sure to check under the sink and the floors. The latter can become loose due to water formation.
Conclusion
You can easily fix a leaky pipe. Temporary solutions include wrenching loose nuts and crimping PEX pipe connections. Applying plumber’s tape, silicone tape, epoxy putty, a pipe repair cast, and patch/clamps will work as well.
If you’re looking for permanent fixes, then you could replace the damaged section with a slip coupling or a new soldered pipe.
Do you have any more concerns about patching a leaky pipe? Shoot your question below and I’ll be more than happy to help!