We use the garage for a variety of things. Many times, we keep precious belongings in there that need to be kept secure, and this is why having a decent door is important.
There’s nothing more terrifying than discovering that your clicker for your garage door isn’t working. Resetting the keypad becomes tricky when you cannot recall the old password.
Fortunately, there’s a way to reset the clicker. Keep reading as we share the process of resetting the keypad without a pin code and all the relevant information about keypads.
Step-by-Step Guide: How To Reset a Clicker Garage Door Keypad Without a Code
Step 1: Locate The Motor Unit
Before you start, ensure the garage door area is clear of any obstructions that could interfere with the door opening and closing.
Typically, the motor unit is installed near the opener on the garage ceiling. It’s convenient to reach a motor unit using a ladder.
Place the ladder beneath the unit and climb up for the next step.
Step 2: Find The Learn Key
On the motor unit, look for the learn knob. The knob can be found above the antenna wire, under the light cover, or on the sides of the motor unit. The learn knob serves two purposes:
Clearing the memory and pairing new accessories with the garage opener keypad.
The latest models of garage openers have a Wi-Fi-enabled learn mode serving the same purpose as the learn button.
Step 3: Reset The Memory
To reset the garage door code, you must wipe the current data off the memory chip. Hold it down for a few seconds as you locate the learn button. If there’s a light near the button, keep pressing it until the light turns off.
This erases the stored pin codes and information about paired devices, like remote controls. The clicker keypad doesn’t have a personal identification number, so you’ll need to reprogram it and enter a new 4-digit pin or password.
Step 4: Programming and Setting a Password
The first thing to do is to check the color of the learn button, as its color determines how many times you’ll need to press it.
Depending on the make and type of clicker installed, the learn button or knob color can be green, orange, red, or green.
You may either need to hold the learn button for a few seconds or click it a few times according to the button’s color. The learn button may also have a colored light indicating the changes made when programming the clicker.
After a successful reset, you’ll be programming the keypad like a newly installed garage door keypad.
- Press the learn button and release it when the LED indicator turns on.
- Typically, there’s a 30-second window to set up a PIN.
- Type the new PIN code on the clicker keypad you want to use.
- Some keypads require holding the enter button, whereas some need the user to press enter to save the new PIN.
- If the PIN is successfully stored, you’ll see a blinking light on the garage opener.
Some models also have a remote keypad that needs to be programmed. Follow the mentioned steps for easy pairing.
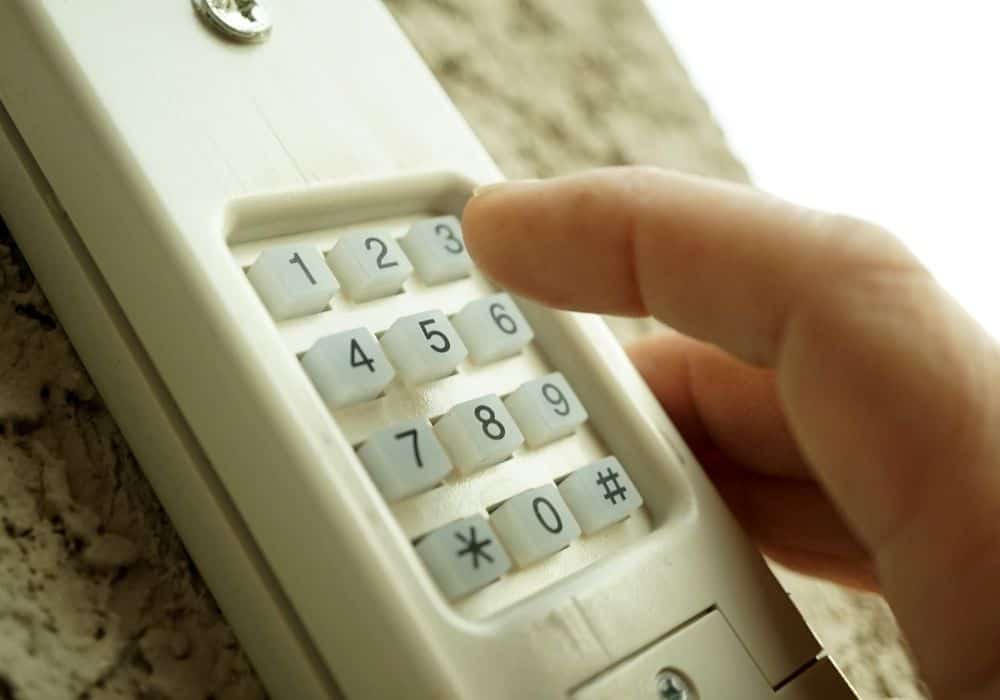
- Press the * and # buttons on the keypad to make the keypad backlight flash. Hold the buttons for only 5 seconds so the light stops flashing. Holding the buttons for over 5 seconds will lead to a time-out error.
- When the light stops flashing, enter the 4-digit pin you prefer.
- These garage doors come with a predefined user ID that you’ll enter to confirm the entered PIN code.
- Press the learn button on the remote or the door opener to confirm the changes.
- Enter your PIN again and press 0. The light on the opener will blink before turning off, confirming your PIN code is saved and is currently working.
Following these steps will reset your PIN, and the garage will only be accessible through the new PIN. When setting up a code, think of a solid combination to ensure your household’s safety.
What to Do When There’s No Keypad
Some models may need a remote control to carry out the programming process. These models rarely include a keypad. For these types, here’s what you’ll need to do:
- Lift open the remote cover and press the programming button or a switch found to the left of the remote.
- After pressing the button for a few seconds, a red light will turn on.
- The remote will also have some switches representing the code already being used.
- Change each switch’s orientation, creating a new cryptogram.
- You’ll see similar buttons on the garage door opener.
- Change the switch’s cryptogram to match the pattern you set on the remote control.
- Test the remote after replacing the cover to ensure the garage door works.
What If The Remote Doesn’t Work
Like any other electronic device, remotes can malfunction for many reasons. The most common cause is batteries powering the remote can die out. Replacing old batteries with new ones will resolve the issue.
Wear and tear because of usage and corrosion of metal wires are other reasons for troubleshooting. There’s also a possibility that your remote may be in working condition, but the garage door is manually locked or is malfunctioning.
Still, if you can’t get the remote working, purchasing a new remote or getting it checked by a professional garage door repair company would be the best option.
Common Issues and Solutions
Garage doors can malfunction. Troubleshooting and resolving the issue can save time and money on unnecessary repairs.
1. Door Operates Automatically
A common malfunction is the garage door opening and closing on its own. This issue occurs when someone in your neighborhood operates their clicker garage door at the same frequency as yours. Due to the same frequency, your garage door sensor may pick up a command and open or close the door when your neighbor is operating theirs.
When they open or close the garage door, your garage door follows the same commands executed through the remote. You can revise your cryptogram or reset your clicker’s code for a permanent solution.
2. Auto-Reversing Door
When you try to close the garage door, it continuously reverses. The reason behind this auto-reversing is the blocked photo-eye. These eyes are on each side of the garage door railing near the floor.
Dirt and debris collect on these photo eyes, resulting in this issue. Cleaning them thoroughly will most likely resolve the problem.
How to Set a Temporary Pin?
When traveling or out on vacation with family, the household must set up a temporary PIN for safety. You can share the temporary PIN with a friend or a family member to check up on the house while you’re away.
The temporary PIN can be set either for a specific number of hours, or you can determine the number of times the PIN can be used.
1. Setting PIN According To Hours
- Enter the 4-digit PIN.
- Press the * key the opener light blinks.
- Enter the temporary PIN you want to set.
- Click on the enter key. You’ll notice the opener light flashing for times.
- You can now use the numbers on the keypad to type in the number of hours you want the temporary PIN to work.
- Press the * button once again to confirm the changes.
2. Setting PIN According To Usage
- Enter the PIN code you use for your garage opener.
- Press down on the * button until you notice a light from the opener starts blinking. Typically, it will blink 3 times.
- Enter the temporary PIN.
- Press enter and wait until you see the owner light blink 4 times.
- Enter how many times you would like the temporary PIN to be successful.
- Press on the # key to confirm the changes, and you’re all set.
Advantages Of Installing Keypads
Here’s how keypads can make entering your home convenient and safe.
1. Functionality
These clicker door keypads are compatible with virtually every manufacturer.
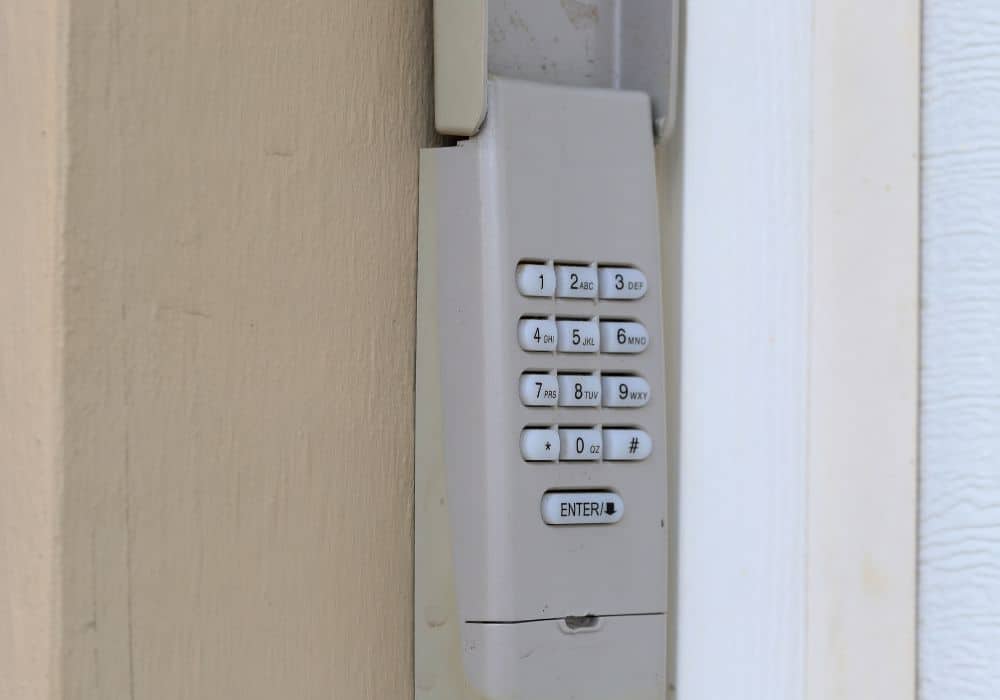
2. Backlit Keypad
The light behind the keypad improves visibility in every lighting condition. These keypads are weather resistant and pass rigorous quality checks before hitting the shelves.
3. Easy Access
Having a clicker keypad provides convenience and eliminates the need to carry a remote to gain access when coming from outdoors.
4. Easy Setup
The keypads come with a detailed user manual and an easy setup process that won’t require professional assistance. Wireless models don’t require any type of connection and can be installed easily near the garage door opening.
Bottom Line
It can feel like the end of the world when your clicker doesn’t work, and this is why this guide is the perfect source for you. We hope the information presented here aids you in resetting the keypad and troubleshooting different issues without any hassle.
It is important to remember to review the user manual to find relevant instructions if you’re still facing issues with resetting the PIN. Lastly, if you find a malfunction, it is best to call in professional assistance when you don’t have enough expertise.
This ensures your safety and guarantees effective results. However, when picking a service, compare the offered services, their charges, and the company’s reputation to make an informed decision.