A garden hose pipe reel is a useful piece of equipment that allows you to easily and securely collect your hose between each use. Hose reels function by offering a spinning design around which the whole garden hose may coil, keeping it neatly stored and away from the ground. Many hose reels have a manual crank, while some employ an automated retraction/pulley mechanism that can wind the hose in after usage.
Regardless of how useful it can be, if you have ever tried to put away a garden hose manually, you would know the struggle all too well. The longer hose you have, the harder it will be to coil it up. The smartest solution is to have a reel and keep it secured on that.
For some, it seems overwhelming to work with a reel for the hose pipe but in this guide, we are going to walk you through all the ‘why’, ‘what’ and ‘how’, so by the time you finished reading this article you will be comfortable working with the hose pipe reel.
Why should you have a hose pipe reel?
Hose pipe reels make it easy to navigate your yard and transfer your hose without incurring excessive wear, strain, damage, twists, or kinks. It is a great investment and offers many benefits. Before you learn about how to set it up, it is important to be aware of all the benefits that it brings along.
- It helps in keeping your garden hose neat and tidy. Because you have a permanent location for your hose, you are more likely to coil it up after each usage. A garden hose left in a pile on the lawn is not only unpleasant to see, but it may also be a tripping hazard and cause serious damage to the hose over time.
- It helps to get rid of twists and folds in the hose. Rolling up your hose properly after each usage allows you to prevent any bends in the line. It is important to minimize bends in your hose pipe when loading it on the pipe reel since kinks and twists in the piping can harm the coating and cause fractures to develop, permanently ruining the hose.
- It is beneficial for people with restricted mobility. If you enjoy gardening but don’t want to squat down to gather and unwind your hose, a hose reel is a great option that keeps it neat and organized, all without bringing you pain or inconvenience. It is possible to keep things simple by using automatic hose pipe reels or hand-operated cracking.
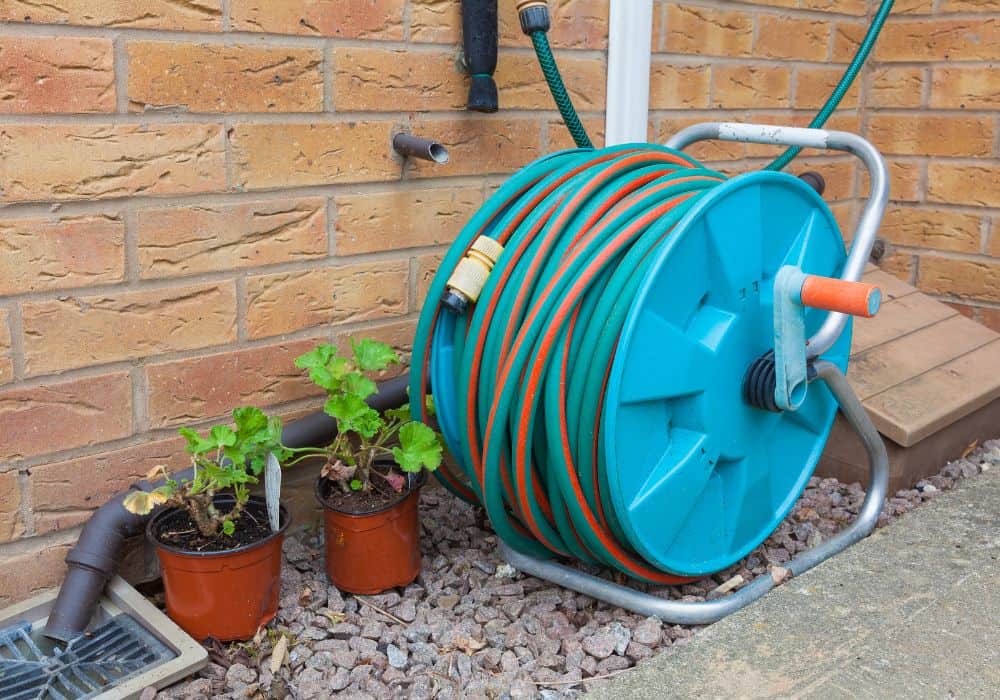
- It can be simply attached to an exterior wall. Wall-mounted hose pipe reels will come with a bracket, which will allow you to quickly attach the hose pipe reel to an outer wall of your home. This may keep your hose pipe reel neatly tucked away, out of the way of inclement weather and direct sunshine, both of which can damage the water hose with time.
It depends on your personal preference regarding the type of hose pipe reel you would like to invest in.
Types of Hose Pipe Reels
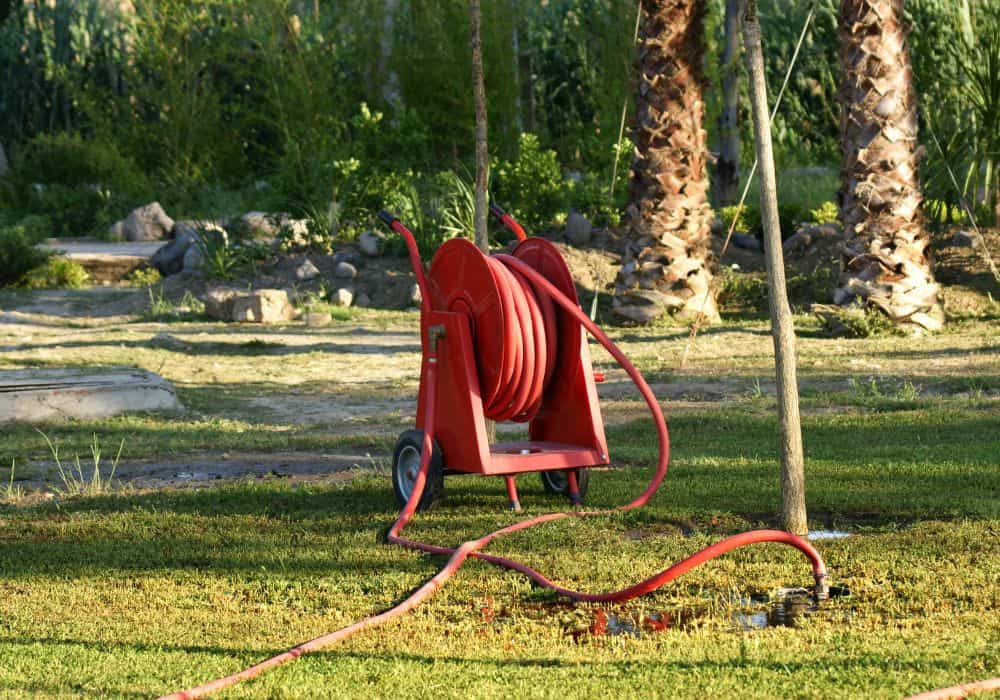
Hose pipe reels are classified into two types: Freestanding hose pipe reels and wall-mounted hose pipe reels.
A freestanding hose pipe reel is ideal for convenient access and portability. If you need to relocate your hose pipe reel from one location to another, standalone garden hose pipe reels are a wonderful solution. This allows you to quickly take the hose pipe reel to the front of the house to wash cars or water your front or rear garden. Conversely, a wall-mounted hose reel might be the ideal base point for a detachable hose, allowing it to be neatly packed away after each use.
There are a few things you must keep in mind before deciding to invest in a hose pipe reel:
- Usage simplicity: Some hose pipe reels are naturally bulkier and more difficult to build than others. If this is an issue for you, it may be worth investing in a fully able, light hose pipe reel or retracting hose for a hose that is easy to use.
- Cost: A variety of hose pipe reels ranging across a varied price range can be easily found. According to your financial plan and how much money you want to spend, you can easily find dependable solutions within your price bracket or put the money in a hose pipe reel with a greater cost that enables you to remove the hose mechanically.
- Presentation: According to your garden designs and aesthetic preferences, you may prefer a certain model of the hose pipe reel. Hose reel colors should also be considered; for instance, a navy blue or green will fit in nicely, but a vibrant yellow will stand out in the garden or drive.
- Assembly: A variety of hose pipe reels are pre-assembled, which means there is no bother or further installation necessary once purchased. You may need to put up the hose pipe reel manually if your hose does not arrive pre-assembled.
Once you get the hose pipe reel delivered, you will have to set it up, and it is actually easier than you might think. But that’s not all. To make a hose pipe reel worth your investment, you must know how to store it and how to install it on a wall, for that is a preferred method.
The good news is that just like setting up the hose pipe reel, these are also quite simple tasks that would not take a significant amount of time or energy. So first things first, let’s look at how to set up your hose pipe reel.
Setting Up A Hose Pipe Reel
Finally, beginning with installation, follow the steps given below and learn how to attach a hose to a hose pipe reel:
Step 1: Get the Garden Hose Reel Ready.
To install a new hose on an old hose pipe reel, completely stretch the hose until the hose connector fits within the drum in the middle of the reel. Remove the hose by turning it by hand or, if required, using pliers. Remove the old hose. Follow the directions for your specific model to connect any parts and set it up for use when purchasing new hose reels.
Step 2: Prepare the New Hose.
Take out your new hose. Place the female hose thread end closest to the hose reel. Stretch the remaining hose out of the reel to allow it to soften and eliminate any twists in the line. Extending out the hose makes it much simpler to wound correctly onto the reel.
Step 3: Feed And Connect The Hose
Feed the female hose thread end connector of the new hose through to the reel’s guide aperture and screw onto the drum’s water coupling connection. Secure the fitting with the help of pliers to guarantee a leak-free fit, but don’t overtighten, or you’ll peel off the threads or shatter any plastic components.
Before attaching, place a rubber washer further into the bottom of the hose connector. Rubber washers outperform vinyl washers and help prevent unpleasant leaks within your hose reel.
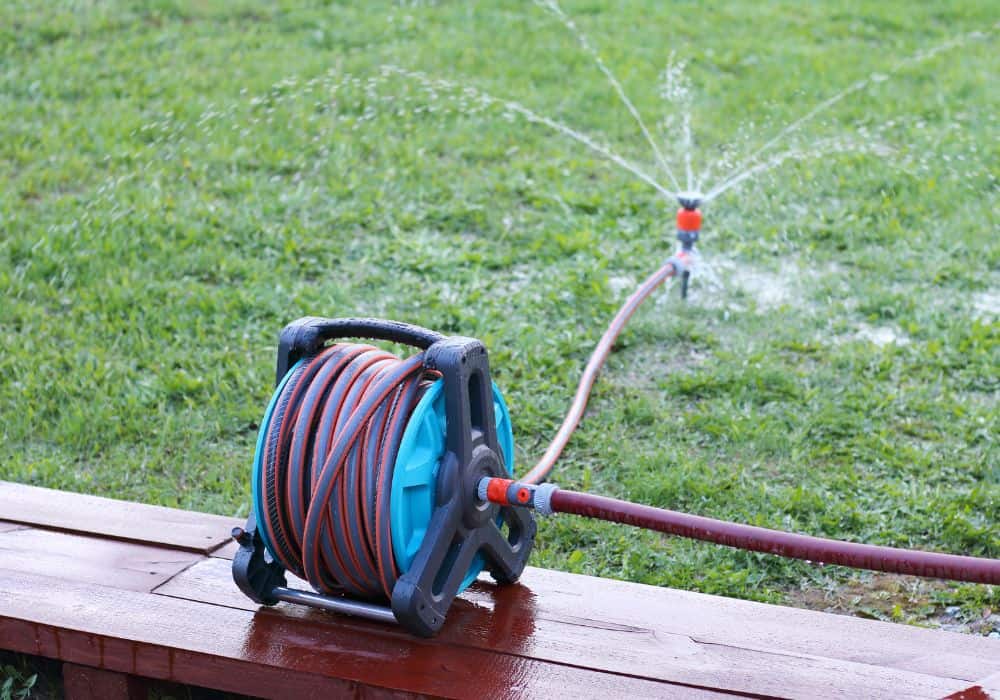
Step 4: Wrap The Hose
Begin wrapping the hose over onto the reel’s drum. As you wrap, be patient and coil the hose properly back and forth over the drum. Maintain a tight grip on the hose as it revolves to eliminate gaps that might catch or take up a little too much space on the drum.
As the hose reaches the guide, have someone hold it softly. This approach allows you to keep your eyes on the hose as it wraps up and keeps it tight on the drum. Install a motorized hose reel which works by pressing the button or lever that rotates the drum and allows the hose to withdraw. Keep an eye on the hose as it coils back and forth over the drum, but other than that, let the machine do its work.
Now your hose pipe reel is essentially ready to be used but you must keep its maintenance and storage in check, so it becomes worth your investment.
Storing Your Hose Pipe Reel
To prevent germs from growing in the inner tube, drain the hose Pipe reel of rainwater. Moisture in the hose can potentially freeze and grow, causing the hose to split or heat up and cause considerable damage. Because of the extra weight, moisture left in the hosepipe can end up making freestanding hose pipe reels challenging to move.
Push out the moisture from the hose by turning the hose pipe reel or putting the hose downstream.
Pull the hose back in with the hand crank, being sure to smooth out any bends or curves in the hose properly.
A preferred method to help with proper storage of a hose pipe reel is installing it on the wall since it is easier to access for a lot of people

Installing a hose pipe reel on the wall
First, mount the brackets on the wall and note the locations where you will make a hole to attach them. Double-check your measurements. For smooth, clear holes, use a high-quality drill. Use adhesive tape to keep the drill from drilling too deep into the brick. Drill the holes in, taking your time to get the proper depth.
Insert the masonry connectors or connectors from the pack, making sure they are level with the brick. Insert the brackets into the wall according to the manufacturer’s instructions. Screw the bracket in gradually to avoid uneven placement.
Using a spanner or other suitable instrument, tighten the screws or brackets carefully. Once securely fastened, the bracket ought to be able to support the weight of the hose pipe reel and fit neatly against the wall.
Conclusion
A hose pipe reel is among the most commonly used and efficient methods for storing a hose pipe. This style of hose storage is quite convenient as well because it saves the time and effort of coiling the hose yourself, whether manually with a hand-cranked or mechanically with a retractable reel. Fully automated or retractable reels are normally more expensive, but depending on your ability and hand strength, they might be well worth the extra expense.