If you’ve noticed that your kitchen faucet is wobbling more than it used to, or if it has started to leak, you may have a loose faucet base. In this blog post, we’ll show you how to tighten a loose Moen kitchen faucet base using a few simple tools.
By following these steps, you can fix your faucet yourself and save yourself the cost of a professional repair.
How Do You Know If your Faucet Base Is Loose?
Moen makes many different kinds of faucets, and though they are good quality, you will still have to do some maintenance from time to time.
Over time, it is not uncommon for your faucet base to become loose. This can be caused by a number of factors, including wear and tear, age, and frequent use.
A loose faucet base can be a major annoyance.
If your Moen faucet is not attached properly to the countertop, it can cause water leakage and eventually lead to a flood. In addition, a loose faucet can make it difficult to control the temperature and flow of water, making it a potential safety hazard.
Fortunately, there are several signs that can indicate whether your faucet base is loose and in need of tightening.
One of the most obvious signs is if water is leaking from around the base of the faucet. If you notice moisture on the countertop or tile beneath your faucet, it’s a good indication that the base is not tight enough.
Another sign is if the handle feels loose or wobbles when you use it. This can make it difficult to get a precise flow of water and may cause the handle to come off completely if left unchecked.
Finally, if your faucet seems to have become less stable over time, it’s likely that the base has come loose and needs to be tightened.
Tools You Will Need
The design of moan faucets allows for them to be easily adjusted. This allows you to customize the water pressure and temperature to your preferences.
Because of this, tightening your facet base is extremely easy. Better yet, all you need is a few simple tools you likely already have.
- Basin wrench: Basin wrenches are a specialized tool that is designed to reach tight spaces. They have a long, slender handle and a ratcheting head that allows you to turn them in tight spaces. You can find basin wrenches at any hardware or plumber store.
- Adjustable wrench: adjustable wrenches are a tool that can be used to loosen or tighten many different nuts. When using an adjustable wrench, it’s important to adjust the jaws to the correct size for the nut you’re working with. Otherwise, you run the risk of damaging the nut. To use the adjustable wrench, simply place the jaws onto the nut and then turn the handle to loosen or tighten as needed.
- Flashlight: A flashlight is optional, but it is important. You want to make sure you have proper lighting so you can easily see everything you are working with. It will also help ensure you are not trying to feel around in the dark for any items you remove
6 Steps To Tighten A Loose Moen Kitchen Faucet Base
Finally, it is time to get to work. Follow these instructions to quickly and easily tighten your Moen faucet base.
1. Use a sink stopper in the Drain
The first step to tightening a sink faucet base is to plug the basin drain. This will prevent nuts and bolts from falling into the drain as you work.
Losing important nuts can be an annoyance as it may require you a trip to the hardware store or multiple stores to find an exact match.
Just go ahead and plug the drain to be on the safe side and ensure the whole process goes as smoothly as possible. If you don’t have a drain stopper, you can use anything that will cover the drain, such as a small bowl or rubber disc.
2. Cut off the water supply
Before you begin, though, it’s important to find the water supply valves and turn them off. Otherwise, you could end up in a very messy situation! To turn off the water, start by locating the hot water valve – this is usually on the side of the sink near the hot water supply line.
Turn the valve to the “off” position. Then, find the cold-water valve and repeat the process. Once both water supply valves are turned off, you can proceed with tightening the faucet base.
Just be sure not to over-tighten, or you could end up doing more damage than good.
3. Open faucet handles
After you turn off the water valves, it’s important to relieve the pressure in the lines. Otherwise, you could end up flooding your kitchen.
The best way to do this is to open the handles on your faucet and let any remaining water drain out. Once the water has stopped flowing, you can proceed with tightening the base of your faucet.
This will help to prevent any future leaks.
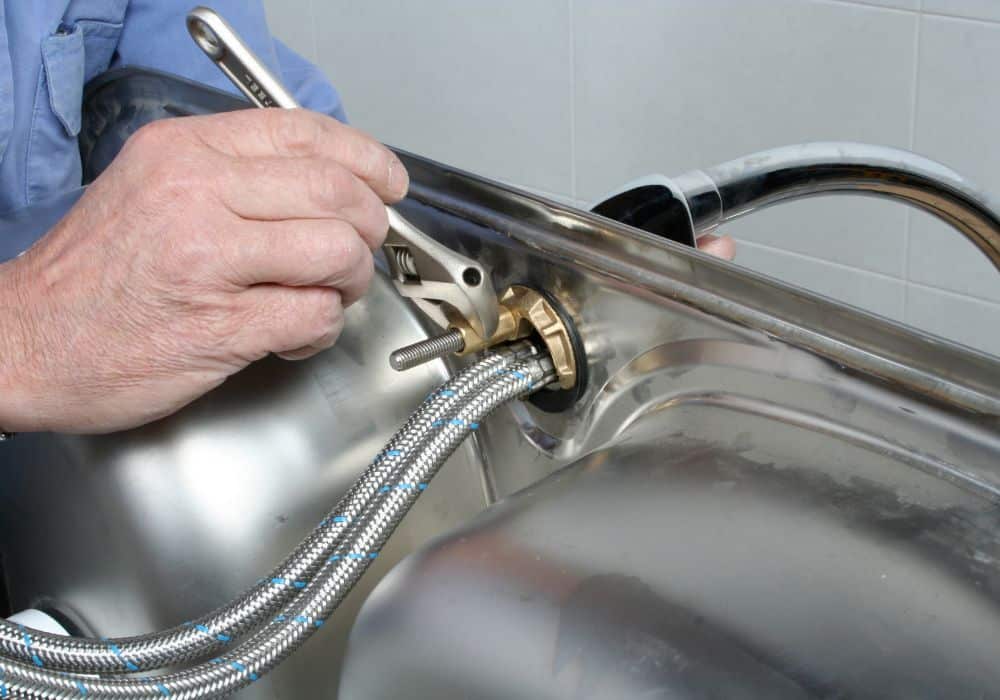
4. Remove Water Lines
Next, use an adjustable wrench to loosen the nuts that secure the supply lines to the faucet. For most types of faucets, there will be two nuts – one at the base of the faucet and one at the end of the water line.
Once these nuts have been loosened, you should be able to pry the lines off of the faucet. If you encounter any resistance, do not force the lines – instead, check to make sure that all of the nuts have been properly loosened. With the water supply lines removed, you can now proceed with your repair work.
5. Tighten Loose Nuts
To tighten the loose base, you will need, first, to place the jaws of the basin wrench around the base of the nut until it has a strong grip. Then, turn the wrench handle in a clockwise direction until the nut is tight.
If you do not have a basin wrench, you can try using a socket wrench or pliers. However, basin wrenches are specifically designed for this type of job and will usually provide the best results.
With a little care and effort, you should be able to tighten the nuts and stop the leak.
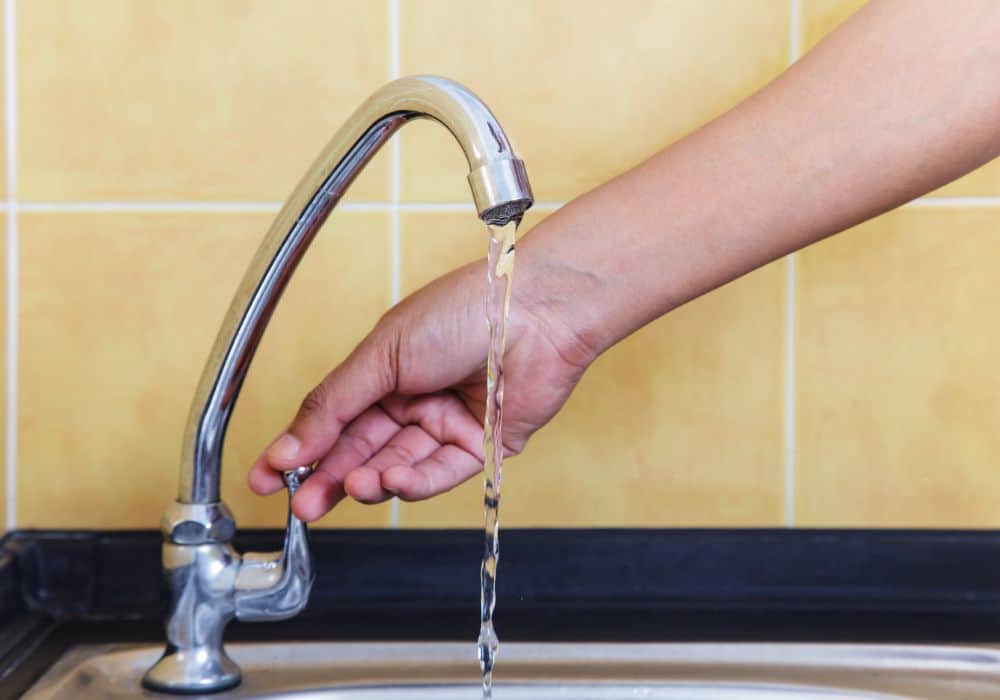
6. Check your work
The final step in installing your Moen kitchen faucet is to check your work and ensure that you have tightened the base well enough. You can do this by returning the water lines and turning the water supply valves back on.
If there are any leaks, tighten the base a bit more. Once you’ve checked for leaks and tightened the base as needed, you’re finished.
How To Tighten A Loose Moen Kitchen Faucet Handle
A loose Moen kitchen faucet handle can be annoying, and it may even cause water to leak from the faucet. Fortunately, it is usually a quick and easy fix.
The first step is to ensure the water supply line is shut off using the instructions above. Next, locate the screw that is holding the handle in place.
This will typically be a small plastic screw or hex nut located near the base of the handle. Once you have found the screw, use a screwdriver or your fingers to take it out.
Next, you will need to locate a set screw that is usually located under the decorative cap. It is normally tricky to find, so you should use pliers or an Allen wrench.
Once you have found the screw, use the Allen wrench to turn it clockwise until it is tight. Just be sure not to over-tighten it, as this can make it hard to open your handles.
Conclusion
So, there you have it! With just a few basic tools and these easy-to-follow instructions, you can fix that pesky Moen faucet in no time.
However, if you run into any problems while tightening your faucet, it may be a good idea to call a professional so you don’t do any further damage.
Did you find this article helpful? Let us know in the comments below – we love hearing from our readers!