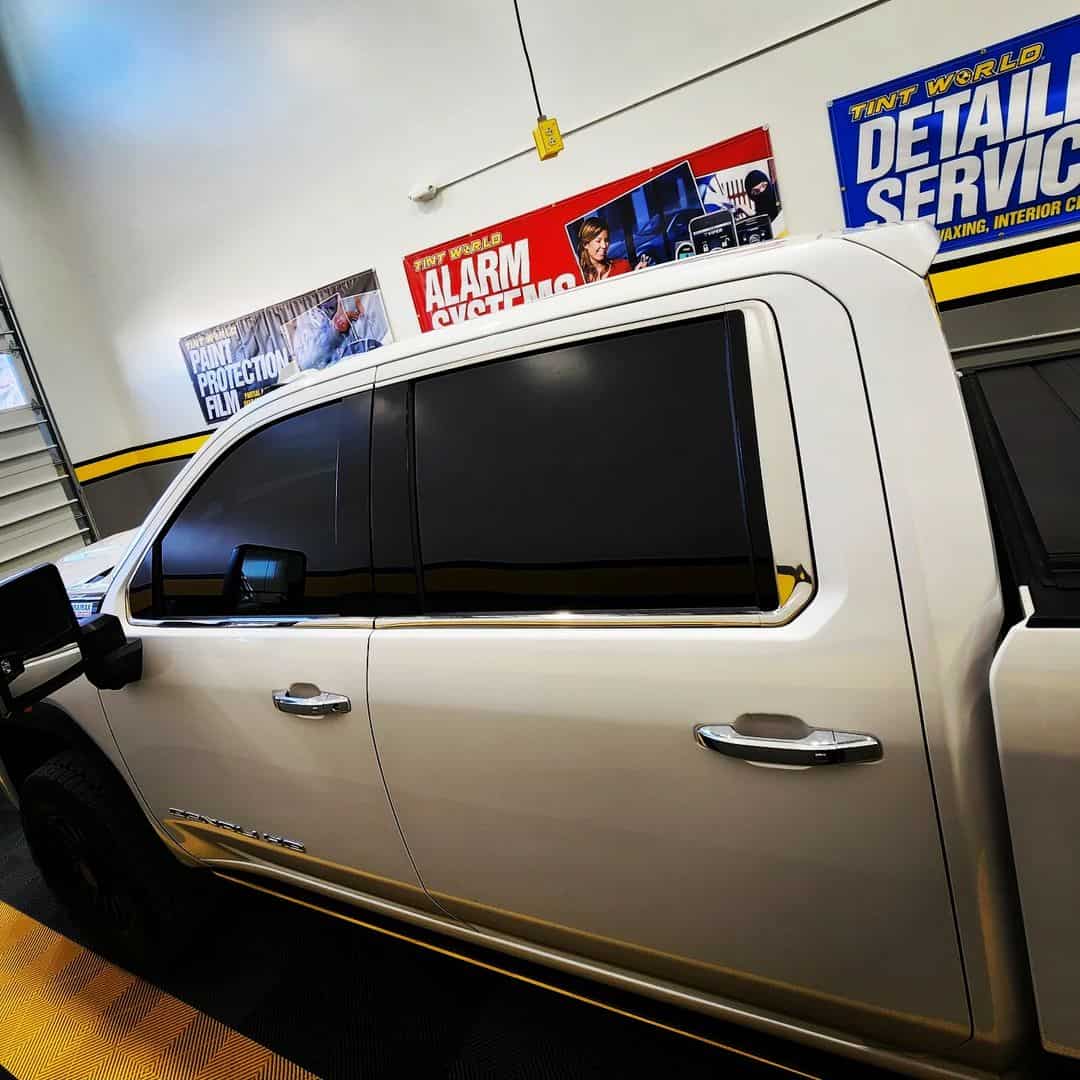
Window tints are a stylish and cost-effective upgrade for your car that significantly reduces sun glare and keeps the heat outside. These tints effectively filter harmful UV rays and infrared radiation produced by the sun.
Installation of window tint film on your vehicle is a straightforward process. We’ve compiled this article to share with you the complete process of window tinting, the required tools, and related information so you won’t have to search elsewhere.
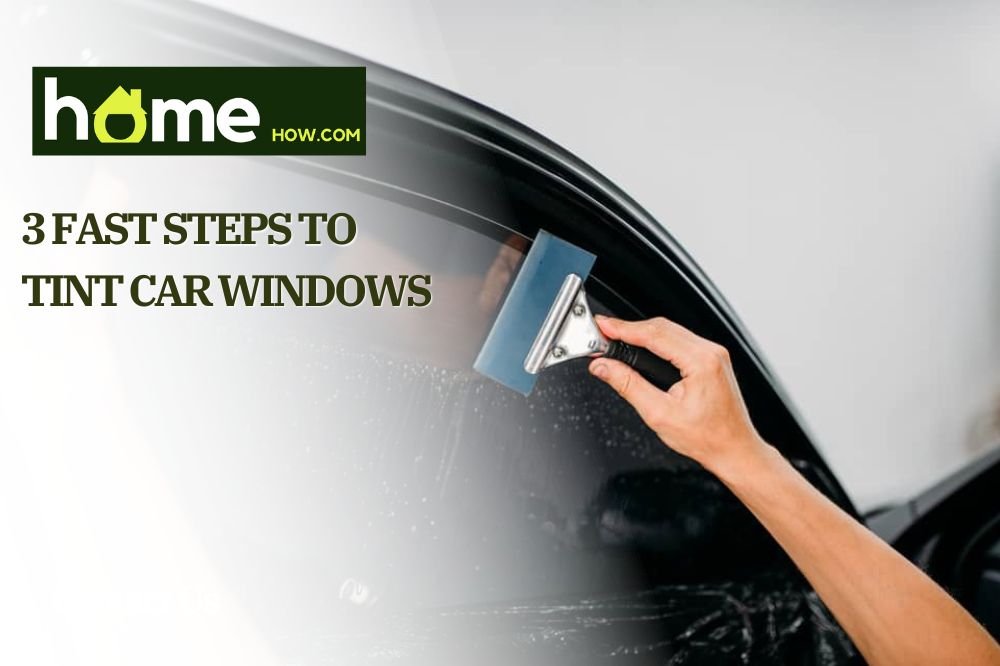
Tinting Your Car Windows
Choose a dust-free and shaded area like a garage to install your window tints. It will take at least 30 minutes to complete the process. Rushing or being impatient will only lead to improper installation. While installing these window tints, ensure your hands are wet with soapy water to avoid the film sticking to your hands.
Tools You’ll Need
You can either purchase a window tint installation kit or gather the tools and materials listed below.
- Window film of your preference.
- Spray bottle filled with soapy water.
- A 4-liter bucket of water mixed with four tablespoons of liquid detergent.
- A pack of razor blades and razor blade scraper.
- Silicone squeegee.
- A soft cloth or microfiber towel.
- Tint applicator.
- Precision knife with interchangeable blades.
- Heat gun.
- Vacuum Cleaner
Step-by-Step Guide on How to Tint Car Windows
Step 1: Preparing the Windows
The first step is cleaning your windows to remove dirt, grime, or grease from the windows. Here’s how to start:
- Use the vacuum cleaner to remove any dirt and debris in the car’s interior that could stick to the cleaned windows.
- Close your vehicle’s windows and spray the soapy water on the exterior and interior of the window glass.
- Using a scrub or a soft cloth, gently rub the glass to remove the remaining dirt.
- Rinse the soapy liquid using water.
- Pick your razor scraper and remove remnants like grime, old stickers, or any other substance sticking to the window.
- Take your time to clean the trims, gaskets, deals, and every nook that could hide dirt.
- Dry the glass with a squeegee or a microfiber towel.
- Wrap a soft cloth around the squeegee to dry window seals and trim.
Avoid using a commercial glass cleaner because these cleaning products contain ammonia which can react with the tint film, resulting in discoloration.
Step 2: Sizing Your Vehicle Windows
- Take the film without removing the adhesive liner and place it on the passenger front-side window.
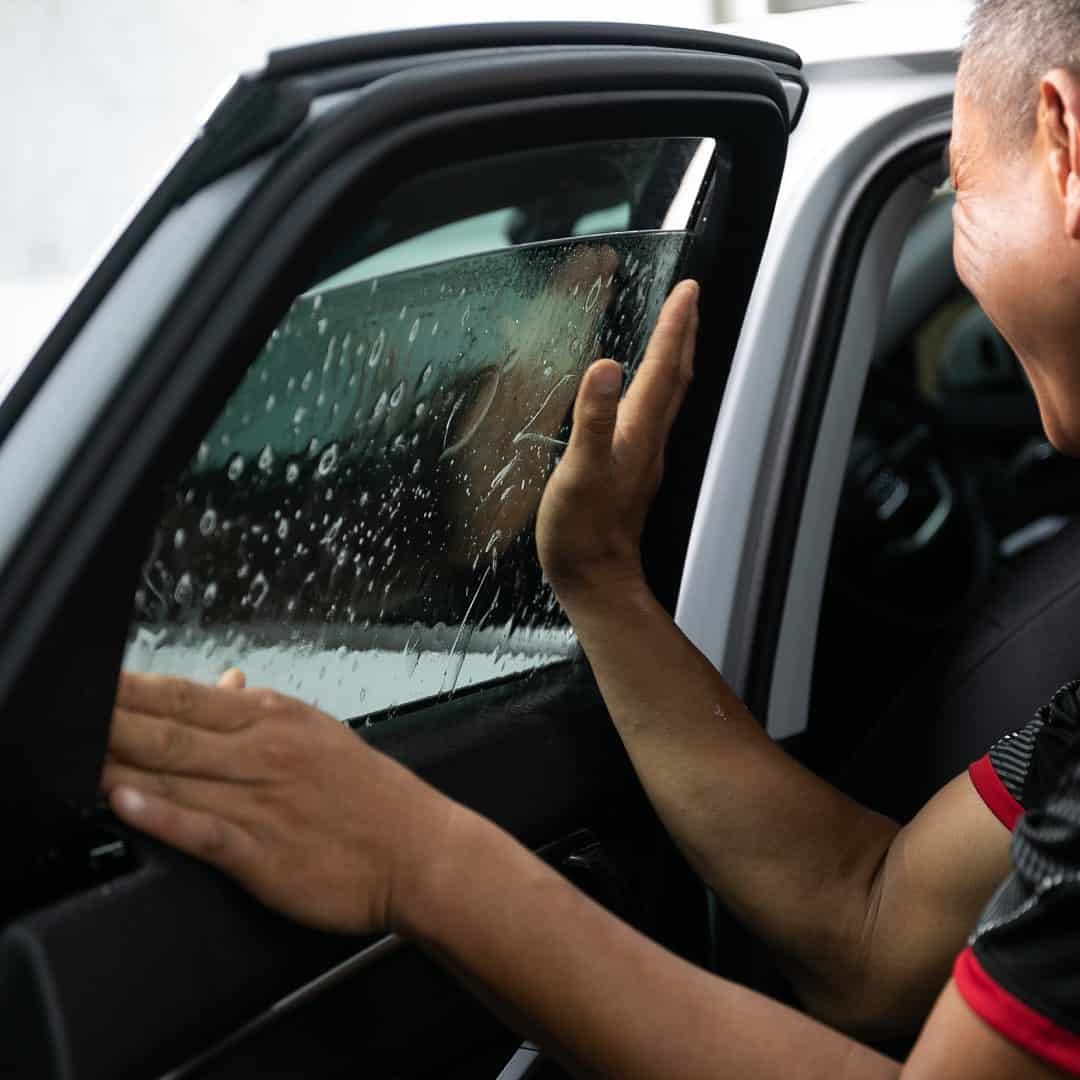
- Spray the outside of the window glass with soapy water.
- Place the tint on the window and cover the outside of the window while leaving the overhang.
- Carefully cut the measured film piece from the roll.
- Gently press the film to the window. The soapy water you sprayed will aid in sticking the film to the window.
- Leaving at least three inches overlapping the glass, cut the film into a square.
- Using a tint squeegee, straighten the film.
- While holding the tint with one hand, use your other hand to start cutting the film.
- Using your precision knife, start cutting from the window seal and go from the front to the back.
- Pull the film until it overlaps the back window by half an inch.
- Now trim the section of the window near the side view mirror.
- Adjust the trimmed film to the center, and you’ll be left with half an inch of extra film overlapping each side of the window.
- Gently pull the film down until it’s one inch lower than the bottom of your vehicle’s window.
- Lower the window by one inch and use the top of the glass as your guide to trim the excess film.
- While leaving the bottom inch of the film untrimmed, carefully cut any extra film over the front or back of the glass.
- Pull up the window and center your film to measure whether you’ll need further trimming.
- Use a squeegee to smooth out any wrinkles.
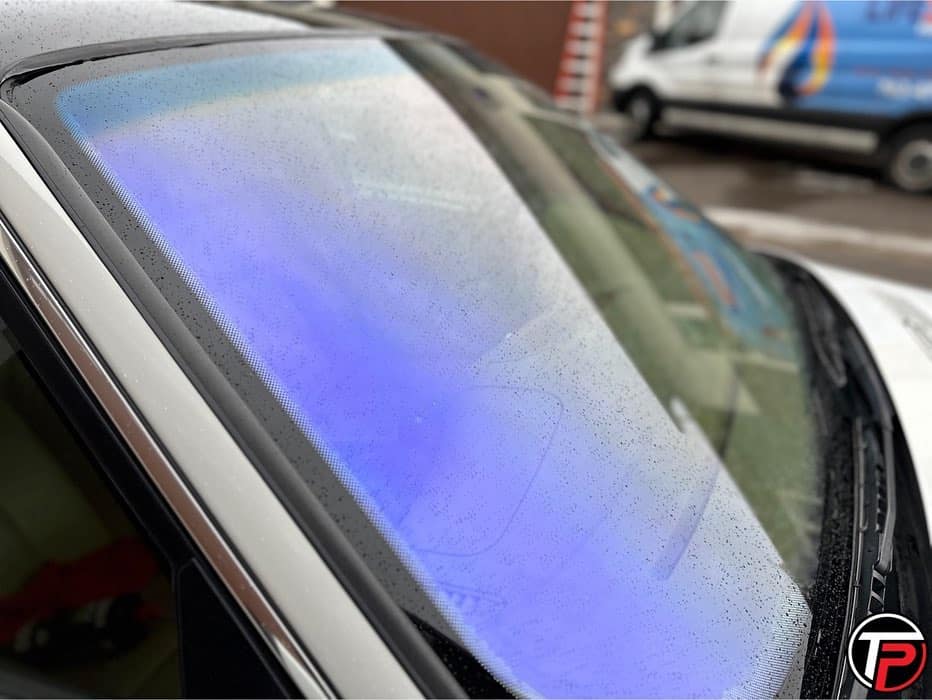
Step 3: Applying the Film
- Clean the inside of the windows as you clean the outer surface. Ensure no dirt remains; otherwise, it will result in the formation of air bubbles.
- Spray the soapy water on the glass.
- Remove the adhesive liner, exposing the sticky side of the film.
- Now carefully apply the tint film’s adhesive side to the window’s inner side.
- Apply more spray to slide the film into position effectively.
- Using a tint squeegee, push out any remaining bubbles or water left under the film.
- Tuck the edges of the film into the window seals using the tint applicator.
- Keep the film wet because the tint film can tear up during adjustments.
- Once applied and the bubbles removed, dry the film using a soft cloth.
A heat gun can also be used to remove excess water or bubbles, but it requires a bit of training. If you keep heating a specific area for a long time, the heat can damage the film. Repeat the steps for each window and avoid lowering the windows for a week, allowing the adhesive to cure.
However, if you want to avoid the hassle of cutting the tint film from a roll, you can purchase pre-cut sizes of your car’s specific model from your nearest auto repair shop. If you tint your windows for the first time, the tint might apply differently than expected.
In situations like these, get help from a friend or call in a professional service for effective installation.
Tips for Effective Window Tint Installation
- When window tinting, ensure the film stays wet with soapy water. This makes the whole process a lot easier.
- Instead of starting with a small sheet, always cut the sheet a few inches more on each side and trim off the excess film after measuring the exact dimensions.
- Ensure the place you are working in is dust-free. If dust or any other foreign material floats in the air, it can stick to the clean window surface and become visible when the tint is already applied.
Safety Precautions to Follow
While window tinting is low-risk, wearing safety gloves when cutting the film ensures your hands remain safe during trimming. Always remember to push the cutting blades away from your body to avoid the knife from slipping.
As a good amount of dishwashing soap spray is used, it’s better to wear safety goggles and avoid the soapy water getting into your eyes.
Abiding by the Law
Before you start tinting your windows, review the local laws and regulations regarding window tinting. Several regulations limit how dark your tints can be. For example, if the tint is 40%, it blocks 60% of the visible light. Reviewing these laws can aid in picking a feasible window tint.
Types of Window Tints
There are five different types of window tints, each with a distinct feature or property.
- Metalized tint contains metallic particles that can deflect UV and infrared rays from the sun.
- The dyed tint comes in varying dye intensities and is used for privacy.
- Carbon tints have micro-layers of carbon and a special polymer that deflects harmful UV radiation.
- Hybrid tints are a blend of dyed and metalized tints.
- Ceramic tints are the most advanced and highest-quality tints available.
FAQ
1. Can we get creases out of the applied tint film?
While creases near the edges can be worked out with a tint applicator or a credit card. However, creases at the center of the tint might not be possible to remove.
2. Can a tint be applied without the required tools?
Gathering the required tools is necessary if you want effective results. If you are a DIY enthusiast, you can find alternate tools. However, people installing a window tint for the first time will require these easy-to-use and practical tools.
3. Where to stick the window tint film?
Tints are specifically designed to be placed on the inside of the window.
4. Why are the windows hazy after applying the window tint?
Although you might have removed the water and soap on the window tint, the tints adhesive takes time to cure and might look hazy. After a few days, the haziness in the tint will fade away as the adhesive starts curing.
5. How to clean window tints?
Use a mixture of soap and water, spray it over the window tint, and wash the water’s surface.
6. How much does it cost to tint your windows?
If you install the window tints on your own, the tint roll and the required tools will cost you under a hundred dollars. However, if you opt for a professional window tint installer, the price might go up to $400 or more.
The final installation price also depends on the type of window tint you choose. For example, a dyed tint would cost you much less than a ceramic window tint film.
Bottom Line
Installing window tints is easy when you have the right tools and are familiar with the process. If you still need clarification about installing window tints, consider watching a few videos on the internet to understand each step of the tinting process. However, if all goes in vain, it’s best to leave it to the pros and get assistance from a professional window tint installer.