
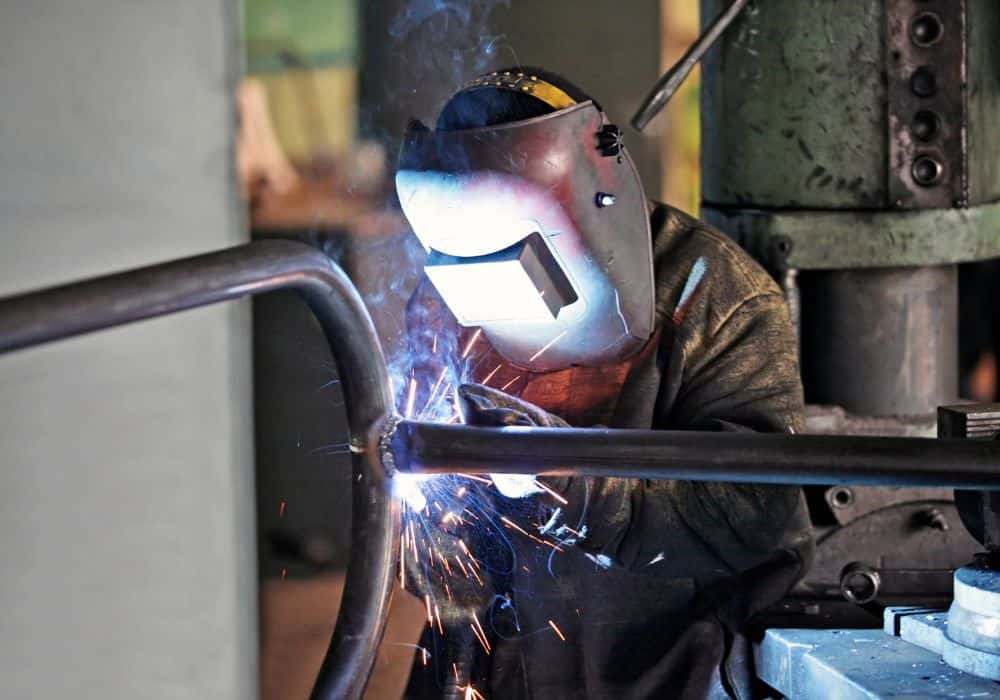
Welding has long been used to join two or more pipes together. Popularly known as the art of sewing with fire, it calls for a great deal of precision, skill, and patience. So, if you have a piece of steel pipe that needs to be welded, read on as we dish out knowledge on how to weld pipes.
To weld a pipe, you’ll need to ensure that you have the proper welding equipment, tools, materials, and safety gear. This includes but is not limited to, a welding machine, grinder, electrodes, and safety goggles. Once you have them, proceed to weld the pipe by first aligning the two pipes, then joining the pipes by welding.
Pipe welding requires a high level of competence. Therefore, this article will cover topics like how to properly weld a pipe, tools you will need, different welding techniques, and mistakes to avoid when welding pipes.
Step-by-Step Processes on Welding a Pipe From Start to Finish
Before proceeding to weld a pipe, there are certain intricacies you must familiarize yourself with. This includes tools, equipment, and materials you’ll be needing to successfully weld a pipe, passes used in pipe welding, and welding positions.
Step 1: Gather All Required Pipe Welding Equipment, Tools, and Materials
When carrying out either gas metal arc welding or gas tungsten arc welding, you’ll need important tools such as:
- Welding machines
- Charged electrodes
- Electrodes and wire feeds
- Angle grinder
- Squares
- Wire brushes
- Levels
- Chipping slag hammer
- Flat and round files
- C-clamps
- Phillips and flat-head screwdrivers
- Ball peen hammer
- Cold chisels
- Electrode tip cleaners
- Linesmen and cutting pliers
- Flint strikers
- Solid boots
- Welding gloves
- Welding helmet
- Leathers (coverall)
- Ear plugs
Step 2: Get Familiar with Passes Used in Pipe Welding
The weld pass simply refers to the single progression of weld along a joint. Here is a list of the different weld passes necessary for pipe welding include:
- Root Passes
Welders frequently use these passes to close gaps between piping parts. In addition, they ensure consistency throughout the tack welds and serve as a base for piping joints.
- Hot Passes
These single welds are suitable for joining the root weld to the groove faces. Depending on the welding position used, you can divide hot passes to produce an ideal weld.
- Fill Passes
Fill passes are an excellent way to fill grooves during welding. Cavities that form in some welds might change their overall quality. Welders must follow a beading procedure frequently to prevent these cavities and create a solid junction.
- Cap Passes
These final passes are used when filling the welding tops. They are beneficial because they use relatively lesser build-up layers above the pipe surface compared to other weld passes. If required, you can grind this layer to improve the weld beading and remove contamination before a final cap pass.
Step 3: Learn About Positions in Pipe Welding
Specific codes such as numbers and letters are used to identify different pipe positions and joint types. For example, Pipe welding uses groove welds, usually indicated with the letter G.
Likewise, four primary pipe welding positions are identified by numbers 1, 2, 5, and 6. These positions are discussed below:
- The 1G Position
Although this position is rarely used, it is crucial to understand it. This is a flat welding position because the pipe usually rests on its side and can rotate as you weld.
- The 2G position
Since this position is fixed, you cannot rotate the pipe while you weld. In this instance, the pipe is positioned on its base, making welding far more secure and sturdy.
- The 5G Position
In this position, the pipe is in a horizontal position, just like in the 1G position, but the difference is the 5G is a fixed position. When using this position, you must weld in several directions, including vertically up, overhead, and vertically down.
- The 6G Position
This position is more complex than the rest as it covers all aspects of other welding positions. To achieve the desired outcome when using the 6G position, you should fix this pipe at a 45-degree angle.
Step 4: Cut the Pipe
When the pipe must be a certain length before welding, it occasionally needs to be shortened. To ensure a perfect circular edge, cut the pipe in a direction perpendicular to its centerline. Making marks with a soapstone pencil on the pipe’s surface will accomplish this.
Step 5: Perform Pipe Beveling
To ensure that the joint has the appropriate strength, it is crucial to make the right edge preparation between the pieces. Use an oxy-acetylene cutting torch or another suitable tool to bevel the pipes once they have been cut. Depending on the root face, the cutting angle may range from 30° to 35°.
Step 6: Clean the Pipe
Before welding, it is important to clean the pipe surfaces to produce a high-quality weld. The beveled surfaces must be completely clear of dirt, oxides, scale, rust, and other foreign materials. Tools like wire brushes and files are suitable for cleaning. The beveled surface needs special attention and considerable length on both the inner and exterior surfaces.
Step 7: Align the Joint
The use of a line-up clamp is one method for aligning a joint. The clamp firmly secures the ends of the two pipes. Use root spacing, please. A root spacing of around one-eighth of an inch should be used for oxy-acetylene welding. The thickness of the filler rod that will be used determines the root spacing for arc welding.
Step 8: Backing Rings And Tack Welding
Backing rings to aid in aligning the centerlines of both pipes so that they are parallel to one another. The backing ring should be placed within one pipe and over the other during assembly and melted to produce a stronger connection between the pipes. After forming a strong weld, the welding process is done.
Note: If the pipe design calls for a continuous, uninterrupted fluid flow within the pipe, backing rings shouldn’t be used.
Common Mistakes to Avoid When Welding Pipes
No matter how skilled and cautious a welder is, accidents happen when welding pipes. Both inexperienced welders and seasoned pros are prone to making welding mistakes. Here are some typical errors and the best approaches to reduce them.
1. Porosity
The welding pool will likely become porous if gasses like hydrogen, oxygen, and nitrogen are allowed in. A brief interruption in the passage of the shielding gas may result in porosity. The result is an extended welding process and a change in the overall weld quality. Before welding, clean, sterilize, and grind the materials to prevent porosity.
2. Cracks
Your welds’ ability to create cracks will change how well the finished product is made. Cracks typically develop due to porosity, pollution, pressure inequality, and rapid cooling. As a result, you may need to redo the entire welding procedure, as repairing them might be difficult.
3. Undercuts
One of the main reasons for welds of low quality is undercutting, which is due to high voltages, lengthy arcs, incorrect angling, and unstable work surfaces. The manufacture of high-quality welds is improved by checking these criteria because doing so eliminates any likelihood of undercutting.
4. Misalignment
A typical welding method is fitting up the welds. The biggest error most welders make is starting the welding process too quickly and misaligning or skipping the components. Because of this error, the bevels are steep. Make sure the parts are fitted out before fusing to prevent this.
These common mistakes can be avoided by adhering to simple welding rules.
Pipe Welding Tests
There are a number of ways to test the strength of your pipe welding to verify the quality of your work.
1. Visual Inspection
The cheapest and most straightforward method is visually inspecting the weld. It entails you carrying out a simple weld inspection to determine its quality. It is mostly utilized when poorly done welds don’t pose any danger and is not a reliable tool for identifying internal weld problems.
2. Liquid Dye Penetration Tests
This method is more successful than a visual inspection since a dye is brushed or sprayed on the metal’s surface to highlight any surface defect or cracks that aren’t visible to the human eye. However, the cost of dye does make it slightly more pricey.
3. X-ray Tests
This is utilized on projects where the weld quality is crucial for safety reasons since it is the most feasible way for finding interior weld flaws. But due to the radioactive substance utilized, there are a few risks involved with this technique. Hence it should only be used by qualified experts.
Final Thoughts
Pipe welding can be challenging and may require working in uneasy or potentially dangerous conditions. Still, with the right knowledge, standards, and safety precautions, welding is frequently preferred to alternative pipe joining methods.
Selecting the best welding technique is also very vital as different pipe materials, such as mild steel or carbon steel, require specific welding positions and passes to achieve the desired outcome.