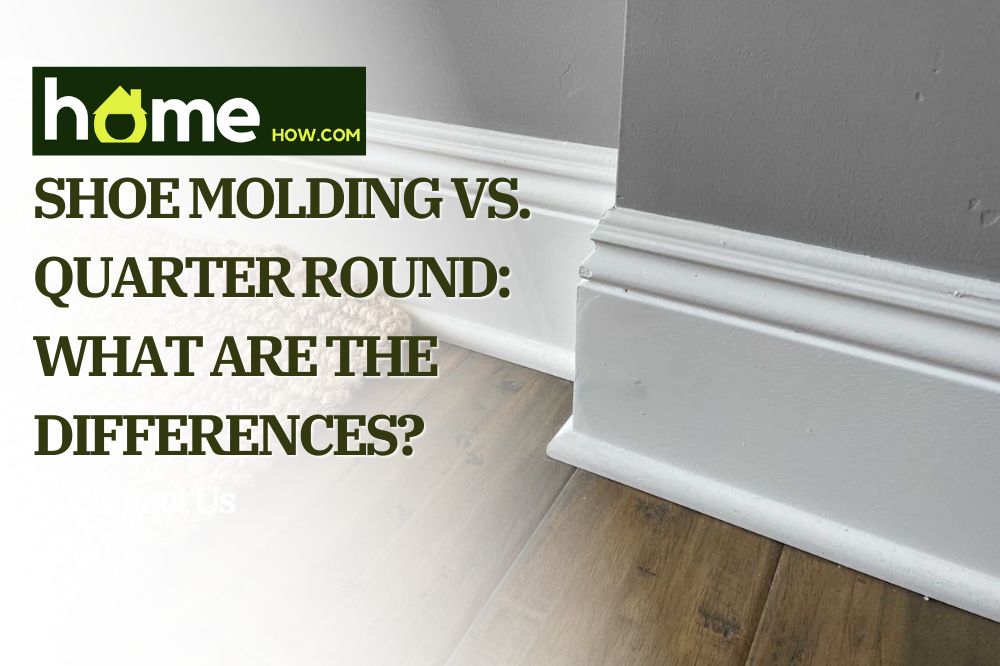
Shoe molding and quarter-round are two popular types of molding used to hide imperfections between the baseboard and floor, elevating the aesthetics of the indoor space.
Although both molding types are used interchangeably in certain situations, shoe molding and quarter round have quite a few differences, especially in their utility and design.
Here’s what you need to know about shoe molding vs. quarter-round so you can make informed renovation choices for better results.
Shoe Molding Explained
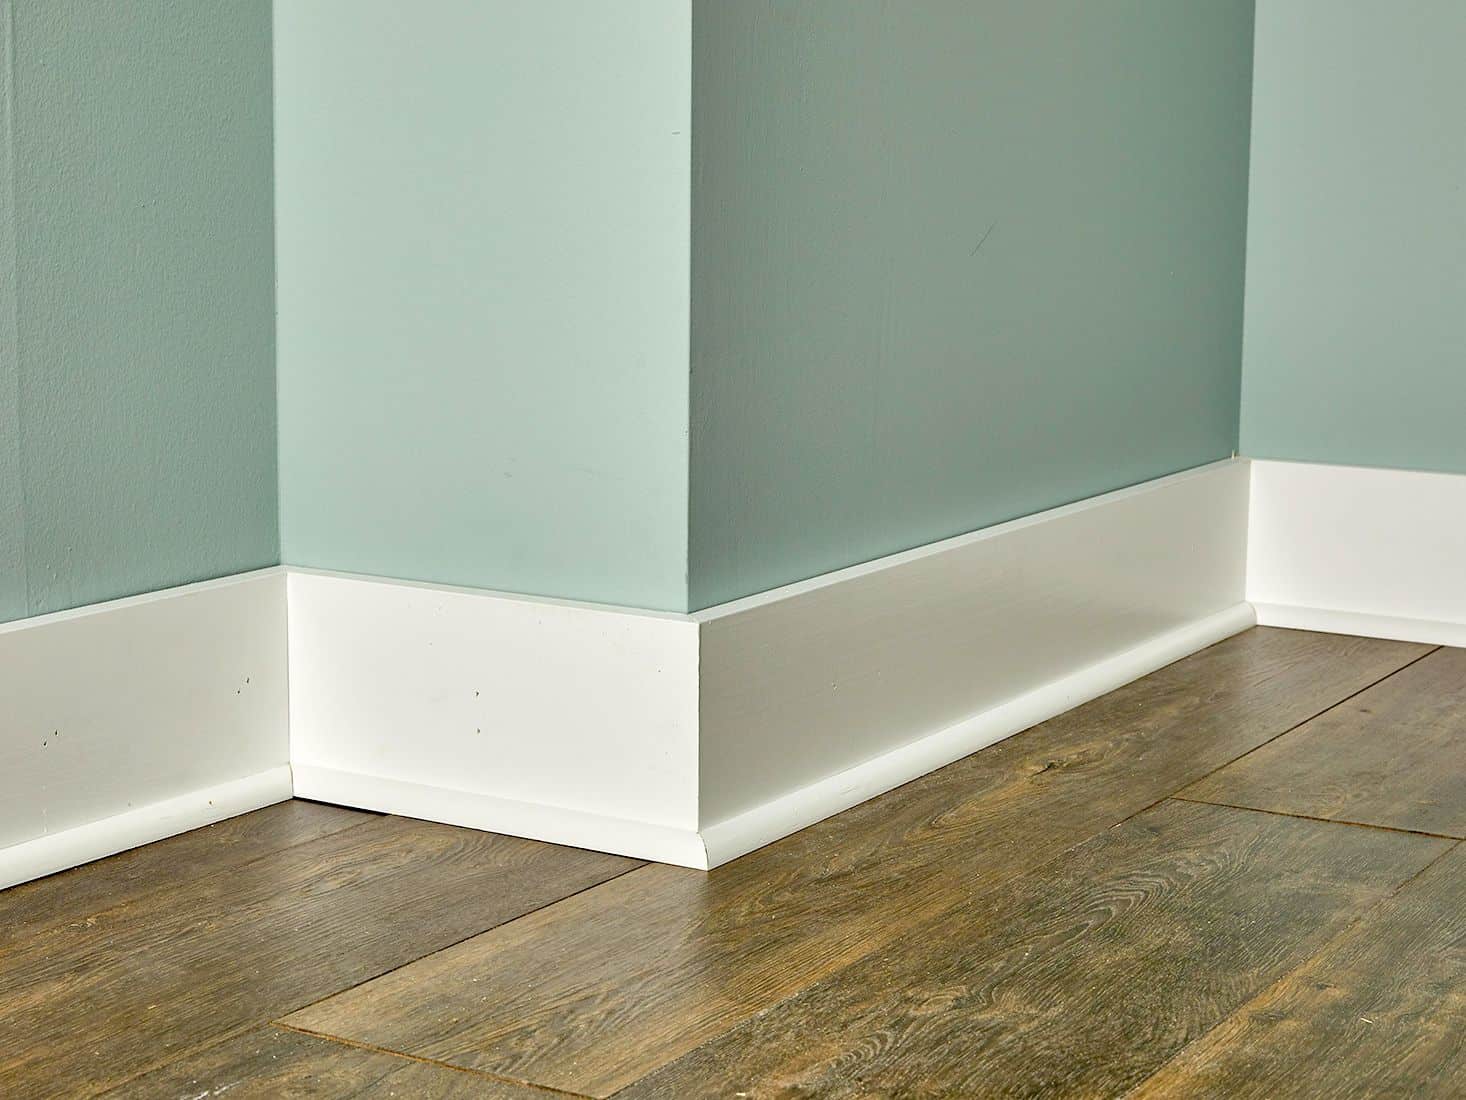
If you have more significant gaps, variations, and seams between the baseboard and floor, shoe molding is the style to pick. With a 1/2 inch width, it’s taller than a quarter-round trim, easily concealing the space for a better out.
Shoe molding gives leverage to floor installers to make precise end cuts and hide unlevel floors. Due to their flexibility, the trim can be maneuvered alongside the uneven floor, masking the floor lacking uniformity.
These moldings provide an elegant look and are great at hiding imperfections. However, shoe molding is not preferred for installation over the carpet or in the bathroom.
There are mainly two types:
1. Decorative Shoe Molding
This type is an array of decorative patterns, perfect for a visually appealing finish. Most architects, contractors, and homeowners prefer using decorative shoe molding due to its sleek appearance, availability of an array of designs, and cost-effectiveness.
2. Standard Shoe Molding
It has a square profile, making it a great choice when you want a flat front edge or a square shape rather than a curve.
Quarter Round Explained
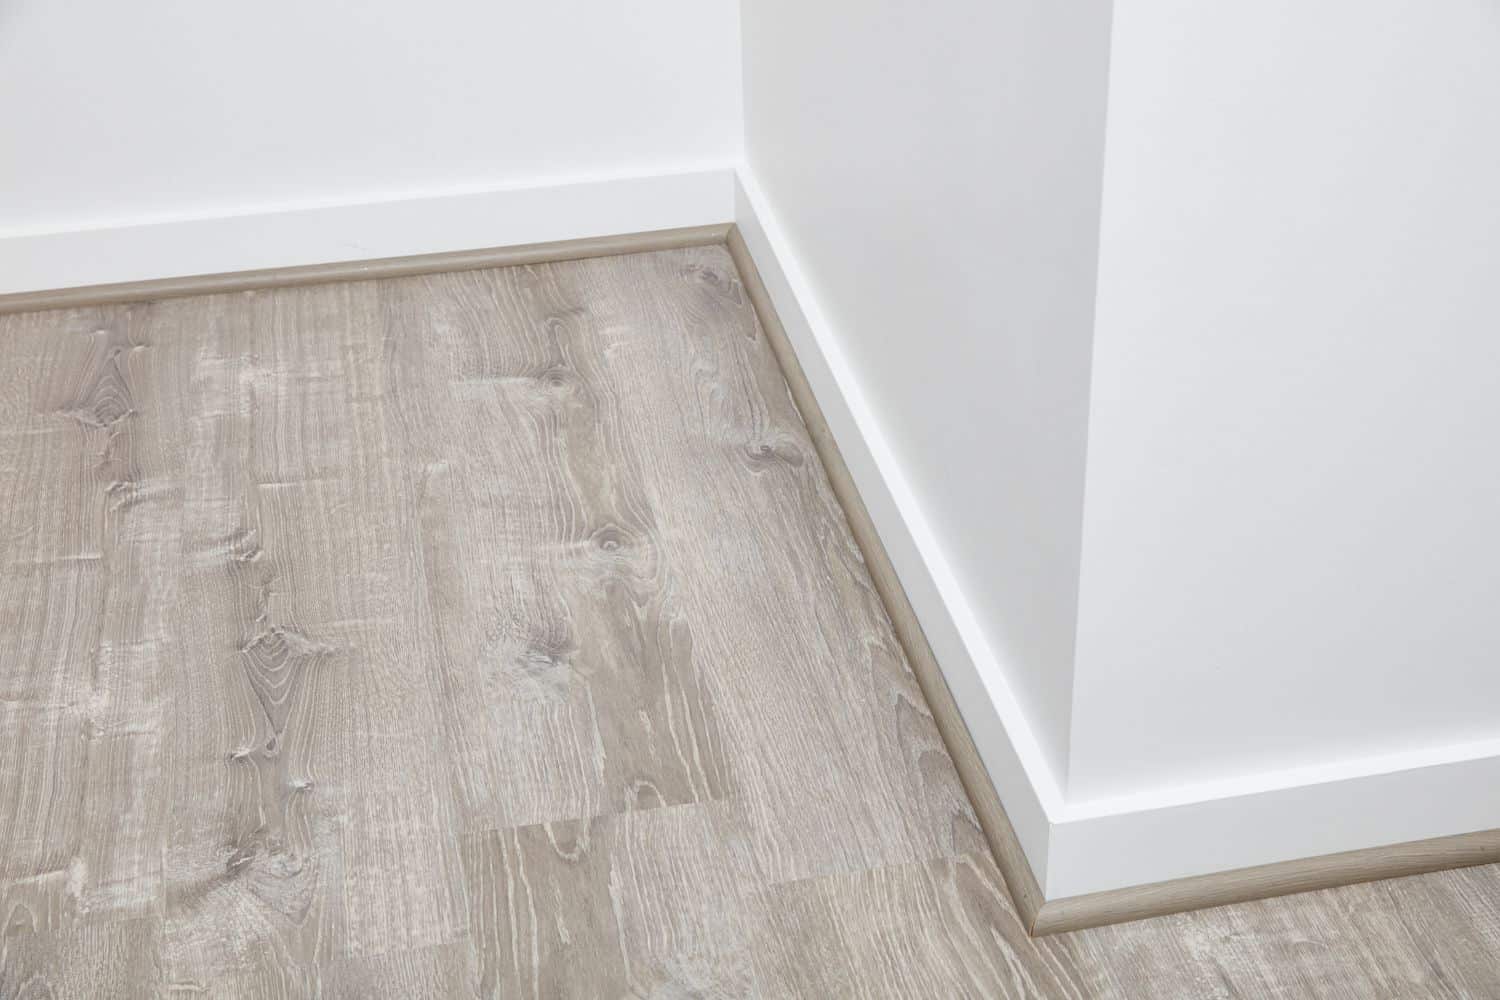
The purpose both molding styles serve is the same. Still, besides covering small gaps, the quarter-round molding can be placed on backsplashes and countertop surfaces, providing an appealing outlook.
The backside of the quarter-round trim stays parallel (at 90 degrees) with the wall, while the showing side has a quarter-circle radius.
This molding type looks like one-quarter of a circle, comes in a standard length of seven feet, and needs to be cut to the required length before installation.
What’s The Difference?
The main differences are listed as follows.
- Shoe molding is thin and smaller than a quarter-round.
- While shoe molding provides a better decorative outlook and can be bent easily into smaller gaps for a perfect fit, the quarter round is shaped as a quarter circle and ideally covers noteworthy imperfections or cracks.
- The quarter-round molding covers more space than the shoe molding style.
- The curve of a quarter round is more prominent than a shoe molding trim.
- Quarter round is available in various sizes and is 3/4th of an inch. On the other hand, shoe molding has a width of 1/2 inch and doesn’t come in different size variations.
- Quarter round works best if you want well-defined, rounded edges.
- While you can use shoe molding styles between the flooring and the baseboard, quarter-round trims can be installed on windows and door frames to improve the visual appearance.
Are There Any Similarities?
- Whether it’s a quarter-round or shoe molding, both styles provide a sleek, smooth, and well-defined outlook.
- These styles can be compatible with materials like concrete, solid wood like oak or wood veneers, laminate wall panels, and even stone tiles.
- These molding styles can be painted to elevate the visual outlook further and are easy to customize into different lengths.
Material Used To Make Moldings
Shoe molding and quarter-round are made with several types of materials listed below.
1. Medium Density Fiberboard (MDF)
It’s an incredibly versatile material for baseboards and other home renovation projects. MDF has a smooth and primed surface, making it easier to paint.
The material doesn’t split, allowing easy installation. MDF is a popular choice among contractors and architects as it’s a quality material with a budget-friendly price tag.
2. Wood
Probably one of the oldest materials used for this purpose, a superior choice for homeowners seeking natural materials to improve their indoors aesthetically.
The natural pattern of wood grain provides an appealing outlook with physical properties to withstand warps or cracks. Shoe moldings are mostly hardwood from walnut, pine, and oak.
3. Polystyrene (PVC)
This material is preferably used in areas with high levels of humidity and rainfall. Other materials like wood and MDF absorb moisture from the surroundings, making them swell and lose their strength.
PVC is durable, lightweight, resistant to moisture, and doesn’t get affected by water damage.
Besides having several physical properties favoring its utility and easy installation, the material can be mixed up with virtually every colorant and molded into any design to replicate the texture and design of natural materials like wood.
While the material provides excellent utility, moldings made of organic materials have leverage when comparing the quality and level of luxury.
Installation Guide
Shoe and quarter-round molding are installed using the same tools and process. The only difference is that there’s no need to mark the quarter-round trim surface facing the wall.
It’s important that you follow the instructions to ensure the work is done to your liking. Here are the steps for the installation process.
The Tools You’ll Need:
- Measuring tape
- Utility knife.
- Nail gun or a hammer.
- Putty knife.
- A Miter box and a saw.
- Safety equipment like gloves, safety goggles, and a first-aid kit.
You can either install these molding as it is or tweak them up according to your home improvement goals. Caulk, varnish, paint, and nail crayons are some tools you will need. These extra touch-ups give your molding a professional and visually pleasing look.
Step 1: Removing Old Molding
Before you begin, don’t forget to wear the required safety gear.
Start by loosening the already installed molding with a utility knife. Slowly push your way and remove the molding. If you rush in, the paint holding the existing molding with the baseboard will get chipped, further increasing the workload.
When the molding is loose enough, push the putty knife under the base and slowly raise the molding to remove it. Now pull the nails to install the new molding.
Step 2: Preparing Walls And Molding
Preparing the walls and molding is a step that cannot be missed because it makes all the difference.
After the nails and old molding are removed, inspect the baseboards and check whether they need to be repainted or replaced. Now prepare your molding by sanding it lightly and cutting them to the required length.
Finish each on a miter box for a perfect match. Painting the moldings is another option when you want to match their color with the baseboard and floor.
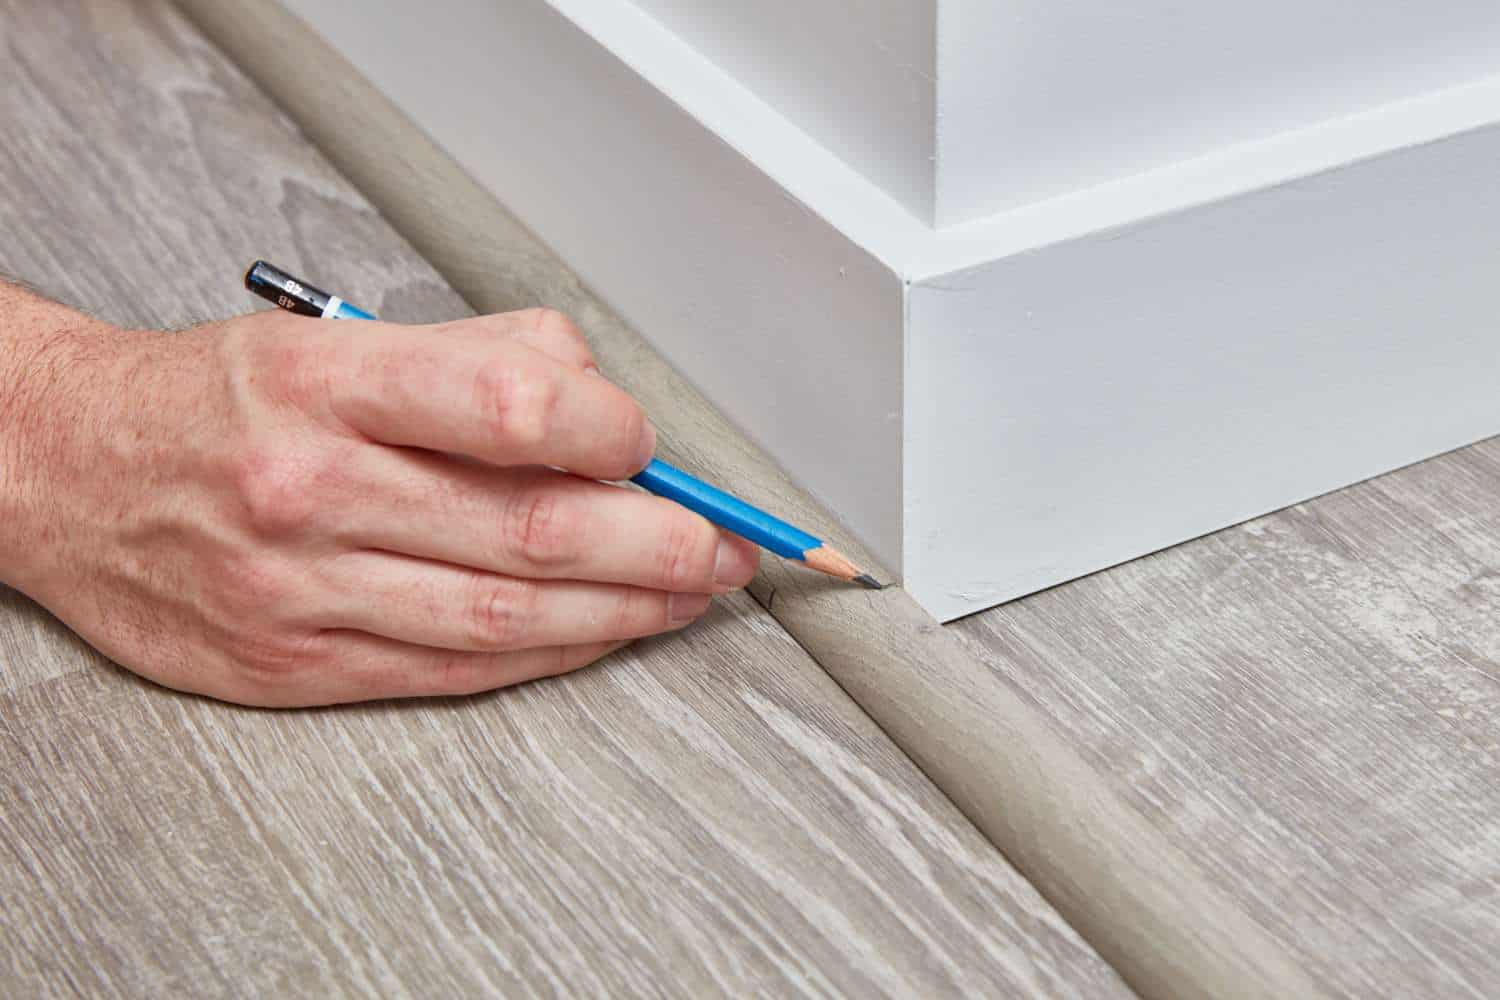
Step 3: Cutting Molding Pieces
Measure every wall and corner of the indoor space and write the details. Using the numbers, you noted down, it’s easy to know the exact length of molding required for the project and the different lengths you will cut the molding into.
Cutting lengths for the inside corners of a room is more straightforward than an outside corner. A specialized cut called the cope cut is made on moldings to fit outside corners perfectly. You will need to sand the edges and miter the ends, ensuring a sturdy and durable installation.
The joints on the outside corner can also be strengthened using a few drops of glue. Ideally, the baseboard should make a perfect 45-degree angle.
For the corners having a 22.5-degree angle, diagonal cuts need to be made for a firm fit. Multiple moldings are joined together using mid-run joints. The pieces are cut at a 45-degree angle, joining ends to cover the entire length of the wall.
Step 4: Installing The Molding
Adjust the molding piece and nail it using a nail gun. The nails should be centered and at least one to two feet apart to prevent the cracking of the material. A brad nailer or a finish nailer is the most effective tool for nailing shoe molding and quarter-round trims.
Glue can be used to stick moldings in place but requires accuracy, making it challenging to replace them.
Step 5: Creating A Return
When installing the molding, you will encounter areas where the trims will meet the doors. You need to make an outline return at the end where the molding touches the door frame. Three basic types of returns include bull-nose returns, mitered returns, and a wrap-around. These types are for different room types and requirements.
Step 6: Finishing Up
Inspect the installation and look for any loose gaps. Adding an extra nail can provide a better grip. The gaps should also be covered up using caulk. Besides painting the moldings to match the hardwood floor and baseboards, use a nail crayon to conceal the shiny nail heads to match the paint.
Although most homeowners and architects would prefer installing molding, it’s not necessary if you have no issues with gaps between the baseboard and the floor.
Final Thoughts
Concealing transitions between the floor, baseboard, and seams becomes easier with shoe molding and quarter-round. While their purpose is similar, the differences lie in their size, shape, and designs.
Before finalizing the molding style, understand your requirements, like the size, length, and shape.
Don’t forget to compare products from different hardware manufacturers, including the prices, to make an informed decision. Not using baseboard molding will leave you with ugly gaps and a lot of dirt and debris to clean.