Pull chains are commonly used to control the speed of ceiling fans. These chains are durable and easy to use. But, every now and then, the chain may get stuck.
It will not move or change the fan’s speed – no matter how much you pull at it. When this happens, don’t panic because there’s a quick solution for it.
In today’s post, we will explain the ultimate ceiling fan chain stuck fix. We will also talk about ways to fix a broken chain. So, without further ado, let’s get started!
Why Won’t My Ceiling Fan Chain Pull?
Usually, the ceiling fan chain doesn’t pull because it’s jammed. This is a common problem amongst pull chains, so you shouldn’t be surprised when this happens to you. However, sometimes, the chain won’t pull because some part of the switch is broken.
It may not be evident from the outside. But pulling the chain too hard can cause the housing and delicate components inside to break.
How to Fix a Stuck Ceiling Fan Chain?
When a ceiling fan chain gets stuck, there is no way to solve the problem other than to replace it completely. This may sound like a scary technical process, but it’s not. Anyone can do it easily if they stick to the following steps!
Things You’ll Need
- Ladder
- Screwdriver
- Wire Cutter or Pliers
- Wire Stripper
- New Ceiling Fan Switch
- Twist-on Connectors
Instructions
- Access the circuit breaker of the house and turn off the power of the room. This will ensure no electricity is flowing through the wires when you work. If you are unsure about the switches, just turn the main house power off.
- If there are lights on the ceiling fan, you will have to remove them first. Put up the ladder and use a screwdriver to get the screws out. Hold the light fixture with one hand so that it doesn’t fall down. In some ceiling fans, the light is inside the fan cover. You will have to first remove it (step 3).
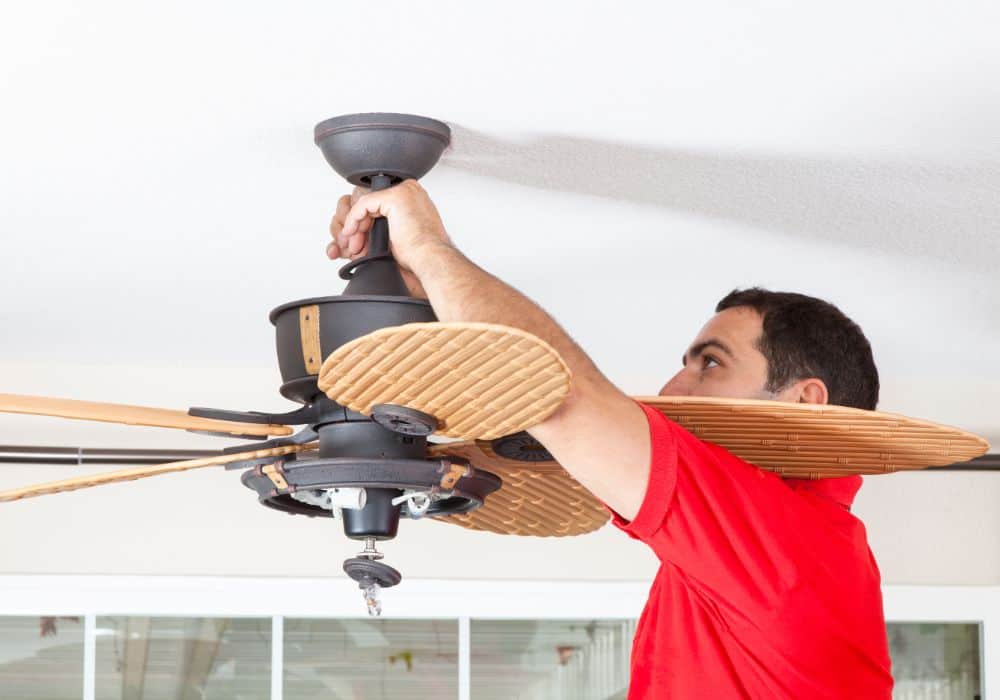
- Now, use the screwdriver to remove the fan cover. It will be held in place by two to four screws. Make sure to store them safely.
- Once you have removed the fan cover, all the wires and electrical components will be exposed. The pull chain will be quite visible – hanging from the side. Locate the chain switch in the circuitry inside.
- Pull out the chain switch from its holder and use a small screwdriver to open its plastic case. This will separate the switch into two parts, and the connected wires will be visible.
- Now, take a picture of the wire arrangement so that you can refer back to it when installing the new fan chain.
- Pull at the wires to loosen them and detach the switch from the circuitry. It will come out with the chain. If it doesn’t come loose, use a wire cutter to cut them.
- Step down from the ladder. Discard the old switch and get a new one.
- Using a wire stripper, remove 1.3cm to 1.9cm insulation off the new switch’s wires. This is important to attach the new wires and allow the establishment of an electrical connection. But make sure to strip only a little bit of insulation.
- Twist the exposed wires together and place connectors on them. The connectors will hold the twisted wires in place and prevent any unwanted electrical transfer.
- Now, get back up on the ladder and connect the wires of the new switch to the old wires in the fan’s circuitry. You will have to twist the wires together in a clockwise motion. Also, make sure that you are connecting the right wires. (Refer to the image you took earlier.)
- Cover the additional bare wires with twist-on connectors. You can find them at any local hardware store.
- Push the new pull chain switch into the housing and screw back any wire nuts you took out earlier. The chain should be dangling on the side as it did before.
- Install the fan cover and light bulbs into their place. Make sure to secure everything tightly and properly.
- Turn on the power from the circuit breaker and test the new fan switch. You may also want to double-check everything with a voltage tester.
As you can see, this is a fairly simple process. However, if you are doing electrical work for the first time, it’s recommended to have someone for assistance. You can also ask an expert to do the job.
What To Do When Your Ceiling Fan Chain is Broken?
Sometimes, a stuck ceiling fan chain breaks while pulling and trying to make it work. If that happens to you, it’s possible to get away by replacing the chain only. Here’s how to do it:
- Follow steps 1 to 7 from the chain switch replacement procedure above.
- Step down from the ladder and place the switch on a work surface.
- The contents of the switch will be very loose now. A little pulling will separate the chain from the disc and spring. If it’s not coming out, use the screwdriver to pull it out.
- Pull the chain out from the switch and replace it with a new pull chain extension. Arrange the disc and spring with the longer chain just like it was before.
- Climb the ladder again and push the chain switch back in its place. Join its case using a screwdriver. Make sure every screw and nut is tightly installed.
- Connect the wires using the reference image.
- Replace the fan cover and lights.
Once everything is in place, turn the power back on and test the new chain. If the chain doesn’t work, then the problem might be something more complex. Ask a professional to check the fan and assess the issue.
Final Thoughts
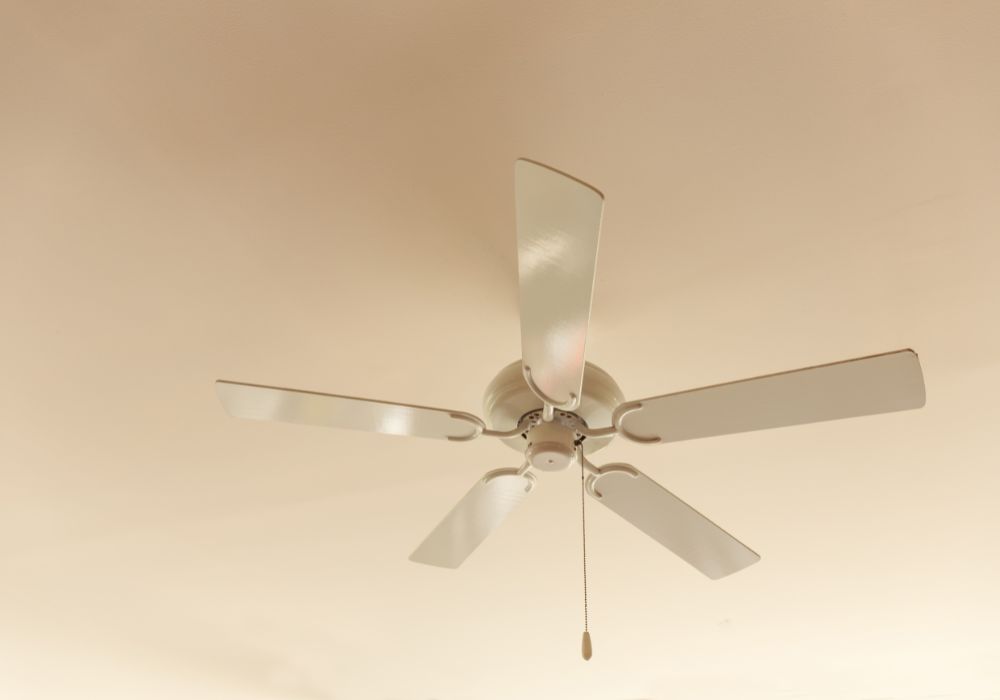
All in all, the ultimate fix to a stuck or broken ceiling fan chain is to replace it. Pull chains are durable, but they cannot survive extreme force. It’s why you should always pull the chain lightly and gently (especially the fancy, decorative ones).
Try out the replacement method explained above, and let us know your experience in the comments. Good luck!