
Have you noticed a damp patch on your ceiling? Or worse, water dripping from your ceiling? This is likely to be a sign of a leaking or a burst pipe in your ceiling which can cause serious damage if left unattended.
When you have a leaking pipe in your ceiling, you have the decision to make. Do you call a plumber or attempt to fix the pipe yourself? Doing it yourself can save you a lot of money but you need to know what you are doing. Luckily, it is not complicated and we have prepared a step-by-step guide for you on how to fix a leaking pipe in the ceiling.
Read on to find out how to carry out the repairs.
How Do You Know If You Have a Leaking Ceiling Pipe?
When the water is leaking from the ceiling, it can be difficult to determine if it is because your roofing is damaged or because of a leaking pipe. One of the key differences between leaks from the roofing system compared to leaks from pipes is the consistency of the leak. If the problem is in the roof, you will only notice drips when it rains.
Other differences can also help you determine if the leak is from the roof or a pipe in the ceiling, which include:
- When the water is dripping directly from the attic space or the surface of the ceiling, you have a leaking roof.
- If the water is brownish and dirty, the leak is usually from the roof. Water from leaking pipes is generally clear and clean.
- Water damage or dripping that appears in the ceiling below a bathroom, toilet, kitchen, shower drain, or washing machine is a sign of a leaking pipe.
- If the dripping does not stop when you turn off the water supply, the leak is in the roof.
- You have leaking ceiling pipes if the dripping is constant, happens at a steady rate, and stops when you turn off the water supply.
What Are The Other Signs of a Leaking Pipe in The Ceiling?
Sometimes the signs of a leaking pipe are not as obvious as water dripping, especially when the leak is very small. When the leak is caused, for example, by a tiny crack in the pipe, it can take weeks or months before obvious signs such as dripping water appear. So what else can be a sign of a leaking ceiling pipe?
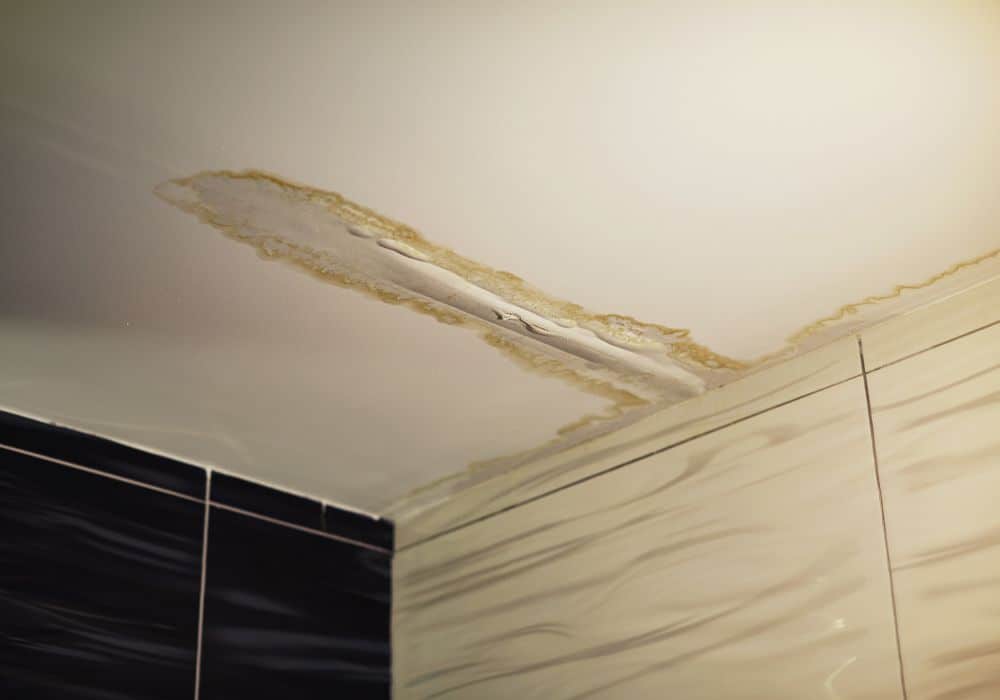
If you have a leaking pipe, it may cause a sagging ceiling or buckles or cracks. When the water leaks into the cavity of the ceiling, it can create a large water bubble, which can lead to structural damage. Another sign of a leak is your paint peeling or flaking. This is caused by the water or moisture that has concentrated on a part of the ceiling.
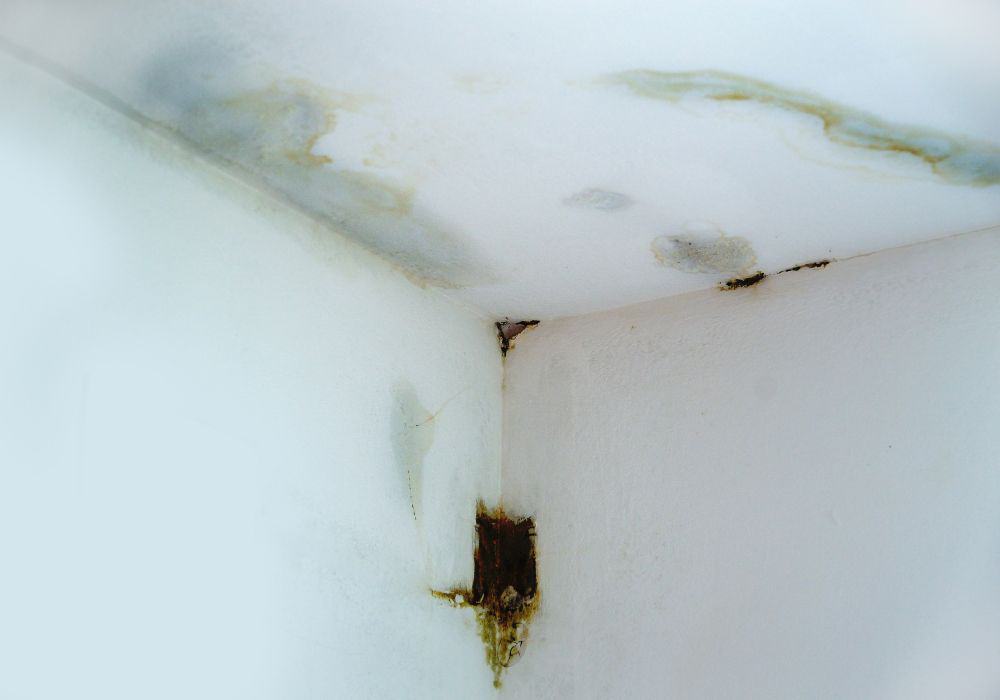
You may also notice discoloration in the area below the leaking pipe. There may be a brown patch or black spots caused by mold and mildew. If you notice any stains or wet spots in your ceiling and it is apparent that it is not leaking from the roof, repair the leaking pipe quickly before it causes further damage.
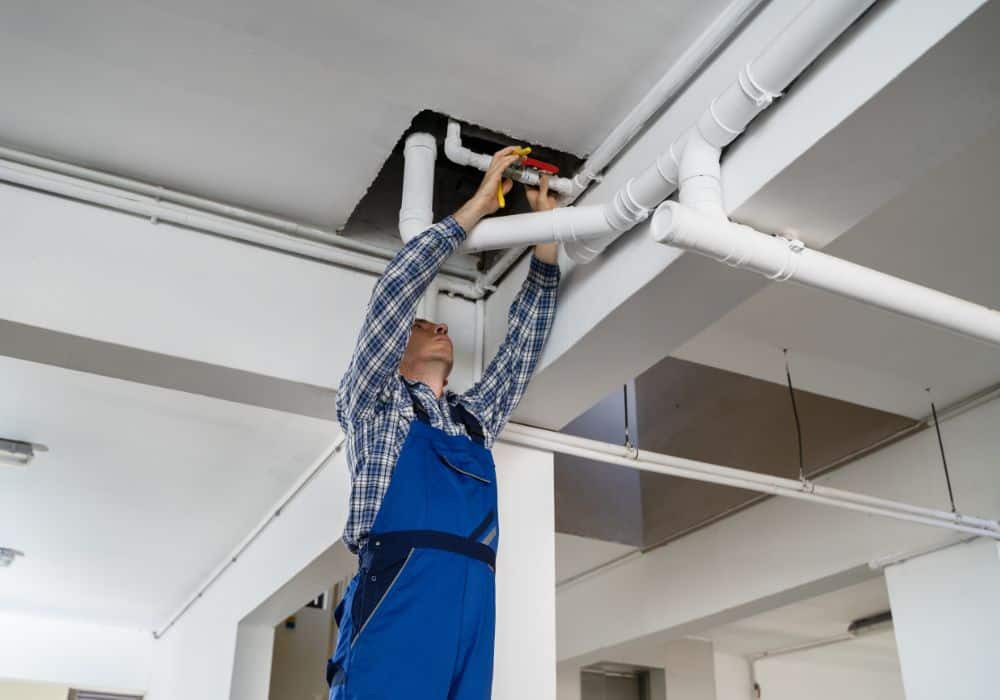
How to Fix a Leaking Ceiling Pipe?
Once you have confirmed you have a leaking pipe in your ceiling and not a leaking roof, it is time to get on with the repairs. Below are the steps you need to follow to successfully repair the leak.
What You Will Need to Repair The Leak
- At least one large bucket
- A plastic sheet
- A sharp tool, for example, a knife or a screwdriver
- Drywall saw
- Safety Goggles
- A torch
- One of the following: epoxy putty, fiberglass tape, or a sleeve clamp kit
To Repair The Ceiling You Will Need
- Drywall tape
- Joint compound
- A replacement piece of drywall
- Sandpaper
- Primer
- Paint
Step One: Turn Off Water and Electricity
When you repair pipes in your ceiling, you may be working near electrical wires, so it is important to turn off the electricity for your safety. Do this by turning it off at the breaker box. Turn off the water supply.
Step Two: Prepare The Area
To prevent water damage to your floor or furniture, clear the area of any furniture first. Then place a plastic sheet below the damaged area of the ceiling. You will also need to place a large bucket under the leak and it is a good idea to have at least one additional bucket ready.
Step Three: Draining The Ceiling
If there are water bubbles in the ceiling, you need to drain these before you can start working on the pipe. Using a sharp instrument such as a knife, punch a hole in the bubble. Water should drain steadily into the bucket you placed underneath. Repeat with any other bulges near the first leak.
Step Four: Remove Wet Parts of The Ceiling And Insulation.
Draw a rectangle-shaped outline around the area of the leak. Using a drywall saw, cut along the outline. Be careful and wear your safety goggles while doing this as the ceiling and insulation saturated with the water may fall out. Remove all wet material around the pipe to have easy access to it.
Step Five: Repair The Leak
Using a torch shine a light on the exposed pipe and examine the damage. If the leak is small, you can use one of the following methods: epoxy potty, fiberglass tape, or a sleeve clamp kit. Follow the manufacturer’s instructions to use these products.
Note: if the leak is too big to fix with the above-mentioned methods and needs replacing, you may want to consider hiring a professional. Replacing pipes in a ceiling can be challenging and require specialist tools.
Step Six: Leave to Dry
If the leak was small and you were able to fix it using one of the DIY methods, then you need to leave it to dry. You also need to let residual moisture left in the area dry out completely before you repair your ceiling. Using fans or a dehumidifier in the room may speed up the drying process.
Step Seven: Repair The Ceiling
Once you are sure that your ceiling and insulation around the leak are completely dry, you can patch up your ceiling. Note that it may take several days before everything is fully dry so do not be tempted to rush it.
Seal the hole in the ceiling with the replacement drywall, drywall tape, and joint compound. Sand the area, then prime it before painting. You may need a few coats before the repaired area is fully covered.
If you would like to see how repairing leaks in ceiling pipes works in practice, here is a video of an upstairs shower leaking.
How to Prevent Leaking Pipes?
There are measures you can take to protect your pipes against leaks. You can carry out regular inspections of the piping system and keep the water pressure at sixty pounds per square inch. You can check valves for signs of corrosion or leaks. Repairing issues quickly will also help to avoid future leaks.
What Are The Common Reasons for Leaking Pipes in The Ceiling?
It is more common to get problems in the ceiling pipes during the winter and they are more likely in areas where temperatures regularly plummet below zero. When the pipe cools rapidly, it expands. This causes extra pressure on the pipe which can lead to a leak or even the pipe bursting in extreme cases.
Another common cause is erosion on the pipes and pipe fittings. This is more likely to happen if the building has old pipes. These leaks can be very slow and take a long time to create a noticeable effect. Pipes that have been exposed to harsh chemicals can erode more quickly.
Finally, the leak may be caused by improper installation or construction of the pipes. For example, if the joints are not correctly fitted, or the pipe sizes are wrong, they might not cope with the pressure or flow of water.
When Should You Call a Professional?
If you cannot locate the source of the leak, it is too big for DIY methods, or the problem is not solved using DIY methods, you need to contact a professional plumber. You should also get a plumber in if you feel out of your depth as incorrectly repaired pipes can lead to bigger issues.
You should also contact a professional if there is extensive electrical wiring in the area surrounding the leaking pipe. A plumber will also be able to advise you on the best maintenance for your pipes to prevent new leaks.
Conclusion
While a plumbing leak in the ceiling pipes is never good news for homeowners, luckily, it doesn’t have to be an expensive repair job that requires professional help. It is possible to fix minor leaks in the pipes in the ceiling with the right tools and basic knowledge of DIY.
However, you should consider using a professional if the leak is in an area that is not easy to access, it is surrounded by lots of electrical wires, or it is not a small leak.
Do you have questions about how to fix a leaking pipe in the ceiling? You can write them in the comments box.