Tending to plumb problems can seem like a scary task if you’re not familiar with it. It’s scary to tackle a repair project if you don’t know how to fix whatever is broken. There are many possible reasons for what might have caused the issue, from the most minor to the most urgent.
Leaky pipes can be an unfortunate and expensive circumstance in the home. Adding to the misery, if left unattended, extensive water damage can occur.
Luckily, it’s easier to fix than you think!
We will go through some common problems and their solutions here so you can handle this situation if it arises again.
Step-By-Step Guide on How To Fix A Leaking Sink Pipe
Step 1: Locate The Problem
This can be done with several methods, but the most common is simply listening to see where water is coming from. If you hear dripping or trickling sounds in your home, there’s likely an issue somewhere nearby.
If you cannot locate the leak, get a bucket or large container, a towel, and flashlights to illuminate dark areas.
- Make sure you clean your sink, so it is free of dishes
- If you can, turn off the faucet
- Place a large bowl under your dripping faucet to collect the water. By isolating this problem, you should be able to find out if anything else is causing leaks by this process of elimination
- When the sink is not in use, does it leak? A leak when no water is running can be a problem with the supply line
- Turn on the faucet and place a bowl Does water leak out? From where? This will help you to identify what needs fixing
Step 2: Determine The Type of Leak
If the leak comes from a pressurized pipe, you may see water spraying far away from its source or hear it all over your house.
If the drain’s seal is broken and water seeps out underneath, you might not notice that your sink has started filling up with water—you’ll only realize there was a problem when it begins to overflow.
If a leak comes from the drainpipe, you may see water pooling.
Investigate the areas around your sink thoroughly to determine what kind of leak you have, and then take appropriate steps.
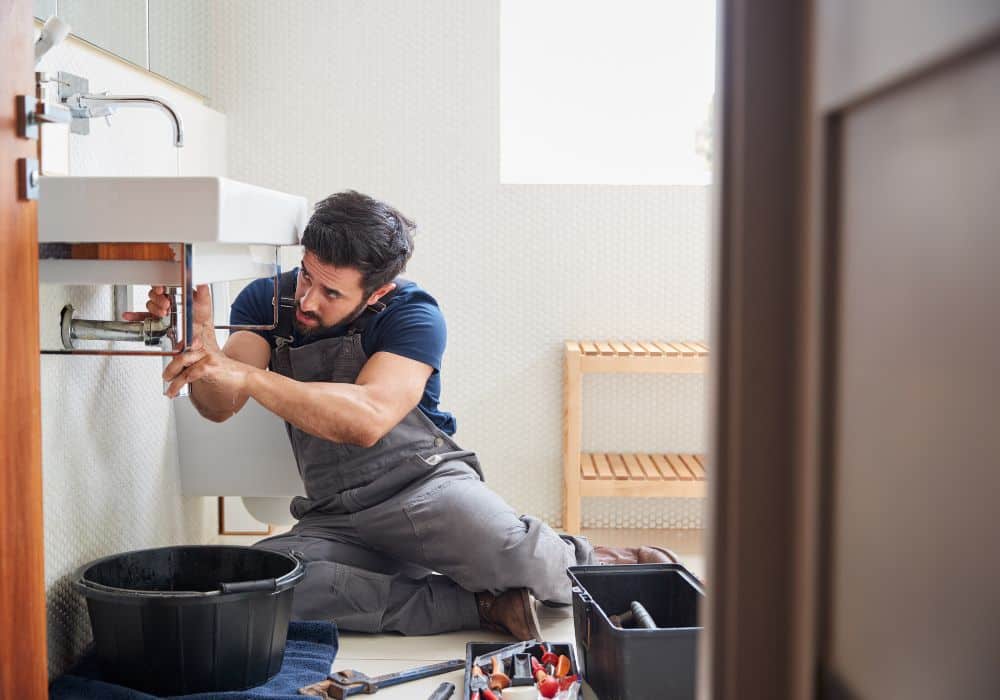
Step 3: Replace The P-trap
When you buy a new P-trap, bring your old one and any pipes that were removed when it was installed. The kit should include all the necessary parts for installation.
The new kit must have a P-trap and pipes with exactly the same dimensions as the original. Otherwise, they won’t properly fit!
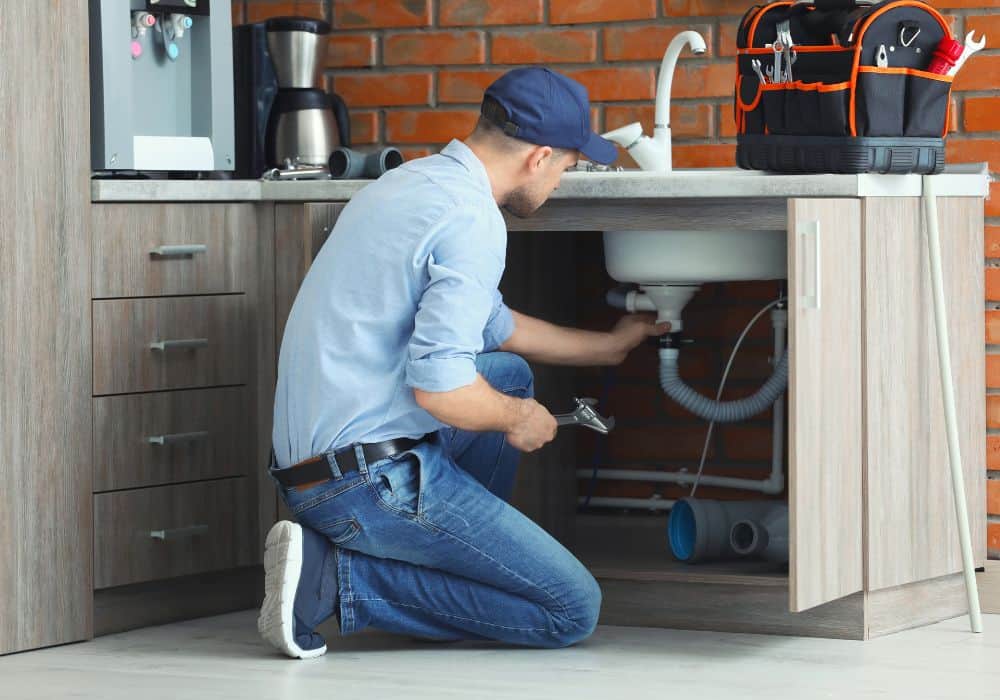
Step 4: Screw The New Pipe Vertically
To connect your drain pipe to the lower part of your sink’s drain, use the most extended section of PVC pipe. Hold this piece against the threads below the sink’s drain and screw on a slip nut.
Step 5: Install The P-Trap
Fit the nuts and washers onto the trap arm and vertical drain pipe. The washer point’s narrow ends should point toward its open end so water can flow through without backing into your cabinet.
Place the P-trap over each pipe’s end and, with a screwdriver, fasten it into place by tightening slip nuts onto each connection point.
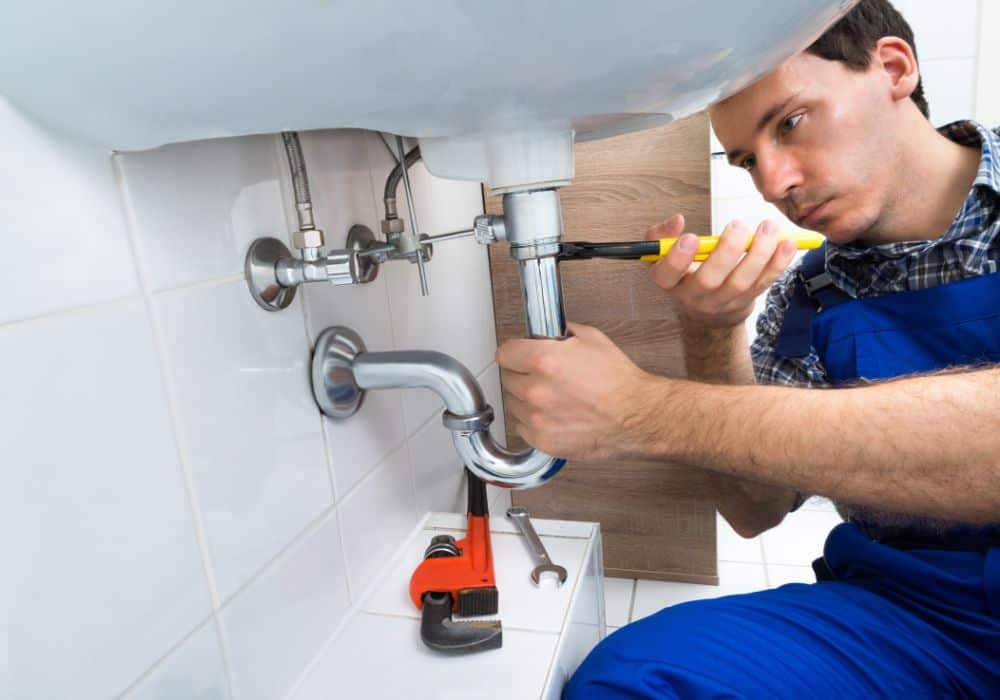
Step 6: Test The Trap For Leaks
Once you’re sure that the trap is installed properly, turn on the water and test it for leaks. Check your connections to ensure they are tight if you find any leaks.
If you still have a leak, it may be time to call in the professionals. Fixing P-traps can be tricky and requires the right tools and knowledge. If you’re not sure how to fix your P-trap, contact a local plumbing company.
Patching Minor Leaks
If your leak is not coming from the drain pipe, try to patch it.
If you have a slow leak in a faucet that drips once every few minutes, for example, you may be able to fix it by simply tightening the screw on the handle. If you have a slow leak that drips once every few minutes, you may be able to fix it by simply tightening the screw on the handle.
If there is structural damage to the pipes or the joints no longer seal properly, contact a plumber right away to get the problem fixed.
The following are a few ways to try to fix a leak yourself.
1. Pipe Clamps
Clamps have two parts: a metal fastener and a rubber gasket.
Ensure you get one for your specific pipe size to establish an airtight seal.
Place the gasket over the leaking section of the pipe and squeeze it into place, ensuring contact with both surfaces. The clamp should be placed on the gasket securely, so no water escapes.
2. Tighten The Fittings
If a pipe is leaking, one possible cause would be a loose slip nut—that’s where two pipes join together.
Go under your sink and find the slip nut that connects the upright pipe to the drain.
Avoid over-tightening the slip nuts, or you might damage them.
Flush water down your drain to check for leaks.
3. Replace Worn Gaskets At Pipe Connections
Remove the old gaskets. If your sink has rubber gaskets, they may be difficult to remove. Use a flathead screwdriver to pry them off gently and carefully.
If they’re in especially bad shape, use pliers or a utility knife to cut through the rest of them so you can get them off completely.
Clean out all debris inside the pipes and in front of the faucet stem using a small brush or pipe cleaner. This will ensure that you get rid of any gunk that might prevent new gaskets from sealing properly against the surface area where they connect to your pipes and faucet stem.
Measure how long each new rubber seal should be based on how far down into each pipe it needs to go; then cut it with scissors or wire cutters so that it fits perfectly.
4. Two-Part Epoxy Putty
Knead the hardener and base together thoroughly, ensuring they’re well mixed. When mixed, a two-part epoxy putty forms an impenetrable barrier around your pipe.
Place the putty on the gap and gently press on it so that it spreads the hole entirely. Allow the putty to cure for as long as recommended on the packaging, then run water through your drain.
The putty is effective at stopping leaks; however, it isn’t recommended as a long-term solution.
5. Plumber’s Tape
To create a watertight seal, the plumber’s putty should be wrapped around the threads of pipes and slip nuts before screwing them back together.
Start wrapping the plumber’s tape around the threading at one end of your drain, overlapping each wrap by half its width. Keep going until you reach the other side, then cut off any excess tape and reattach your drain before flushing again to check for leaks.
To ensure that the pipe is securely fastened to your drain, screw it back in to preserve the spiral of the tape.
6. Self-Securing Silicone Tape
Silicone tape is best suited for fixing leaks where multiple joints converge, and water pressure tends to be low.
Tape the leak by wrapping it tightly around the pipe. Overlap half of each layer of tape with successive layers to create a tight seal on both sides of your repair.
Silicone tape is coated with a material that prevents it from establishing a bond to your pipe. However, because of this coating, the tape sticks well together but can be removed easily later. This means you can use silicone tape on different types and sizes of pipes.
7. Unscrew The Slip Nuts
Locate the vertical pipe, loosen its slip nuts and disconnect it from the main body.
Remove each section of pipe as you go, and follow the water line until you reach your horizontal connection.
8. Replacing The Sink Strainer
Replacing the sink filter is often a simple process that can be done in a few minutes. The steps below will guide you through this task.
Step 1: Cut off the water supply to the sink.
Step 2: Remove the old strainer from the pipe by loosening the nut at its base with a pair of adjustable pliers.
Step 3: Remove any debris inside the sink drain with a pair of pliers or other tools, such as an old toothbrush or vegetable brush.
Step 4: Install the new strainer in place by following these same steps in reverse order. You may need to apply some pressure to get it seated properly into its retaining nut if it’s been a while since you removed it.
Final Thoughts
It always helps to be able to tend to any household maintenance yourself, rather than having to seek professional help. We hope that this guide has been helpful and you now know how to fix a leaky pipe.
This can be a fairly tricky job, so working carefully, being cautious, and taking your time should keep you from making the problem worse.
What is your go-to fix for a leaking sink? Let us know in the comments!