If you’re living in an older home, it’s possible that you’ve had issues with your plumbing. And if you have, you know how annoying it can be: the constant drip-drip-drip of water, the need for vigilance when washing dishes or doing tasks around the sink, and worst of all, that wet spot on the countertop from where water pooled up over time. So now you need to know how to seal a sink drain pipe because you can’t live like this.
Luckily, there are some simple ways to solve this problem without calling in a plumber, though we recommend calling one if your issue seems beyond DIY.
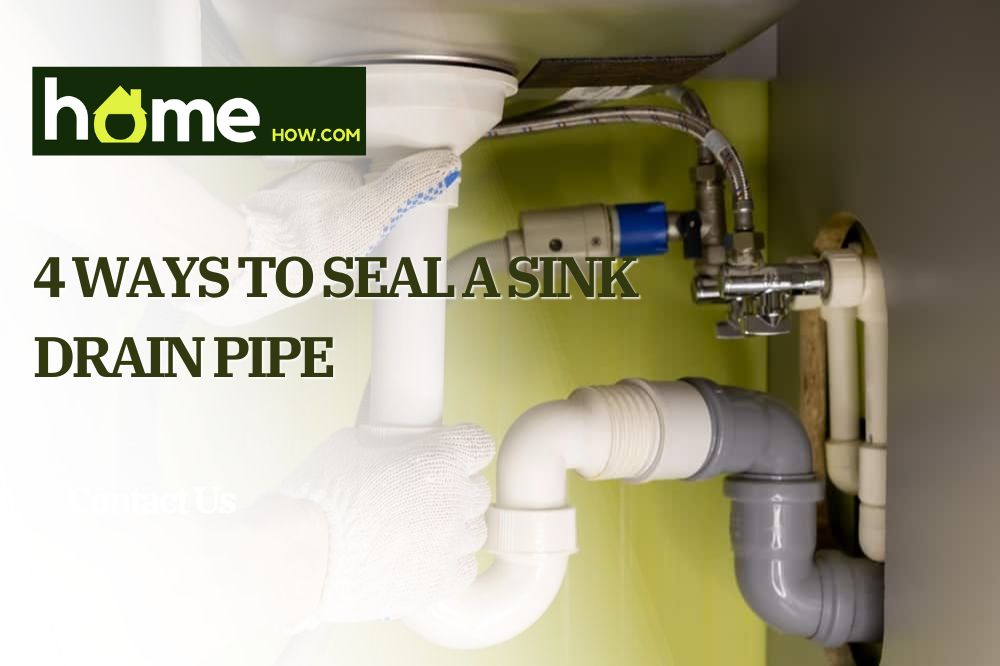
Try to find what is going on under your sink
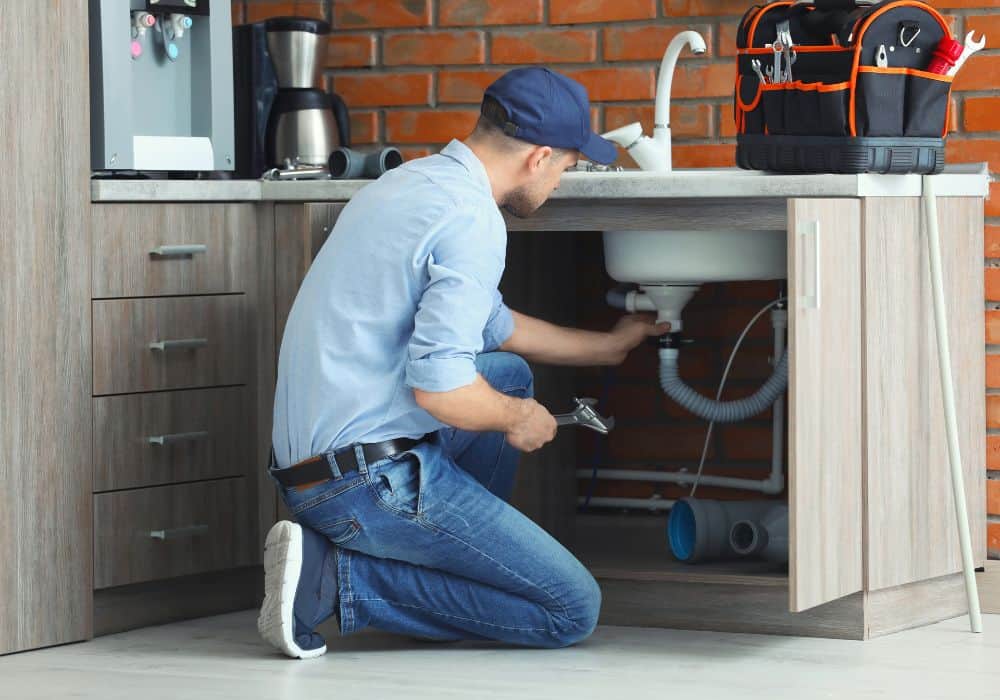
If you’ve got a leaky sink drain pipe, your first instinct is probably to call a plumber. And while there are certainly times when it’s a good idea to get in touch with a pro, there are also plenty of times when you can fix the problem yourself—and save yourself some money and hassle in the process.
If you’re experiencing a slow drain in your kitchen sink, it could be caused by one of three things:
- either your pipes have become clogged
- your P-trap has come loose or
- there is damage
Check to see if there’s anything inside your drain line that could be causing the leak. For example, if you have tree roots growing into your pipes or downspouts and blocking them up with debris, then this will cause leaks in certain spots where those roots have grown through cracks or holes in the pipes themselves.
Examine the pipes underneath the sink to identify the culprit. If there is debris from previous repairs clogging up the area, use a pair of pliers to remove it from your pipes. You may also need to remove any old putty that’s been used on past repairs.
Next, clear out all the space under your kitchen sink so that you can work comfortably without bumping into anything else or accidentally knocking something over on the floor below.
Ways to seal a sink drain pipe
If everything is ready, fixing a leaky sink drain pipe is a fairly simple process, and it can be accomplished in a few different ways. Here are the best ways to seal a sink drain pipe.
1. Use temporary methods to patch them
First of all, disconnect that P-trap by using an Allen wrench screwdriver to unscrew whatever connects it to the sink. This way you can clearly find where the problem is and find the right way to fix it. For example, epoxy putty and tape can be temporary fixes for a pipe that’s leaking.
Epoxy putty
Apply a 2-part epoxy putty for the most durable temporary fix. This will harden in about 15 minutes, making it good for small jobs like patching up holes or cracks where water is leaking out. It won’t last forever though—you’ll need to reapply from time to time as needed.
Tape
If you don’t have those tools on hand—or if they’ve been lost or damaged—you can always use plumber’s tape instead. Plumber’s tape is just as effective as plumbers’ putty but much easier to use: just wrap a piece of tape around each threaded connection between your pipes and P-trap.
Wrap self-securing silicone tape around the pipe if there’s a minor leak. This will stop water from coming out of the pipe without having to do any serious work on your part. Just be sure that the tape has been applied properly. This will help keep water from moving into other parts of your home while you work on repairing your plumbing system.
2. Apply silicone caulk on the sink drain flange
When it comes to fixing leaks, silicone caulk is one of the best options because it’s inexpensive, easy to use, and can be found in most hardware stores. It’s also flexible enough so that it won’t crack over time as well as is waterproof which means that it won’t cause mold growth inside your walls if it gets wet often like some other types of caulks tend to do over time.
First, turn off the water supply and remove any stoppers or plugs that are currently in place. Clean off any excess grease or hair from around your sink drain flange so that there isn’t anything blocking access to the surface where you’ll apply your silicone caulk. Next, apply a generous amount of silicone caulk around the entire circumference of your sink drain flange.
Be sure not to get any caulk on your hands or on other surfaces unless they’re waterproof—this will help prevent any leaks from happening later on down the line.
3. Fix your leaky pipe sink connections
Tighten the slip nuts between pipes if they’re leaking at the joint. If you have an older home with copper pipes, it’s possible that the slip nuts are loose and need to be tightened or replaced entirely. If this is the case, simply use pliers to tighten them up and stop any leaks!

Replace rubber gaskets at pipe connections if they’re old and cracked. Rubber gaskets are used between metal pipes to help ensure that no water gets in between them and creates a leaky connection between them—but if these gaskets have aged out or become damaged over time, they need to be replaced with fresh ones ASAP!
Wrap plumber’s tape around threadings on metal pipes before screwing them together with nuts.
4. Change your pipes
If there is damage to the pipe, replacing your sink’s P-trap is a quick, easy fix that can save you a lot of trouble in the future.
Take out the old trap
When you’re replacing your P-trap, there are a few things you need to do before you can get started. First, put a bucket or pan underneath the pipes. You don’t want water all over your floor when you take out the old trap.
Next, unscrew the slip nuts starting from the drain to remove the pipe. This is easier if you use a wrench and a screwdriver at first, but you can use pliers instead if they’re long enough to reach through the opening in the wall. Finally, buy a P-trap the same size as your old one. You’ll also need some plumber’s tape and a screwdriver (if your pipes are metal).
Install the new pipe
- First, install the new P-trap on the pipes. The new trap should have been included in the box when you bought it, but it might be helpful to go ahead and draw out the placement of the trap on your existing pipes before you buy one or start cutting into anything.
- Next, install a new P-trap by first threading it onto both ends of the pipes. Then use pliers to tighten each nut onto their respective ends of the pipe.
- Next, test for leaks by turning on water supply valves on both sides of the house. If a leak appears under the bowl or faucet spout then tighten nuts again until no more leaks appear; now turn off valves and use Teflon tape or plumbers putty to seal off any unused threads.
Once you have installed your new P-trap according to manufacturer instructions, test for any leaks by turning on all faucets in your bathroom at once and looking for water coming out anywhere but down into the drain. If there are any leaks, turn off all faucets and ensure no pipes are damaged before fixing them with plumbers’ putty or epoxy.
How can you keep this from happening in the future
Having leaks in a sink drain pipe is a normal thing that can happen to anyone. This happens over time because of normal wear and tear, so there isn’t a lot you can do about it. If you want to be sure, you can also test out your water, in case it was caused by other factors like too much pressure or chemicals like bleach or ammonia being added to the mix.
Conclusion
The last thing anyone wants to deal with is a clogged drain. In fact, most people avoid it altogether by calling a plumber every time something goes wrong. But if you’re a homeowner or renter who doesn’t want to pay for expensive repairs or rent out your home for days on end, then it’s important to learn how to fix things yourself.
You can save yourself time and money by learning how to seal a sink drain pipe yourself! The process isn’t difficult—and if you follow these steps, we promise that your sink will be working like new in no time.