
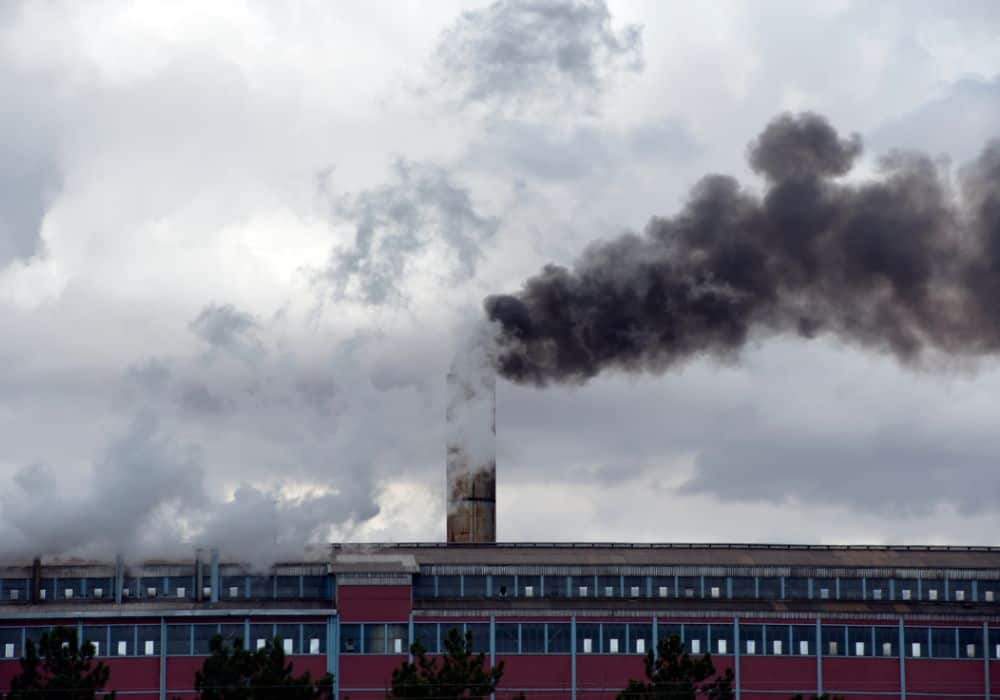
If you have noticed a draft coming from your chimney, it could be because the flue is no longer properly sealed. A leaking chimney flue can be dangerous as it can let in smoke and harmful byproducts. Over time, gaps may appear in the flue from regular wear and tear and it will require replacing or resealing.
Now, you have a decision to make. Will you call in a professional or do the job yourself? Luckily, it is a job that you can do yourself, especially if you follow our how-to seal a flue pipe to the chimney guide.
Below you will find step-by-step instructions for sealing a flue pipe to a chimney so you will no longer have to worry about harmful fumes or cold drafts. We will also share how to seal a stove pipe to a chimney pipe to help you keep your living space pollution-free.
What is a Flue Pipe?
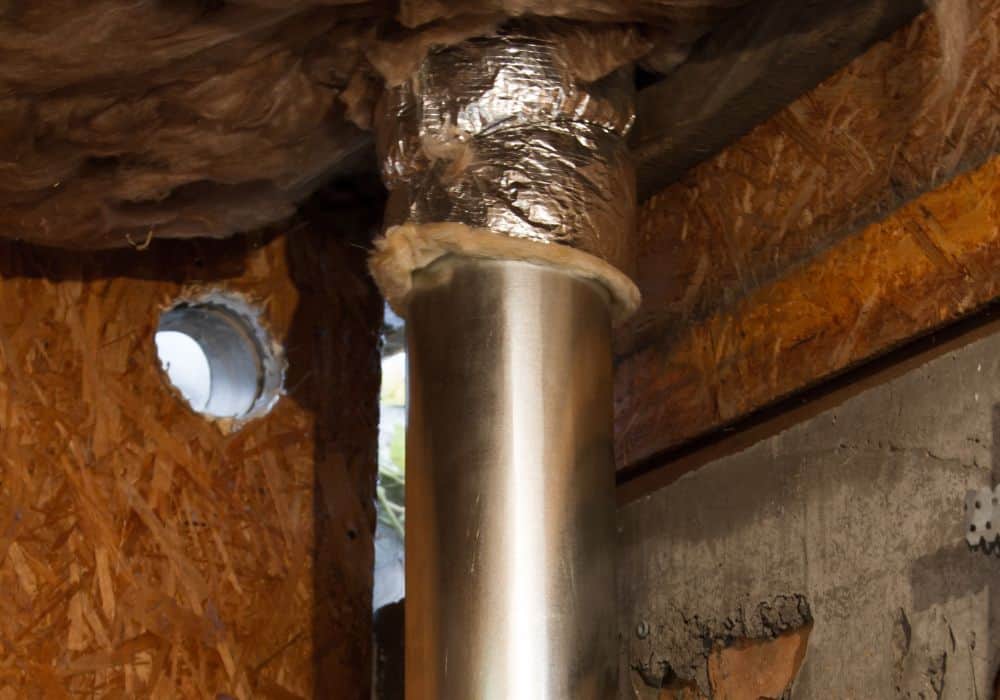
A flue pipe is a metal pipe that runs inside a masonry chimney or as a stand-alone metal chimney from a furnace or a heating stove. It carries fumes out of the living space. They require regular cleaning and maintenance to keep working properly.
Why it is Important to Seal The Flue Pipe Properly
In your home, flue pipes can be in your fireplace, your furnace, and even your water heater. They are essential as they keep your home safe and pollution free by expelling byproducts of combustion and exhaust gasses. Flue pipes are used in most heating components to ensure healthy ventilation and safeguard against fires.
If your flue pipe is not sealed to the chimney properly, it will let in cold air during the winter months. This will lead to wasted energy and higher bills. The unsealed pipe can also expose the inside of your chimney to water damage and that can lead to expensive repairs in the future.
In this article, we focus on sealing the flue pipe inside your chimney. Chimneys are usually made from heat-resistant and energy-efficient materials such as brick or ceramic tile. Installing a flue pipe inside the chimney will ensure the best insulation and protection from harmful substances.
Safety Regulations
Before you start your project, it is important to ensure that you adhere to the building regulations. These regulations can vary depending on the country you are in. However, building codes are likely to require at least a 1-inch clearance from metal flues as flue pipes from any fuel source get extremely hot.
Energy Star, a joint program of the Environmental Protection Agency (EPA) and the Department of Energy (DOE), recommends the use of special materials for flows, vents, and pipes used in heating equipment. For example, they recommend using galvanized metal pipes, aluminum flashing, and silicone cooling in furnaces.
Using a Flue Kit
A chimney should be sealed with aluminum flashing and high-temperature silicone caulk. An easy way to ensure you get the right materials is to purchase a flue kit. You can find them at most homeware stores or buy one online. The contents of the kits may vary slightly. However, generally, you can expect to find the following items in a kit:
Fire Cement: a sealant that you will use to seal the joints in your installation and withstand temperatures of over 1,000 degrees.
Stove pipe: an enamel pipe that runs from the top of the appliance and connects to the chimney stack.
Flue liner: flexible steel liner that lines the length of the chimney stack. You will need to know the height of your chimney stack as the liner is often sold by the meter.
String: used to get the flue in place inside the chimney.
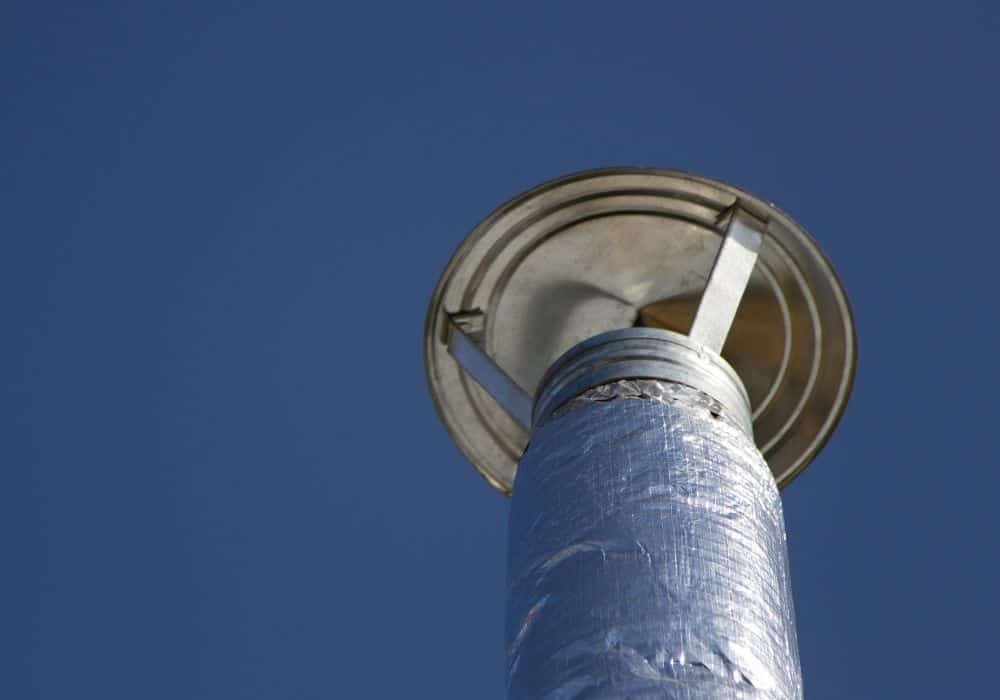
The cap: prevents rain and birds from getting in and helps the chimney pipe to draw gasses efficiently.
Tools You Will Need
You will only need a few tools to seal the chimney using a flue kit and most DIY enthusiasts will already have these tools at home. You will need:
- A utility knife
- Flathead Screwdriver
- Caulk gun
- A power drill
- Water resistant silicone
- A pair of protective gloves
- Safety glasses
A grinder is the best tool to cut off any excess chimney liner. However, if you don’t already own one, it is not necessary to purchase one as a saw or a hacksaw will both work, too.
How to Seal Flue Pipe to Chimney
Once you have got all the tools and materials you need ready, it is time to get on with the task itself. Follow each step of the process to ensure the successful sealing of the flue pipe to the chimney.
Step One: Clean Your Chimney
Before you can seal the flue pipe to the chimney, you need to make sure the chimney is as clean as possible. Remove any debris, old soot, and insects. You can never be too careful when dealing with carbon monoxide and combustion byproducts so a clean chimney is a must before you proceed further.
Step Two: Check For Any Damage to The Chimney
Once your chimney is clean of any debris, it is time to inspect it for any damages. If you notice missing bricks or damage to the masonry, these need to be addressed before you can proceed with installing the flue.
Step Three: Prepare The Flue
The flue is made of pieces of sheet metal. Spread the metal sheets out and then roll them in to fit into your chimney. Attach the sheets around the sides with screws.
Step Four: Insert the Flue Liner
When you purchase your flue kit, check if it comes with string to help you insert the flue liner inside the chimney. The string enables you to place the rolled-up metal flue in the chimney and secure them to the cap.
You will need two people to complete this stage of the process: one at either end of the chimney stack. The person on the roof will push the liner down the stack, while the person at the bottom should hold the string and take up any slack. Leave enough liner at the bottom to secure your adaptor and on the top to secure the top fixings.
Step Five: Connect the Top Plate
When the liner is in place to the point of the thimble, you need to connect it to the top of the chimney. This will seal the flue from the rain and wind and stop birds from entering the chimney.
This is where you will need your caulk gun and silicone. Run a bead of silicone along the top edge of the flue and thread the liner through the collar of the top plate. Tighten the locking bolts on the top plate and cut off the excess liner using a grinder, saw, or hacksaw.
Step six: Seal the Flue
The final part of the installation process is to seal the flue to your stove to prevent fumes from escaping back into your house. Below you will find the instructions for how to seal the flue from the chimney pipe to your stove pipe.
Sealing a Stove Pipe to a Chimney Pipe
When you have a wood or gas-burning stove, you will need to seal the stove pipe to the chimney pipe. This is a simple but very important task as it will ensure the exit of dangerous gasses. The first thing you need to do is to line up the stove pipe with your chimney pipe.
You will find that one end of the chimney pipe is crimped. Slide the stove pipe over the crimped end of the chimney pipe and press them together firmly. Then drill through the sheet metal and secure the pipes together with a self-tapping screw.
Resealing a Flue Pipe Using Furnace Cement
Sometimes it might be possible to reseal the fuel pipe to the chimney. To do this, you need to first clean away the old cement. Wrap two lengths of tape around the circumference of the pipe leaving a gap for the cement. This video shows the process of cleaning to sealing.
Conclusion
When sealing a heating device, you need to pay special attention to the material you use. You also need to follow the building codes that regulate the clearance needed for the safe functioning of your chimney and flue pipe.
The regulations may vary between countries or parts of the country if you are in the United States or Canada, for example. Make sure you follow the correct regulations that will tell you the inches of clearance you need for your chimney to operate safely.
Anyone with a basic background in home improvement will be able to seal flue pipe to a chimney. However, since we are talking about matters of safety, it is a good idea to invite a professional to complete an inspection of the chimney once you have finished. You can never be too careful when dealing with fire or gas.
Should you have any questions about how to seal the flue pipe to the chimney, write your question in the comments section.