Copper is commonly used for water pipes in kitchens and bathrooms because the properties of the metal make it an excellent carrier of water. It is highly resistant to corrosion and incredibly strong. However, that doesn’t mean that leaks are impossible.
If you have been experiencing leaks in your copper pipes then you are going to want to know how to fix them back together. Similarly, if you are fitting a new copper pipe system in place then you are also going to need to know how to fit them together. The way to do this is via a process known as soldering.
Soldering, sometimes known as sweating, is the process where two or more metals are fitted together by melting solder in the joint. Solder for copper pipes is made out of the tin and other non-harmful metals. This solder is usually heated at around 600 degrees Fahrenheit to create a secure bond.
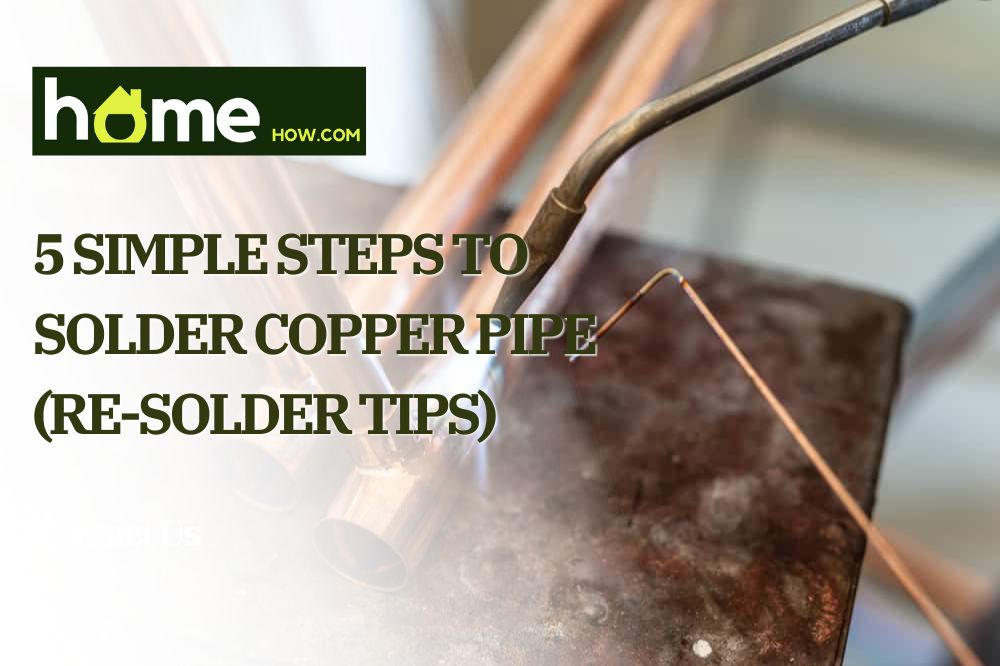
While many people will simply call a plumber in to do this job, the process of soldering copper pipes together isn’t all that complex for a novice. Today, we will provide step-by-step instructions on how to solder copper pipes.
The Tools And Materials You’re Going To Need
While the process itself isn’t too tricky, there are some special materials that you are going to need if you want to complete the job efficiently. These may come at a small cost but it’ll be nothing compared to the cost of hiring a plumber. Here is a list of everything you’re going to need:
- Copper pipes
- Tube cutter
- Wire cleaner
- Emery cloth
- Lead-free flux
- Propane torch
- Soldering iron
How To Solder Copper Pipe – Step-By-Step Instructions
Step 1 – Cut your pipes
The first thing you are going to need to do is to cut your copper pipes. Regardless of whether you are sorting out a leak or setting up a new system, you are going to need to buy a new set. The best way to cut your pipes is to use a tube cutter.
Tube cutters typically come with a cutting wheel and a guide wheel and a cutting wheel. Clamp your copper between these two wheels and rotate the copper pipe around just like you would with a tin of beans and a tin opener. Keep rotating and twisting the pipe around the cutter until the pipe snaps off. Make sure you don’t clamp the pipe too tightly otherwise it could cause a dent in the piping.
While for bathroom/kitchen copper piping, a tube cutter will do the job perfectly well you might want to consider a hacksaw instead if the piping is particularly thick.
Step 2 – Clean the cut
Although it may look like you’ve made the cleanest cut possible, you are still going to want to clean the pipe around the area of the cut. For starters, when you make the cut with the tube cutter, a ridge of copper is forced inside the pipe. If you don’t clean and remove this ridge then water isn’t going to flow as smoothly as it should through the pipe.
In addition to this, use a wire cleaner with small bristles to clean the inside and outside of the pipe. This is going to help to remove the oxide layer on the surface of the pipe to make it look shiny and slick.
The wire cleaner method is going to provide you with a more thorough clean but if you’re looking for speed then use an emery cloth instead. Roll it into the shape of the pipe and shove it inside before rotating it around the inside. This will provide you with a nice, quick interior clean. You can also clean the exterior with emery cloth if you wish.
Step 3 – Flux the joint
Now is the time to apply the lead-free flux to the joint of the pipe. Solder can’t be directly applied to the joint so you need the flux to essentially act as a guide for it. The flux will pull the solder into the joint, ensuring a secure and effective connection.
Use a brush to spread this flux over the pipe joint and the inside of the fitting to which you are connecting the pipe. Push the two parts together so that they connect nicely and then wipe away any excess flux that has squeezed out the ends.
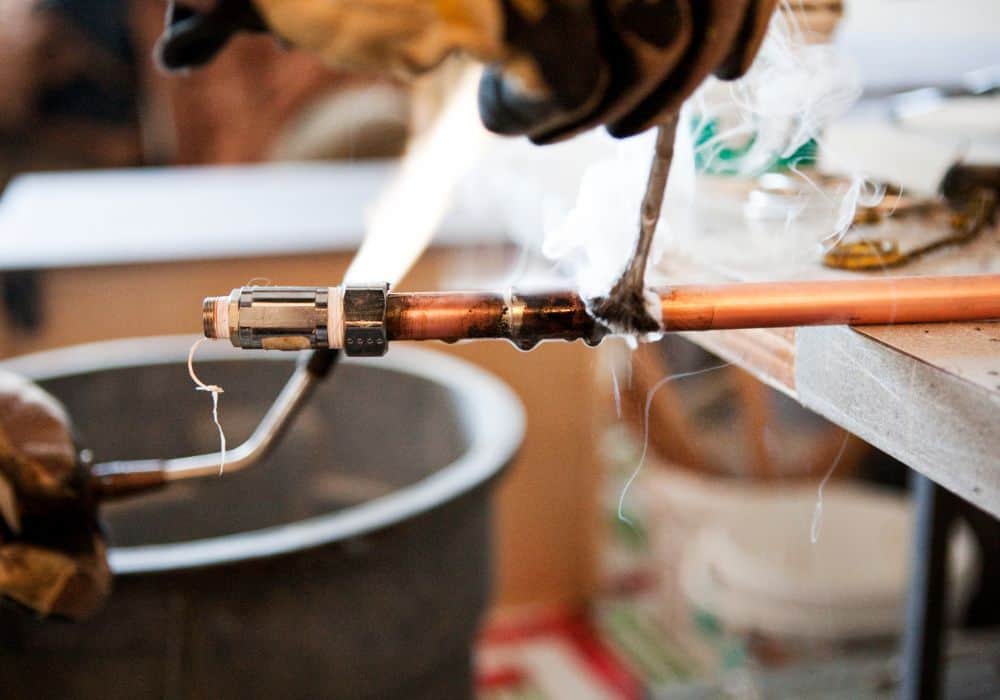
Step 4 – Heat the joint
Use your propane torch to heat up the pipe joint in preparation for the solder. Without a high heat, the soldering process won’t work. Ensure to constantly rotate the propane torch around the copper pipe so that all areas are covered. The last thing you want is one half of the joint to be scolding hot and the other half to be lukewarm. Every so often, tap your soldering iron against the joint to see if it’s hot enough yet to be melted. Once it is, move on to the next step.
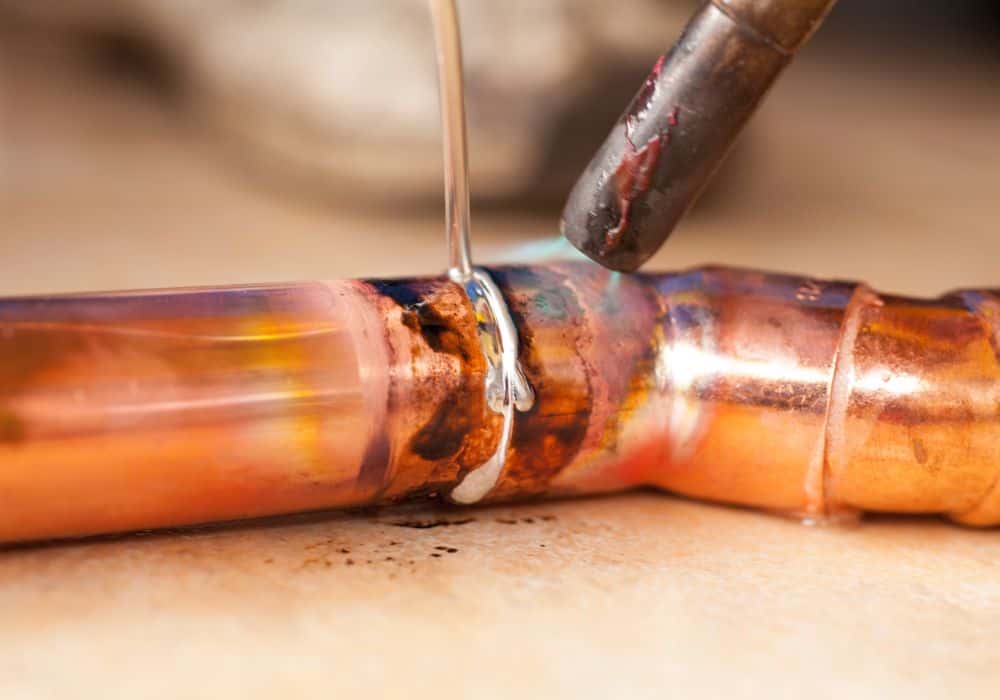
Step 5 – Solder the joint
Melt the solder onto the joint and then re-heat the area. This is going to ensure that the joint is covered in solder. Keep doing this until you start to see a silver ring wrap around the entire joint – this is an indication that the solder has successfully been applied to the joint.
You mustn’t go overboard on the soldering process as there can become a point where too much has been applied and bubbles start to form on the joint. Although this won’t actually impact how strong the copper pipe is, it does look messy and will make you want to start all over again if you are someone who likes everything to look slick.
Once you have finished the soldering process, the joint should now be strong enough to connect the two fittings together and prevent any leaks going forward.
How To Re-Solder A Joint

At the start of this article, we discussed the possibility that your current pipes have been leaking. When this happens, you can either follow the instructions we outlined above to build a new set of copper pipe joints or you can attempt to re-sold your original pipes (if the leak is coming from the joints).
It also might be the case that you follow our instructions above and then a few months down the line realize that you haven’t done as good a job as you could have. If this is the case then re-soldering is an option.
To do this, disassemble the existing joint by heating the joint and then pulling it apart with a pair of pliers. Do not attempt to pull them apart with your hands after you’ve heated them back up for obvious reasons!
Once the joint pipe has been pulled away from what it was attached to, heat the joint back up until the existing solder starts to soften, and then repeat the soldering process we outlined earlier.
If you want to be more thorough, then sand the outside and inside of the pipe fitting with an emery cloth to remove as much solder as possible. Once your pipe is looking as fresh as it possibly could then return to step 3 of our step-by-step process and do a better job this time.
Things To Consider Before Starting This Process
Before starting this entire process there are a few things that you need to consider. The first thing is the safety concerns relating to soldering copper pipes. You are going to be dealing with equipment that has the potential to cause serious harm to you if you mess up. For starters, tube cutters can easily cut through your skin and that’s the least of your worries.
If your skin is exposed to the propane torch, or worse the soldering iron, then you are going to be severely burnt. On top of that, ensure no flammable materials are nearby when completing the process because the propane torch could easily light them up.
Something else you should take into consideration is whether getting a plumber in to do the job is going to save you time and money. Sure, if you follow our steps to a tee and do everything perfectly then doing it yourself is the right option. However, if you do half a job and start experiencing leaks in your kitchen and bathroom frequently then the cost of getting a plumber out to keep fixing it is going to mean you’ve lost out in the long run.
Conclusion
To conclude, the process of soldering copper pipes is one that you can absolutely do yourself providing you are careful and can follow instructions. We hope that our step-by-step guide has provided you with everything you need to get the job done in a safe and efficient manner. Leave a comment below to let us know how you get on.