Have you ever had a really cold season and discovered that you have a frozen pipe in your home? There’s nothing more frustrating than dealing with a pipe that has burst due to freezing. Not only is it terribly inconvenient–it also creates a huge mess!
Thankfully, there are a few things you can do if you find yourself with a frozen water pipe. Here are some tips on how to thaw a frozen pipe so that you can avoid bursts and damage in the future.
Why is a Frozen Water Pipe Dangerous?
Before we get into how to thaw a frozen pipe, let’s first discuss why it’s so important to do so. Here are a few reasons:
Water Damage
A frozen water pipe is dangerous because it can easily burst when the water inside of it freezes and expands. This can lead to extensive water damage in your home, which is not only a pain to deal with, but also expensive to repair.
Mold Growth
A burst pipe can also lead to mold growth in your home. This is because the water from the pipe will seep into drywall, carpeting, and other materials, creating the perfect environment for mold to thrive.
How to Thaw a Frozen Pipe
So, now that you know all of the reasons why you should thaw a frozen water pipe as soon as possible, let’s get into how you can do it!
Thawing a frozen pipe isn’t necessarily hard, though it can feel intimidating if you’ve never had to do it before. Here are the steps you’ll need to go through to get the job done:
Step 1: Locate the Frozen Pipe
The first thing homeowners like you need to do is locate the frozen pipe. You may notice that your water doesn’t flow when you turn on a faucet, or your toilet doesn’t fill after you flush it. These are signs of issues within the pipe.
From there, it is fairly easy to locate the problem pipe. There are a few ways to tell that a pipe is frozen.
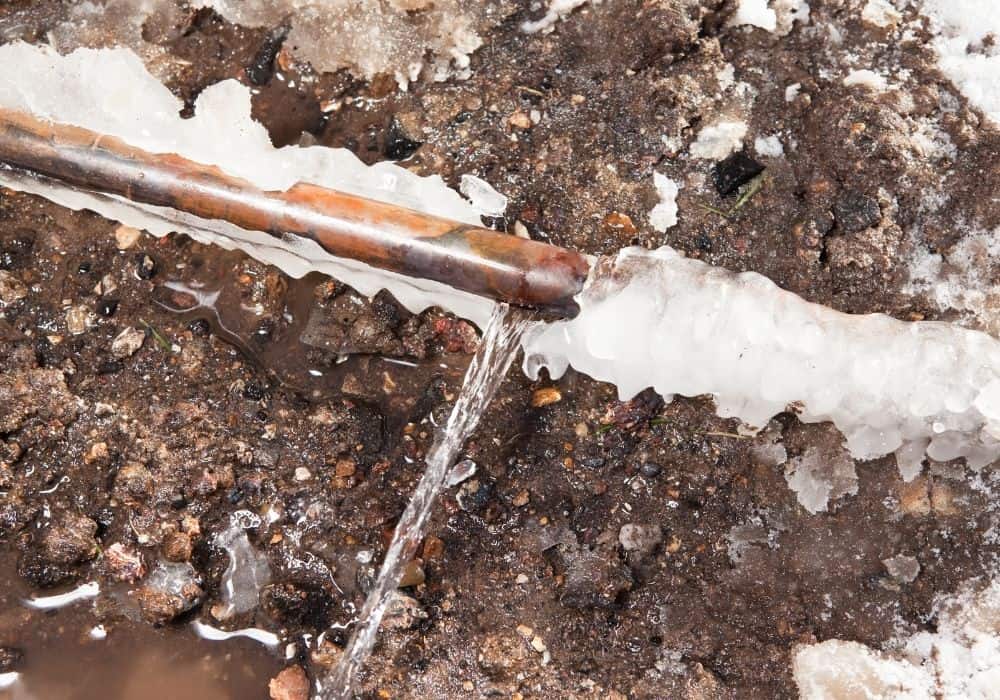
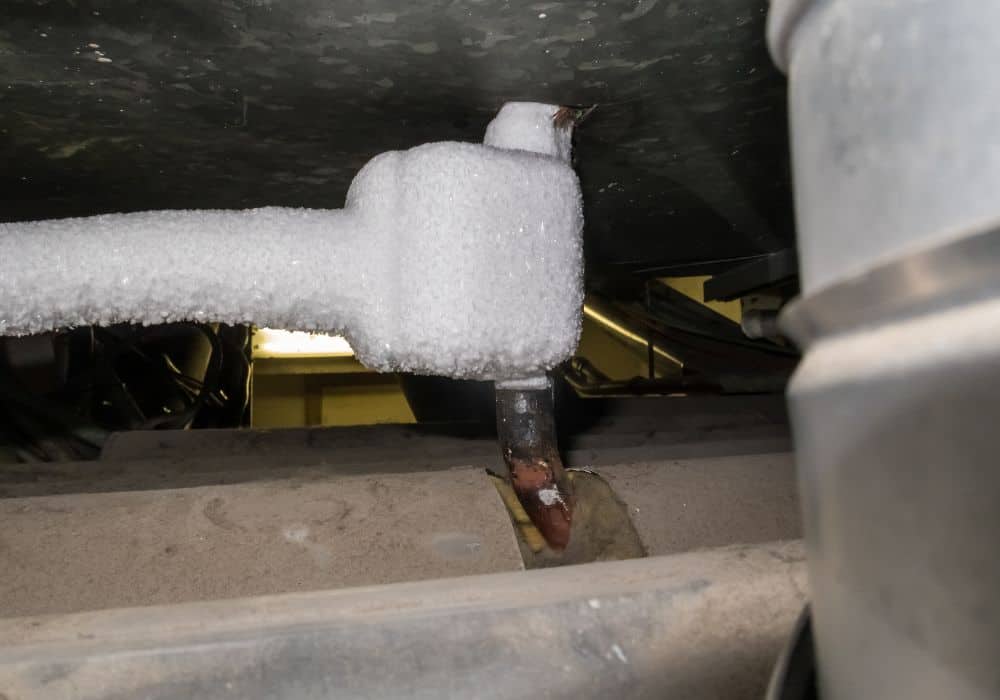
For example, a frozen pipe may be bulging in the spot where the ice blockage exists. Another way to know is if the pipe has a thin, visible layer of frost coating it. Lastly, one way to know it may be frozen is if the pipe has already ruptured and there is a noticeable drip or flow coming from it.
Step 2: Turn Off the Water Supply
Once you have located the frozen pipe, time is of the essence. You will want to fix the pipe before it cracks (or before an existing leak gets worse).
Before you can do any work on the pipe, you will want to turn off the water. If you have a water meter, you can turn off the main water supply to your home before beginning any thawing process. This will prevent water damage to your home if the pipe should happen to burst.
In addition to turning off the water, you will want to open all the faucets (including the bath and flushing the toilet) in the house in order to release whatever water is still in the system.
Step 3: Apply Heat to the Frozen Section
Next, you will want to take a mop, a bucket, and some old towels back to the frozen section of the pipe, just in case. You will now be applying heat to the pipe.
In order to do this, you can use a hair dryer, space heater, heating pad, or heat lamp. Do not use an open flame as this could be a fire risk. A pro tip is to start thawing the ice on the end of the pipe closest to the faucet it connects to–that way, water can escape through the open faucet instead of staying trapped in the pipe.
Apply heat until the ice blockage melts and water begins to flow through the pipe.
Step 4: Turn On the Water Supply Again
Once the ice has melted and water is flowing freely again, turn on your water supply and check for leaks. Of course, if there are any cracks or holes in the pipe, you will need to turn the main water supply off again and repair the leaks before you can safely turn the water back on for good. Otherwise, you could end up with a flooded home, and no homeowner wants that.
Congratulations, your frozen pipe is fixed. Now you’re good to go!
What if You Can’t Locate the Frozen Section of Pipe?
Sometimes, you search and search for the frozen section of the pipe but cannot seem to locate it. This is a frustrating endeavor. If you find yourself in this position, or even if you locate the frozen section but the pipe is located in a difficult-to-reach area, you may need to call a professional plumber.
Plumbers have the tools and the experience necessary to thaw a frozen pipe safely and quickly. They also know how to repair any leaks or cracks that may have resulted from the ice blockage. So, if you find yourself in over your head, don’t hesitate to call a professional for help.
Preventing Your Pipes from Freezing in the First Place
Of course, the best way to deal with a frozen pipe is to prevent it from happening in the first place. Here are some tips on how you can do that:
1. Keep Your Thermostat Above Freezing
Keep in mind that frozen pipes are more likely to occur during periods of extremely cold weather. This is because, as we mentioned earlier, very cold temperatures can cause the water inside the pipes to freeze and expand, making them crack or burst.
To prevent this from happening, be sure to keep your thermostat set above freezing at all times. Even if you’re going to be away from home for an extended period of time, it’s better to leave the heat on low than to risk coming home to a mess.
2. Check On Your Home When You’re Away
If this home is a rental that you own, or is in any way a structure where you don’t live consistently, it is especially important to take preventative measures. This is because no one will be there to notice the signs of a frozen pipe if it does occur.
Therefore, when it’s extremely cold, you’ll want to have someone check on your home regularly when you’re away (at least once every few days). They can ensure that the heat is still working and that all pipes are in good condition.
If possible, have them open up cabinets and closets where exposed pipes are located so that warmer air can circulate around them.
3. Seal Up Any Cracks or Holes in Your Home’s Exterior Walls
If there are any cracks or holes in your home’s exterior walls, prepare for the cold weather by sealing them up as best as you can. These cracks and holes can serve as an entryway for cold air, which can then freeze the water in your pipes.
You’ll want to check all exterior walls, including those in the crawl space and attic. Be sure to also check around doors and windows, as well as any electrical wiring that comes into your home.
4. Insulate Any Exposed Pipes
While you patch up your home’s exterior walls, that is a great time to also check for exposed pipes to insulate. The reason you would want these pipes to be insulated is to prevent them from freezing in the future.
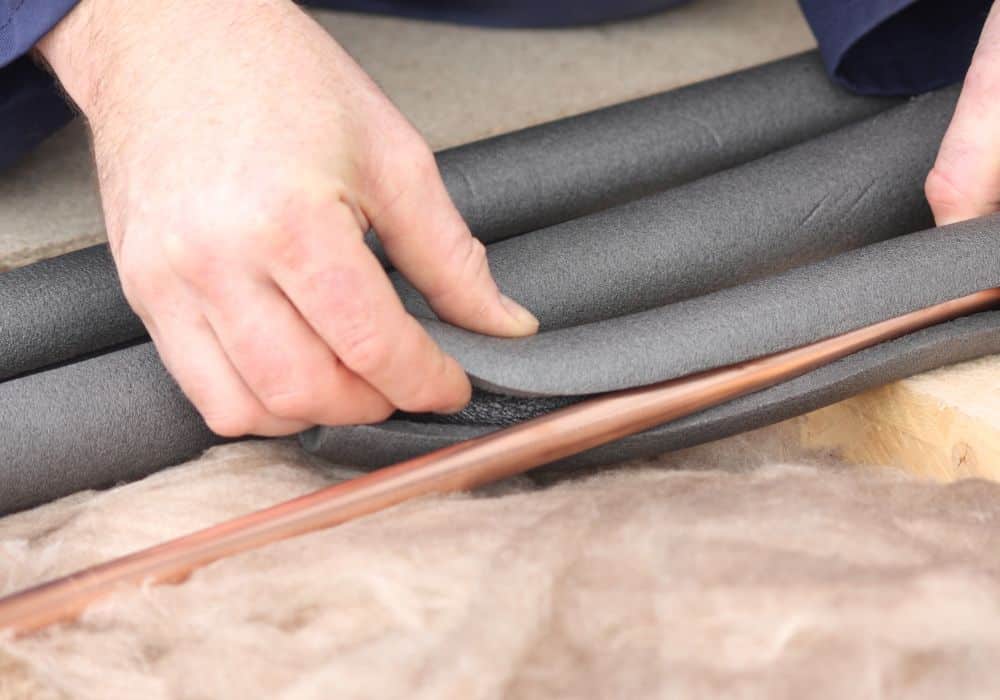
For example, you may find exposed pipes in your attic, crawl space, or small closets. A few ways you can insulate the exposed pipes are with foam insulation, fiberglass insulation, or even towels if you’re in a pinch.
5. Let a Faucet Drip Hot Water During Extremely Cold Weather
If you know that very cold weather is on its way, another way to prevent frozen pipes is to let a faucet drip hot water in your home. The hot water moving through the pipes will help to keep the pipes from freezing and expanding. While, yes, this may be a waste of water, it can be helpful as a last resort, rather than dealing with a broken pipe.
Of course, you’ll want to be sure to turn the drip off as soon as the weather gets warmer.
6. Use a Space Heater or Heat Lamp in the Room with Exposed Pipes
If there are exposed pipes located in an interior room of your home, you can also use a space heater or heat lamp to keep them from freezing. Be sure not to put these too close to any flammable materials, though, such as wires, towels, or curtains.
And, as always, be sure to turn off the space heater or heat lamp when you leave the room or go out of the house.
In Conclusion
As you can see, there are a few different ways that you can thaw a frozen pipe. But, as we’ve mentioned, the best way to deal with this issue is to prevent it from happening in the first place.
By following these tips and taking some preventative measures, you should be able to successfully thaw a frozen pipe and avoid the costly and stressful problems that can come with a burst pipe.
What other tips do you have to thaw frozen pipes? Let us know in the comments!