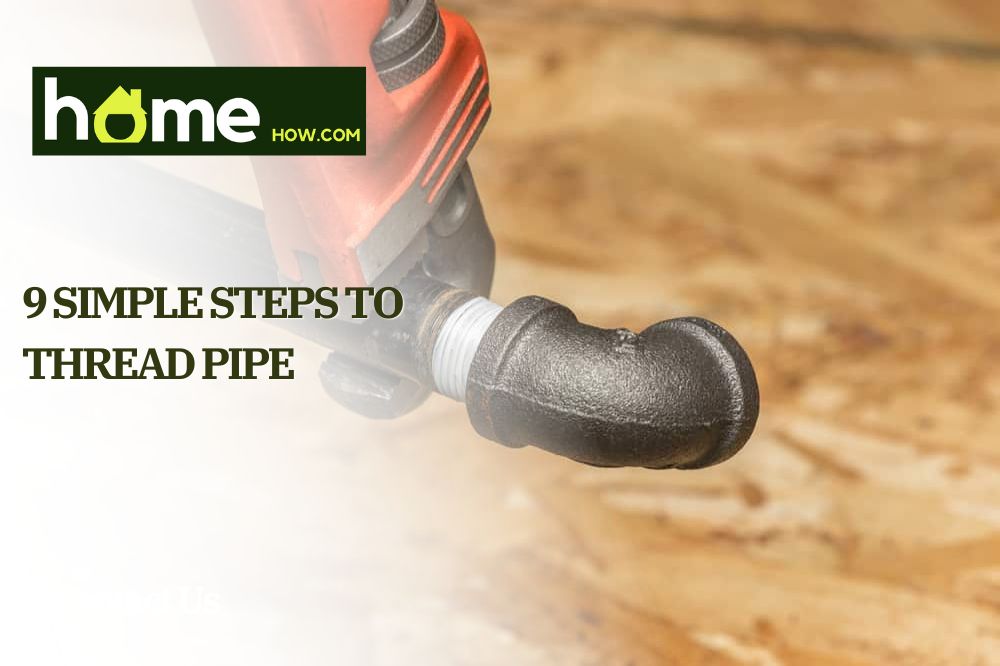
Threading pipe is an integral part of any installation. Whether you are a homeowner, a small company, or a professional plumber, the last thing you want to do is waste time making mistakes during the process. When you need to thread a pipe, you want it done quickly and easily.
It’s also important that the job is done right, as the integrity of your plumbing system depends on it. One small leak and you will have to redo everything.
To help you avoid those mishaps, here is a guide on how to thread pipes successfully.
Why do you need threaded pipes?
A threaded pipe is a type of pipe that has been threaded at one end to allow it to screw into a fitting or another piece of threaded pipe. This allows for more flexibility in the way you can connect pipes, which is particularly useful when connecting pipes that are not the same size.
The threads on threaded piping are typically made from brass or stainless steel which allows them to be durable enough for long-term use but also easy to cut through with basic tools like wrenches or pliers.
Threading pipe is a necessary step in the process of plumbing. It allows you to connect one end of a pipe to another, and it helps keep the connection air-tight. When you thread a pipe, you’re screwing the threads into each other and creating an area where water can’t escape. This means that the threads will be safe from erosion and rust, so they’ll last longer.

This is especially important if you have a large, complex plumbing system that needs to be connected in multiple places. If your pipes are not threaded correctly, you could end up with leaks or other issues that could cause serious damage to your home.
Common pipe thread types:
-NPS or NPT thread (The American national standard)
-MIP or FIP (female thread or male thread):
-NPT BSP(T) or BSP(S) (British standard pipe tapered or straight)
Tools you need
- A pipe wrench (or pipe socket)
- A pipe cutter
- Pipe thread
- The right-sized wrench
- A hammer or mallet
- Gloves
- Safety Glasses
How to thread pipe?
1. Get your pipes ready
First, what kind of pipe are you working with? You’ll want to choose between steel pipe and copper pipe variations. Steel pipes are stronger than copper pipes, but they can be harder to work with because they’re less malleable than copper. On the other hand, copper pipes are easier to bend into shape, but they aren’t as strong as steel pipes.
Clear away all debris from around the pipes and any other obstructions in their way. It’s always a good idea to wear protective gear when working with pipes because they can be sharp and break easily if they’re not handled correctly.
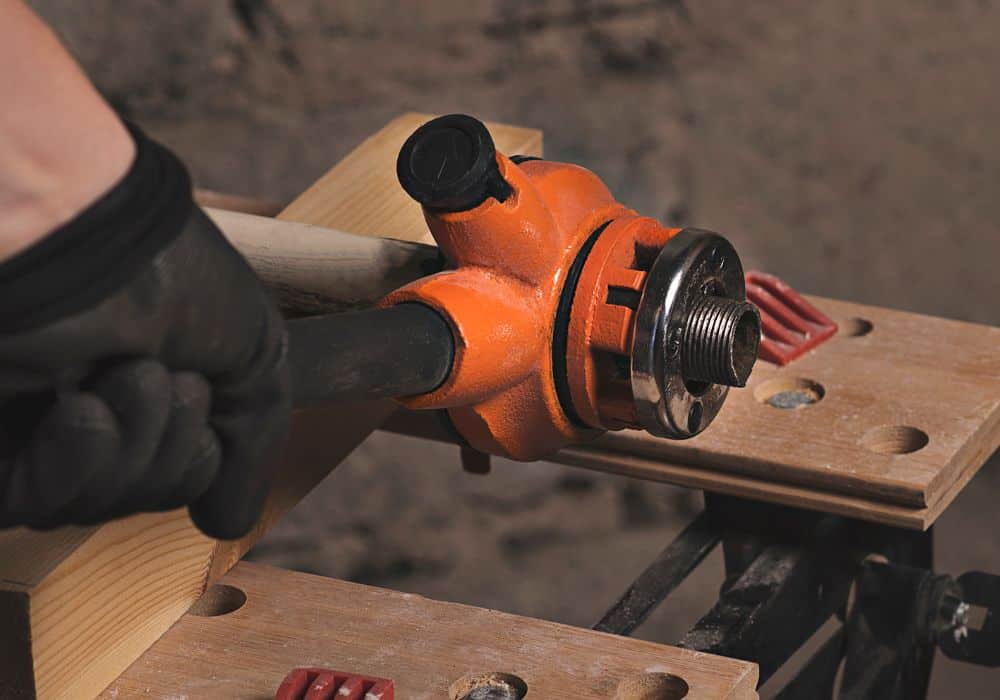
2. Secure your pipes
First things first: get the pipe secured in a vise. If it’s not so much as an inch wide or longer, you can use your vise’s jaws as a clamp. You can also use clamps if they are long enough to reach around the side of the pipe without hitting on anything else.
If your visa has two jaws instead of one, get both jaws on either side of the pipe and tighten them down simultaneously until they’re tight enough to hold the pipe securely in place without any wiggling room for movement at all.
3. Cut and ream the pipe if necessary
If you’re making a different-length pipe, then you’ll want to cut off some metal or PVC that’s not necessary for your project so that it fits properly into your existing piece of pipe. If you’re going shorter than what’s already there, then simply ream out the metal until it fits snugly inside the existing pipe in a tight seal.
Then secure it with a few wraps of bungee cord or rope around both sides of each end of the pipe so that they won’t move around too much when you tighten them up later during installation.
4. Find the right pipe thread size
Choose a die head based on the pipe’s diameter. The size is usually written on your die head. If you aren’t sure what size die head is going to be needed, consult your manufacturer’s instructions or supplier for help. Many companies sell accessories that will help you determine the correct size die head for your application.
For example, if your threading equipment has a ½” (13mm) opening on one end and ¾” (19mm) opening on the other end, then any piece of ¾” (19mm) or larger will work well for this purpose.
5. Place your pipes
First, lubricate the end of the pipe with threading oil before starting. This will help prevent any unwanted friction while turning your wrench or die. Place the die head onto the end of the pipe, and then position it so that it’s as close to centered as possible on its axis (in other words, not tilted).
Press down on the handle of your die to break off small pieces from both ends of the pipe until they are long enough to fit through a hole at least one inch in diameter.
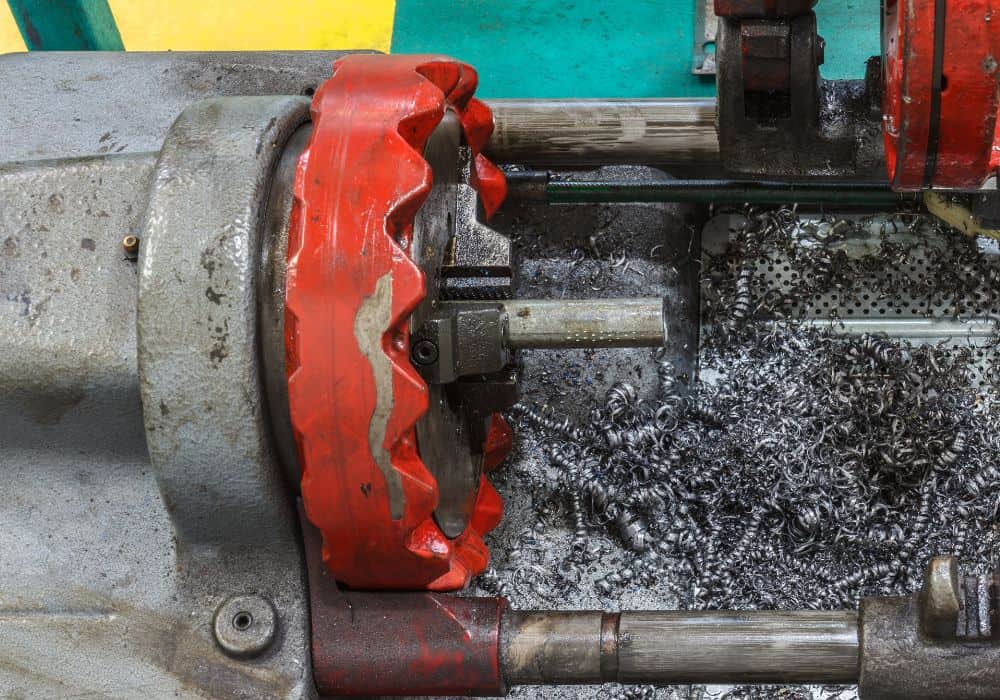
6. Start cutting
Press down on the handle of your die to break off small pieces from both ends of the pipe until they are long enough to fit through a hole at least one inch in diameter. Once this happens, turn on your machine’s power and then ratchet the handle while applying pressure clockwise to start cutting through the pipe wall itself.
When you’re ready to begin threading the pipe, make sure that your die is lubricated with oil, and then ratchet your handle until all of its teeth are cut fully into your workpiece. Run a drop of oil down the center of each tooth with a rag or cloth. This will help reduce friction between the die and the pipe when it cuts through it.
Keep ratcheting the handle until the pipe threader has cut through. This will ensure that every surface of your die head is covered so that no part of it remains undamaged as you attempt to thread pipe later on down the line!
7. Ratchet it clockwise
You should continue cranking the handle until the die head’s whole set of teeth makes contact with the pipe. When the handle is about 3/4 of the way back, ratchet it clockwise. Turn it clockwise while using your body weight to do so. When all of the die head’s teeth have wrapped around the pipe, all threads have been severed.
If the die head’s exposed teeth experience more resistance when cutting, add more threading oil or lubricants to the area.
8. Switch the rotation
Ratchet the handle off the threads by turning it in the opposite direction. To detach the die head’s teeth from the threads, ratchet it counterclockwise to the extent it will go, then turn it back.
The die head can be easily pulled off the end of the pipe after being completely unbolted.
9. Seal your pipes
The most important part of threading is sealing your connections. This prevents leaks and makes sure that your pipes are properly protected against corrosion over time. For this, you can either use Teflon tape or pipe sealant or, if you’d like to make a more reliable seal, you can also use a liquid pipe thread compound in place of Teflon tape.
Remove any burrs from around the outside of the pipe by sanding them off with sandpaper or scraping them off with tape (if they’re small enough). This will make sure nothing gets stuck between them when you insert it into another piece of tubing later on.
Conclusion
If you’re trying to thread a pipe and are frustrated or confused, don’t worry—we’ve got your back. Standard threads can be tricky, but they don’t have to be! That’s why we have come up with this step-by-step guide and some tips and tricks that will make the process easier.
Once you’ve chosen your tool based on your needs, make sure that your pipe is free of rust or other debris before starting so that it will thread smoothly. Use a good lubricating oil, and remember to use protection at all times. And if you still have questions, let us know in the comments.