
Bending pipes has several benefits. You reduce the need for fittings and make it easier for material to flow freely through your pipe. Some pipe materials, such as copper, are easier to work with if you learn to master bendings.
While there are several types of pipe bending tools, pipe benders are usually manual items that require some knowledge on your part. In this article we cover the basics of pipe bending and explain how to use a pipe bender for clean results.
Different Types of Pipe Bender Methods
Pipe bending uses different methods depending on what you need to bend and what you have available.
The most common methods include:
- Compression bending: pipe is manually bent around a former, ranging from your knee to a specialized tool
- Rotary draw bending: outer diameter of pipe is clamped and pipe length drew over a form; usually involves an internal support to prevent wrinkling
- Ram (incremental) bending: a hydraulic ram forces the tube against blocks or rollers; common for light gauge metal pipes
- Roll bending: uses 3 rolls in a pyramid shape; pipe pushed through the machine as the top roller pushes it down to create the bend; more common in construction
- Induction bending: a heat induction coil is placed at the bending point of the pipe then heated; pressure softens the pipe so it may bend
- Hot bending: applies heat directly to the pipe (usually with a plumber’s torch); pipe is then manually bent to the desired angle
Some of these methods are self explanatory, and others require heavy duty equipment. In this article, we focus on how you use a pipe bender for compression bending, as this is the most common method for pipe bending.
Types of Pipe Benders
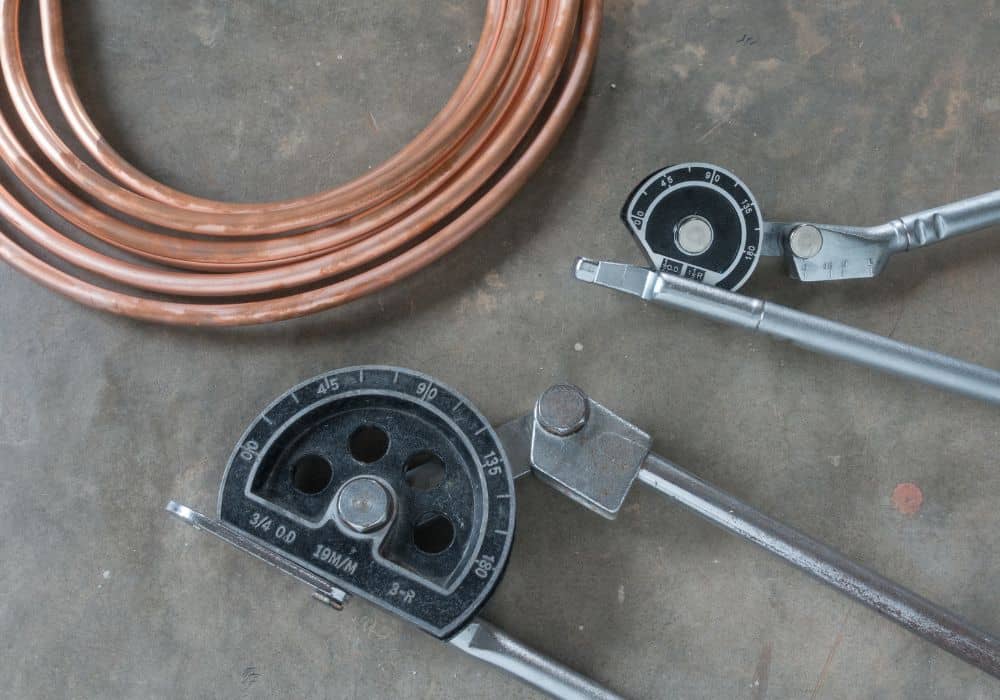
Pipe benders come in a variety of sizes to work with different pipe diameters and different user needs.
Aside from your average pipe bender, you have:
- Conduit pipe benders: made specifically for conduit pipe bending; usually have one handle and use the floor for extra leverage
- Dual pipe benders: come with two different size formers to handle two different pipe sizes
- Ergonomic pipe benders: feature a curved handle more forgiving of the manual stress of pipe bending; reduce strength needed for the task
- Free-standing pipe benders: used for longer or thicker pipes that require more force; feature a free standing base and long handle to allow exertion of more pressure without requiring much from the user
- Mini pipe benders: used for pipes no larger than .4 inches (10 mm) in diameter
- Ratchet pipe benders: feature a ratchet handle that pushes the pipe upward to bend between two clocks; compact design best suited to small spaces and reducing effort needed
These pipe benders follow the same basic method of use. It’s important to choose a bender specifically designed for your pipe material and size. Make sure the tool used it not a tubing bender; tubes come in different measurements and the tool will not work the same.
What to Know Before Using a Pipe Bender
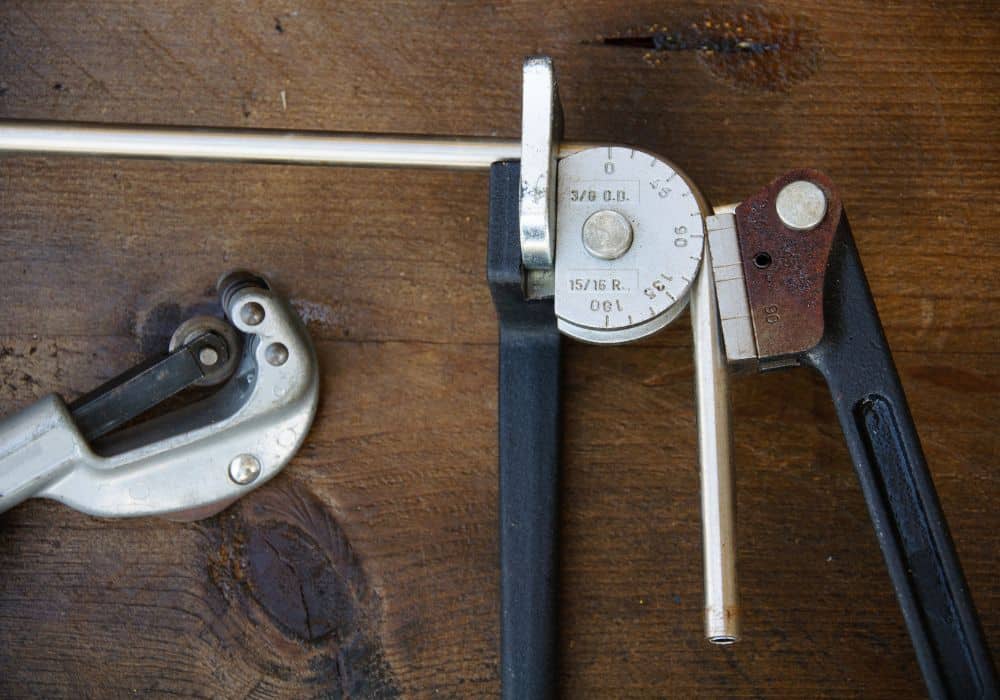
1. Basic parts
Pipe benders use three basic parts to accomplish their task:
- A shoe former, which the pipe wraps around to bend into its shape
- A roller, which forms the pipe’s bend and applies adequate pressure
- Handles, to exert the manual force for pipe bending
The center line radius (CLR) relates back to the radius of your bending die. This is the distance from the center of your curve to the center of the pipe. A smaller CLR relates to a sharper bend in your pipe, while a larger CLR indicates a more gradual bend.
It’s easy to get caught up in which die CLR you need, but a good general rule is to multiply your pipe diameter by 3 and choose a die of that size.
- Example: 2 inch pipe x 3 = 6 inch CLR
Manual pipe benders usually list the degree of the angle on their body for easier use and identification.
To determine the bend angle you need, pay attention to any requirements depending on the application of your project. For example, drainage pipes do poorly with harsh 90-degree angles, and it’s better to use two 45-degree bends if needed.
Plot out your pipe bends beforehand in a blueprint that considers pipe length and the surrounding environment. What may seem straightforward rarely is, and it’s easier to plan ahead than it is to fix mistakes in the moment.
2. Planning for Springback
Springback is one of the most pressing issues of pipe bending. Most pipe materials try to hold their shape, and they will resist the bend enough to “spring back” a few degrees on your bend.
As you bend the pipe, the density of the material fluctuates and it tries to return to its original shape. Some dies compensate for this automatically, but you may still need to overbend your pipe to combat the issues.
For smaller springback issues, overbending by a degree or two is usually sufficient. You can determine the actual number by testing your bend on a scrap piece of pipe and deducting the resulting angle from your intended angle. This is the degree of your offset bend.
Springback depends on factors such as material, outer diameter, and wall thickness. Look into the springback factor of your pipe before attempting your bend, and consider keeping a log of what you notice with different pipes.
Using a Manual Pipe Bender
Now that you understand the basic parts of your pipe bender and what prep work you need to do, it’s time to put everything into practice. While degree of difficulty varies depending on the size of the pipe, material, and desired degree mark, the method remains the same.
- Make reference marks on your pipe
- Prepare your pipe bender radius and angle
- Secure your pipe in place
- Roll through your bend
These steps may vary marginally depending on your specific bending tool, but following this process provides you with accurate bends in your pipe.
1. Marking Your Pipe
Mark your reference points depending on:
- Where you want your bends to start
- The direction of the bends
- The degree of your bends
This is especially important with pipes that have multiple or unforgiving bends.
You already have all this information marked down in your blueprint, but putting these marks directly on the pipe keeps all the information right in front of you and reduces your chance of making mistakes.
2. Prepare Your Pipe Bender
If you’re working with a single-size pipe bender, make sure it’s the proper size for the pipe you’re bending. Set its adjustment dials to match your desired bend radius and the angle of your bend.
Open up the bending arms of the tool.
For larger pipe benders, choose the appropriate die for your pipe size and insert it in the die slot. Secure the follower block that matches the die, leaving enough room for your pipe.
3. Secure Your Pipe
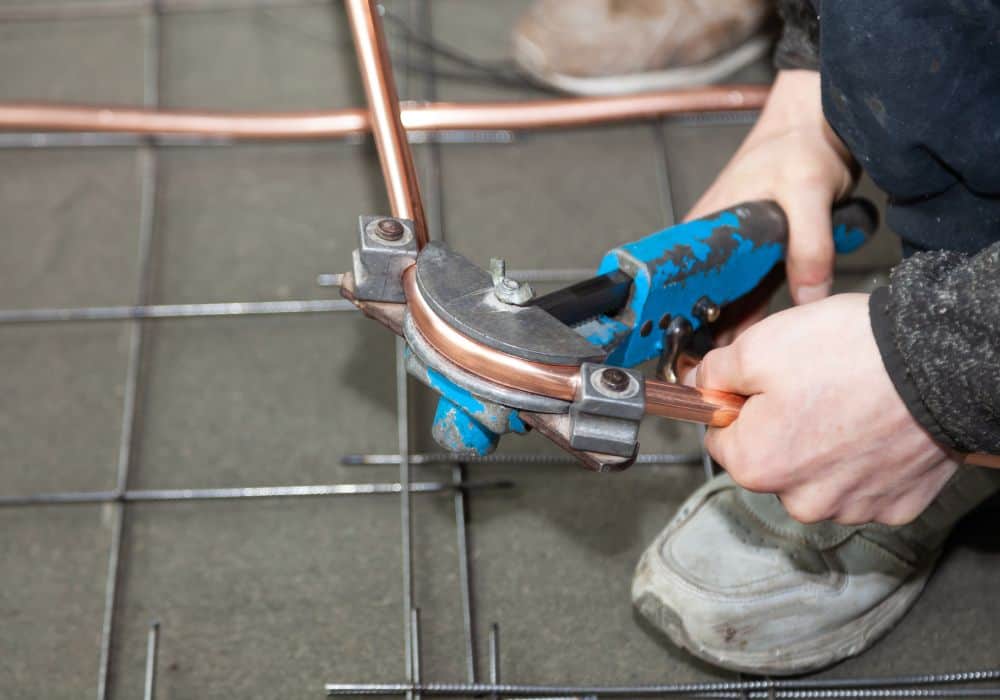
With smaller manual pipe benders, insert the pipe in the tool, lining the start of the bend up with the angle start in your die. Close the arms to hold the pipe in place. Pipe benders with a latch mechanism will help you hold it in place easier.
This should put the center of your bend at the center of the die.
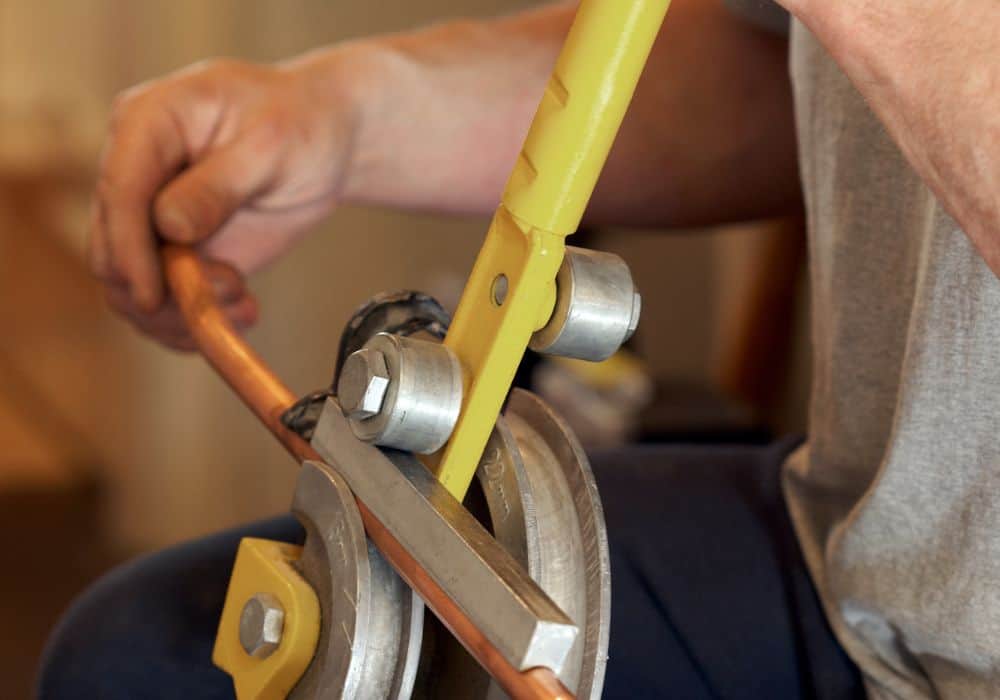
Larger pipe benders suited for larger pipes usually require more work to secure the pipe. Line up your bend start with the start of the bender, then tighten the follower block to hold it in place.
Secure the U-strap around the front of the pipe (before your bend starts), and then insert the drive pin that locks the arms of the bender to the die. You install your degree pointer after getting your pipe in place, lining the pointer up at zero degrees.
4. Roll Through the Bend
If using a handheld pipe bender, bring the handles together until you reach the desired angle degree of your bend. Lift the roll support arm and remove your pipe from the die, and it should be bent at the degree you need.
Larger benders have a drive track you must engage before you can pull the handle to bend your pipe. Pay attention to the pointer so you reach the right angle for your bend.
Work through the teeth of your drive track as needed until you reach your desired bend. Once finished, reset your bender and remove your pipe. Keep tension on the handle, remove the spring back kit, and then move the drive track and handle out of your way.
Reverse the process used to secure the pipe in the bender, and then you can take it out of your machine.
Helpful Tips to Increase Pipe Bending Success
Even if you do everything properly, you’re bound to run into issues with pipe bending. Consider these tips to handle any problems you have, and make minor adjustments as needed.
1. Fill Pipe With Sand or Salt
Filling your pipe with sand, salt, or another finely ground material increases the support on the inside of the pipe and helps it hold its shape.
While most pipe benders provide adequate support on the pipe walls, this is an easy way to combat issues such as crinkling or creasing on the inside of your bend.
Block off one end of your pipe and fill the length with the fine material, tapping the sides periodically to rid it of trapped air or moisture.
2. Grease Your Follower for Easier Movement and Fewer Scratches
Make sure you clean your tools in between use and wipe them down before running them along the length of your pipe. The follower, which drags along the outside of the pipe, is a common culprit for external scratches that mar the appearance.
Greasing your follower helps it move more easily and prevents mild scratches that may occur with seemingly clean tools.
3. Have Extra Pipe on Hand
Even experienced laborers make mistakes. It’s best to plan ahead and keep extra pipe on hand to limit the impacts of any mistakes you make.
Extra pipe also lets you test your bends beforehand, which is especially important for those with little to no experience. In most cases, you can return any pipe you don’t use, or you can keep it around for future use.
Conclusion
Pipe bending is intimidating and often has a slow start, but practice pays off.
When using a manual pipe bender, remember to:
- Work slowly
- Mark your pipe with bend details such as degree, direction, and starting point
- Account for springback
- Have extra pipe on hand
Now that you know how to use a pipe bender, leave any lingering questions or concerns in the comments.