
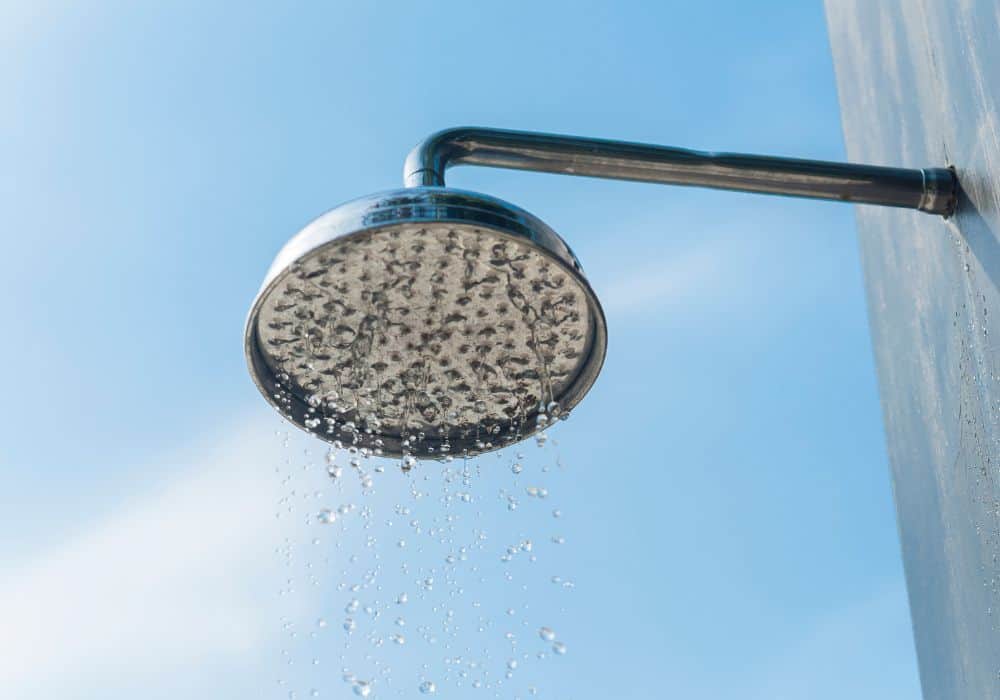
If you’re like most people, you rely on your shower faucet daily, and you don’t give it much thought until it starts acting up.
One of the most common problems with shower faucets is that they won’t turn off all the way. This can be extremely frustrating, especially if you’re trying to conserve water. Not only does it waste water, but it can also be dangerous if it is hot water.
There are a few different things that could be causing this problem, like faulty valves or clogged pipes. But don’t worry; we’ll help you figure out what’s going on and how to fix it.
Common Causes of A Shower Faucet That Won’t Turn Off All The Way
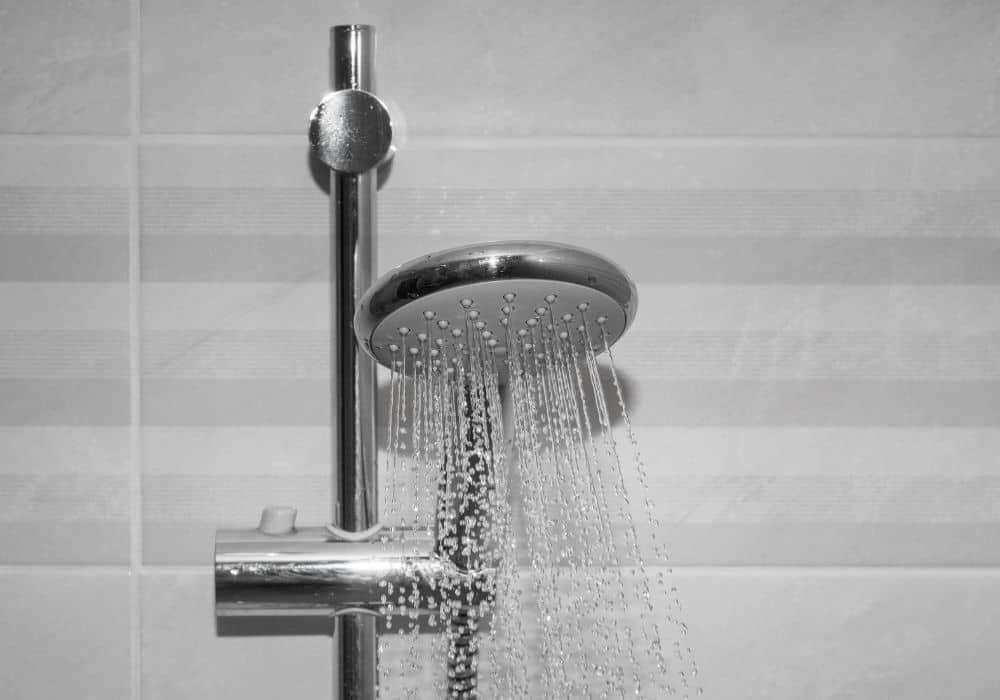
If your showerhead is leaking or dribbling even when the handle is turned all the way to the “off” position, there are a few possible causes. In most cases, a simple repair or a new cartridge can fix the problem.
The most common causes are listed below.
1. Mineral Build-up
One of the most common causes is a build-up of mineral deposits or debris in the plumbing. Over time, these deposits can cause the valve to stick, making it difficult to turn the water off completely.
2. Incorrect Installation
If the shower faucet is not installed correctly, this might be why it won’t turn off all the way. Make sure to check if the washer is installed properly and that there are no gaps between the shower faucet and the wall.
3. Damaged Parts
Another possibility is that there are damaged parts inside the shower faucet. When was the last time you took a look at your shower faucet’s handles and all of its parts? Over time, the rubber seals and washers inside the faucet can become brittle and cracked. This can cause water to leak out, which can eventually lead to the shower not turning off.
4. Loose Connections
Another possibility is that there are loose connections somewhere in the shower faucet. Over time, the connections can become loose, which can cause water to drip out even when the handle is turned all the way off.
5. Worn-out Washers
If your shower faucet is still dripping after you have checked for loose connections, the problem might be worn-out washers.
Washers are located under the handles of the shower faucet, and their purpose is to create a watertight seal. Over time, they can become worn out and no longer create a tight seal.
6. Clogged Aerator
A clogged aerator is something to look into if your faucet won’t turn off. The aerator’s purpose is to mix air with water, which prevents splashback and conserves water.
Over time, sediment can build up in the aerator and cause it to become clogged. This can prevent the water from turning off all the way, resulting in a slow drip.
How to Fix a Shower Faucet That Won’t Turn Off All the Way?
Now that you know some of the most common causes of a shower faucet that won’t turn off all the way, it’s time to learn how to fix it. Below are some of the most effective methods for fixing this problem but you need to identify the root cause before you can attempt any repairs.
Step 1: Identify The Problem
Identifying the problem is the first step. Is the shower faucet dripping, or is it not turning off all the way? If it’s dripping, then you know the problem is with the washers. If it’s not turning off all the way, then the problem could be with the aerator, the installation, or the cartridge.
Step 2: Turn Off The Main Water Supply
Once you have identified the problem, the next thing you should do is turn off the main water supply.
Find the main shut-off valve and turn it clockwise to close it. This will prevent any more water from entering the system and make the problem worse.
Close the bathtub drain to access the faucet from below.
Step 3: Clean the Debris and Mineral Deposits
If mineral deposits or debris are causing the problem, the next step is to clean them out. To clean the deposits, you’ll need to remove the cover plate with the help of a small screw. Once the cover is off, use needle-nose pliers to remove the clog. If you can’t reach it with the pliers, you may need to use a wire brush.
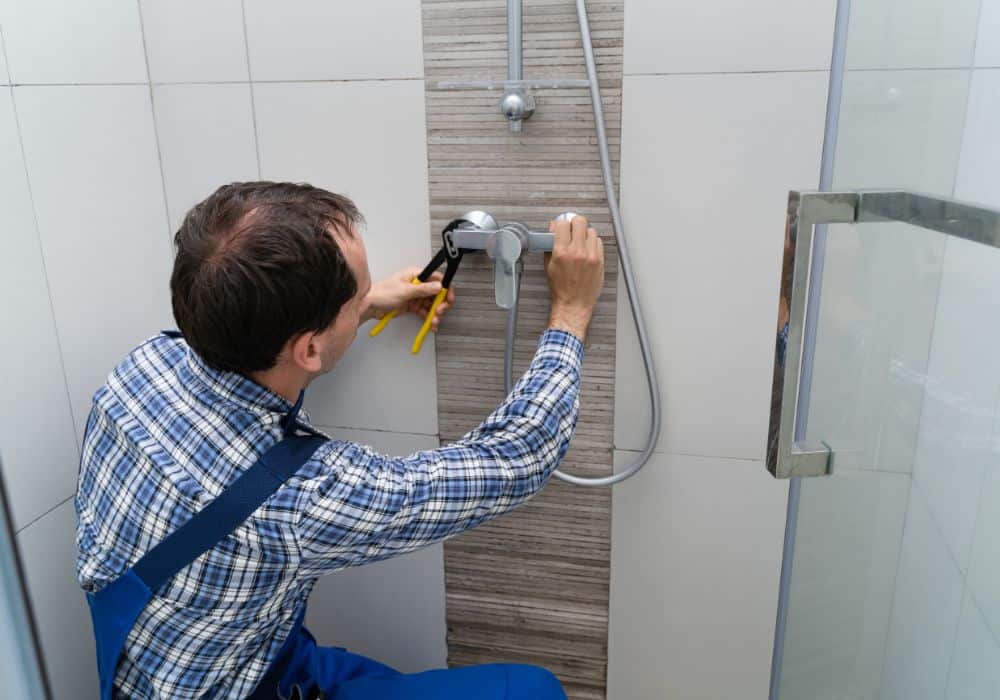
Step 4: Check The Installation
The next thing you should do is check the installation. Once the water is turned off, you can remove the handle. Use a flat-blade screwdriver, ideally a Phillips screwdriver, to remove the screws that hold the handle in place.
You will see the bonnet nut; a large nut that holds the valve stem in place. Use a wrench to remove the bonnet nut by turning it counterclockwise.
Under the handle, you will see the cartridge. The cartridge is what controls the flow of water through the faucet. If it’s not installed correctly, it can cause the shower faucet to not turn off all the way.
To check the cartridge, first, make sure it’s clean. If there is any sediment build-up, use a soft brush to remove it. Next, check to see if the cartridge is installed correctly. It should be seated firmly in the faucet body and turned to the correct position.
Look for any cracks or breaks in the cartridge. Any damaged cartridge will need to be replaced. You can find replacement cartridges at most hardware stores.
If the cartridge is installed correctly and there are no cracks or breaks, the problem may be with the washer.
Step 5: Check For Damaged Parts
If you think something damaged might be the problem, then it’s time to take a closer look at the internals of your shower faucet. You can do this by taking the faucet apart and inspecting all of the parts. Any damaged parts need to be replaced.
Step 6: Inspect The Seat Washer
The seat washer is a small rubber washer located at the bottom of the valve stem. This is what actually seals the connection and prevents water from leaking. Inspect the seat washer for any damage or deformities.
If the seat washer is damaged, you will need to replace it.
If you suspect the washers are the problem, the best thing to do is remove the shower faucet’s handle screw and then take out the washers. Once you have the washers, you can take them to a hardware store to find replacements.
Step 7: Clean the Faucet’s Aerator
If you have a clogged aerator, there are a few easy ways to clean it out. First, you can unscrew it and rinse it off with water. If that doesn’t work, you can soak it in vinegar for a few hours or overnight. In the morning, use an old toothbrush to remove any remaining sediment. Once it’s clean, screw the aerator back on and test the faucet.
Step 8: Reassemble The Faucet
Once you have inspected and, if necessary, replaced the valve stem, old cartridge, or seat washer, you can now reassemble the faucet. Start by putting the valve stem back into place and then screwing on the bonnet nut.
Be sure to hand-tighten the nut until it is snug. Next, replace the handle and screw it back into place.
Finally, turn on the main water supply and test the faucet to see if the problem is fixed.
If you have followed these steps and the problem persists after the shower’s cartridge replacement, it is likely that you have a more serious issue with your bathroom faucets, and you will need to call a professional plumber for fixes.
Extended Tips for Maintaining Your Shower Faucet
To keep your shower faucet in good working order, there are a few things you can do.
- First, make sure to clean the shower faucet regularly. This will remove any soap scum or mineral deposits that might build up over time.
- Second, don’t forget to check the washers and seals regularly. These are the parts that tend to wear out the quickest and will need to be replaced from time to time.
- Finally, if you have a clogged aerator, don’t try to force it. This can damage the faucet and cause more problems down the road.
- With a little bit of regular maintenance, your shower faucet will give you years of trouble-free use.
When To Call A Professional
There are some problems that are simply beyond the scope of a do-it-yourselfer. Some problems that should be left to a professional include:
- A faulty main shut-off valve
- A cracked pipe
- A broken faucet body
- A clogged sink or tub
- A leak in the bathtub drain
- A leaky supply line
- Water pressure that is too low
- Water that is too hot or too cold
If you’re experiencing any of these problems, it is best to call a professional plumber for help. Attempting to fix these problems yourself could make them worse, and could also be dangerous. Plumbing is not a do-it-yourself project, so always call a professional when you have a problem.
Also, be sure to follow the manufacturer’s instructions when performing any repairs on your bathroom faucets. Every faucet is different, and the instructions that come with your faucet will be the best guide for how to fix it.
Final Thoughts
A shower faucet that won’t turn off all the way can be a nuisance. But, with a bit of patience and some elbow grease, it is a problem that you can fix yourself.
Just be sure to turn off the main water supply before you start, and always call a professional plumber if you are unsure what to do or if the problem is beyond your scope.
We hope this article has helped you troubleshoot your shower faucet problem.
Remember, this article is meant to be a general guide and is not intended as a substitute for professional advice. Always consult a licensed plumber before performing any major repairs on your bathroom faucets.